Deleted member 6350
Guest
That’s not my Bronco,Post #17
Sponsored
That’s not my Bronco,Post #17
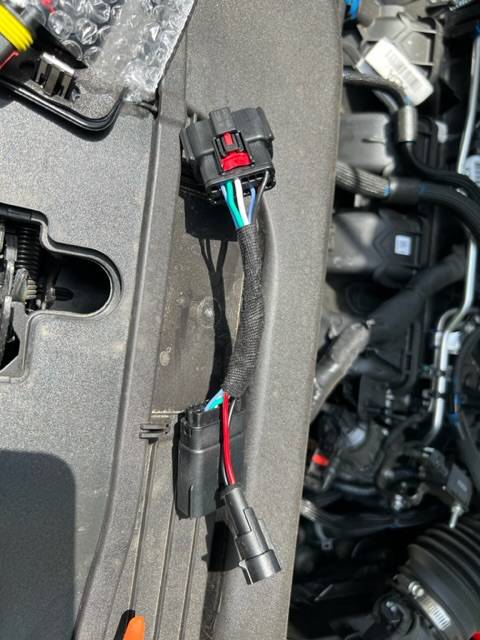
Nore mine. I'd not accept wiring like that from a mechanic, which I believe this BS owner had it done by.That’s not my Bronco,
The Positap is prettycool. It's reusable, and that's important. One of the things that I'm skeptical about on these markers is their longevity. In my experience, inxpensive leds that are overly exposed to weather....don't last. So while these look awesome, and while I wouldn't mind spending $30 every year or two (which is my assumption on their shelf life), I wouldn't want to continually 'hack up' my light harness with those old-style taps. With these posi-taps, you can tap the intial wire once, and reuse the fused connection over and over. With the old style tap, once you open it, you have to close it back down on the wire and you're almost certain to not get the same opening you made before.Wire taps are sketchy and unreliable in my experience. So I went looking for an alternative. I found these posi taps that are used in the motorcycle community. They are waterproof and vibration proof.
I haven't used them yet but I ordered some and will use them on another wiring project I'm doing soon. Stay tuned.
As a matter of fact there is not a picture of my Bronco in this write-upNore mine. I'd not accept wiring like that from a mechanic, which I believe this BS owner had it done by.
I'm not sure how you would get this to work without completely clipping the wire in the OEM harness. I would not want to do that.I'm not a fan of anything that punches a hole through the insulation, possibly damaging the wire strands inside. I would use a step-down butt connector with integrated heat shrink. Two wires go in one side, and a single wire goes in the other.
The best way to do it, if you got the harness building skills.Finally installed these on my Badlands. I got the two-wire version and decided to make my own harness that goes between the factory headlight plug and the headlight. On my harness I matched up the wire size to the factory harness and split off a two wire plug for the side marker. Making the harness myself from parts from Digi-key was cheaper than buying a premade harness or prebuilt kit.
Removal of factory inserts was easy on the quarter panels with the passenger side a little more tight to work on. The Tectico clips make for a tight fit, so taking off ever will be more challenging than factory ones.
I also wrapped all the wiring with Red Wolf wire harness cloth tape.


O.K.As a matter of fact there is not a picture of my Bronco in this write-up
Thanks Dude, it’s all good.Well @Bucko .. you did imply it was @JAD67428 by quoting his post .. when you posted I went back to look for which vehicle it was and could see it was not his vehicle but most people would assume you were pointing out his vehicle had the terrible wiring which his did not.
We all have to be careful to reply to the correct post or remove words under the quoted portion.

?Thanks Dude, it’s all good.
that is why I added a two-wire plug ?The Positap is prettycool. It's reusable, and that's important. One of the things that I'm skeptical about on these markers is their longevity. In my experience, inxpensive leds that are overly exposed to weather....don't last. So while these look awesome, and while I wouldn't mind spending $30 every year or two (which is my assumption on their shelf life), I wouldn't want to continually 'hack up' my light harness with those old-style taps. With these posi-taps, you can tap the intial wire once, and reuse the fused connection over and over. With the old style tap, once you open it, you have to close it back down on the wire and you're almost certain to not get the same opening you made before.
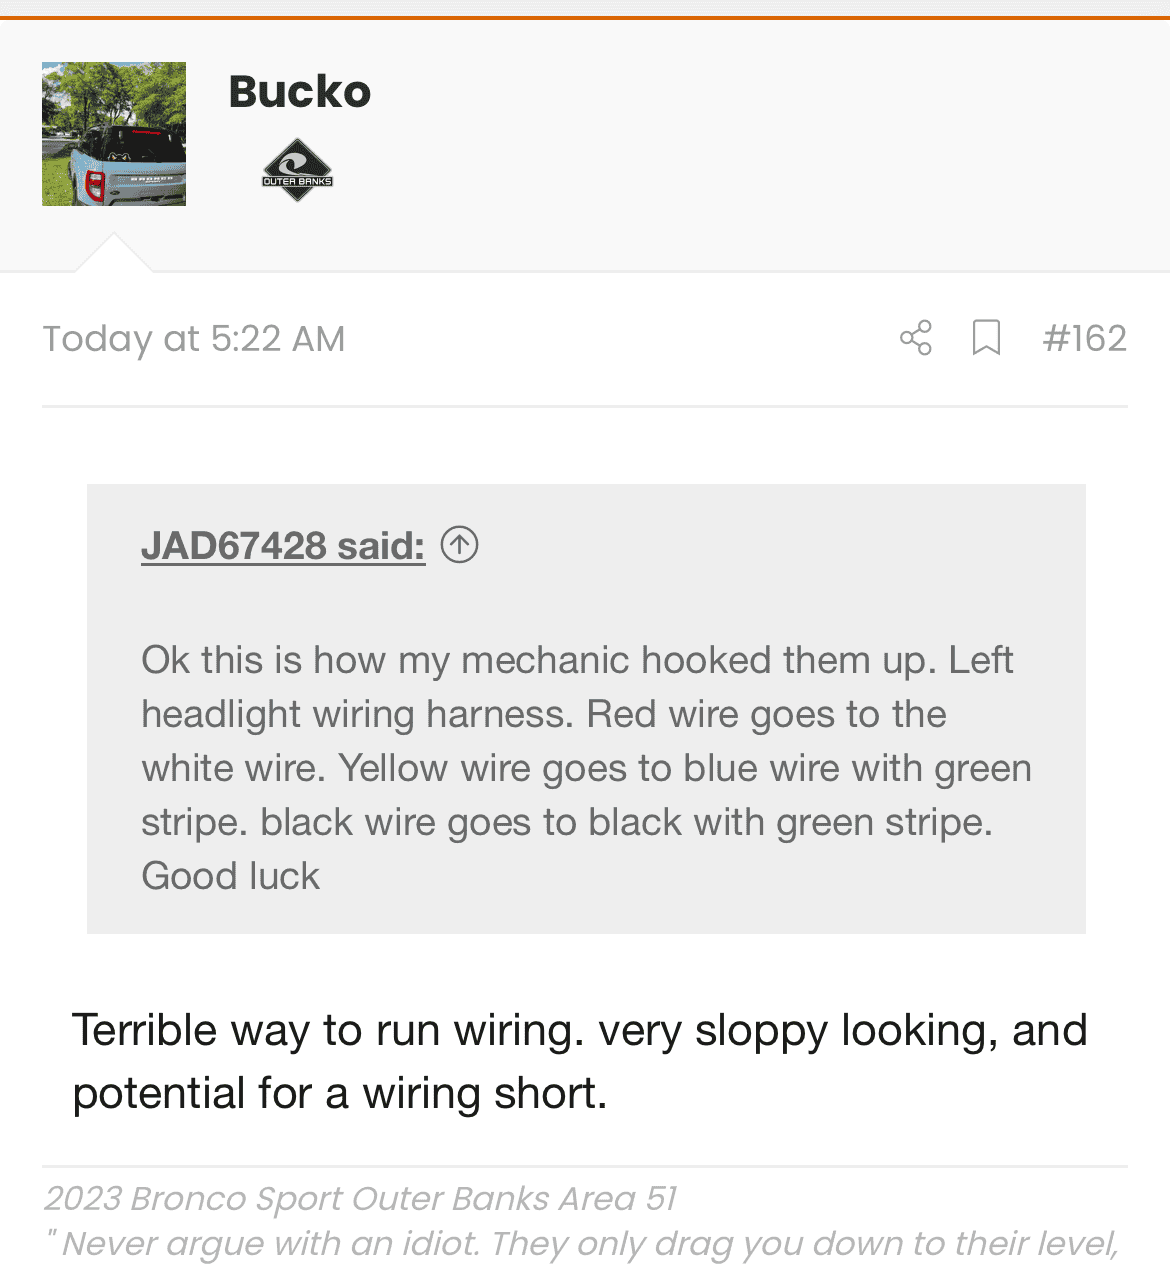
Nice, neat installation. Looks great!Managed to find some time to install my side lights today. Must say, it was much easier than I feared. The only trouble I had was getting to the bottom clip on the passenger side, but once I realized I could see it when I opened the door, I was able to get my needlenose pliers on the clip and pop it free with no problems.
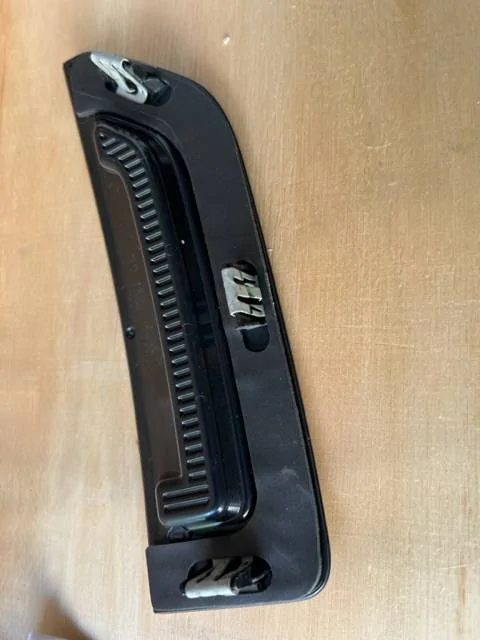
Here's a view of the driver's side opening with the trim piece removed:
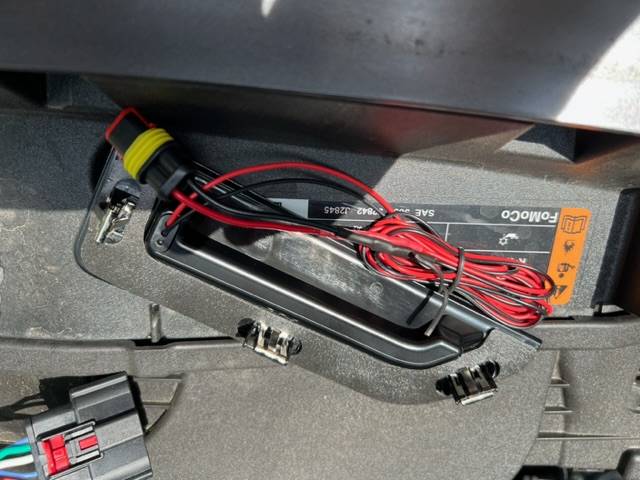
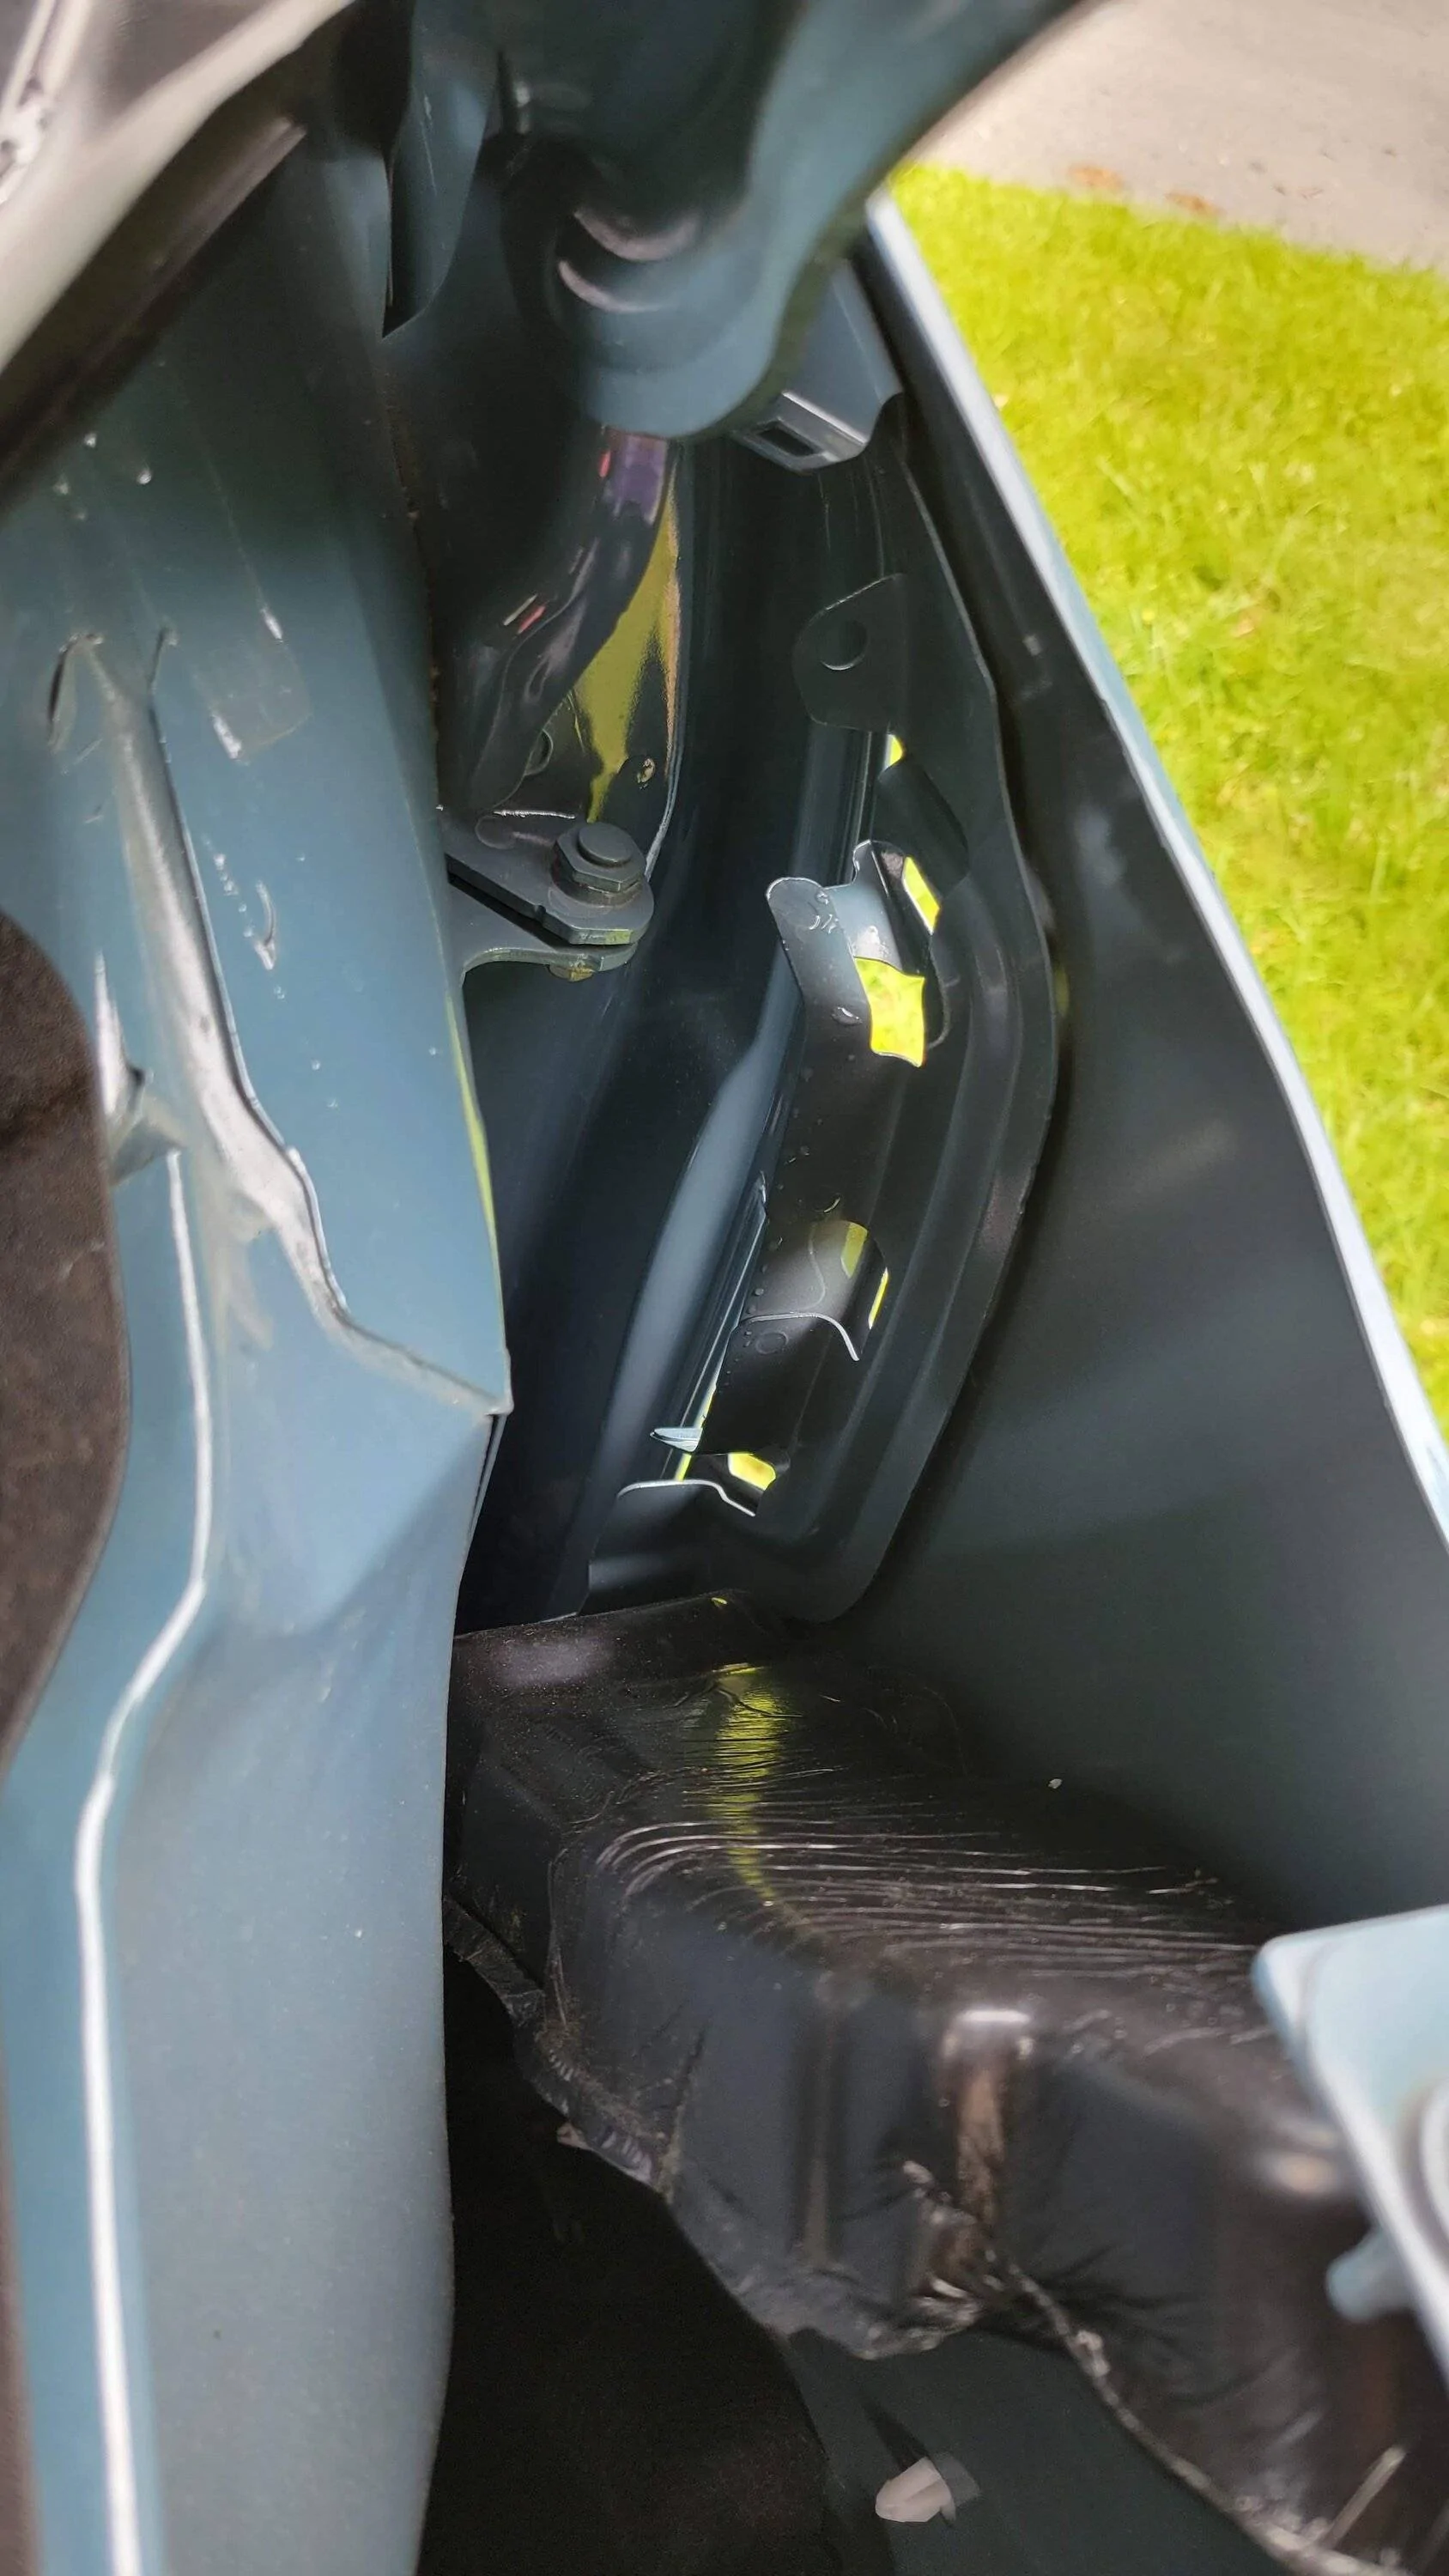
Which allowed ample space to thread the wiring which was preconnected to the connector (insulation replaced):
and zip tie it to the body supports (zip ties were cut short later. You can see the wiring running from the upper left then under the body support to the zip tie ni the middle of the shot, through the OEM wiring clip and finally zip tied to the OEM wiring at the connector):

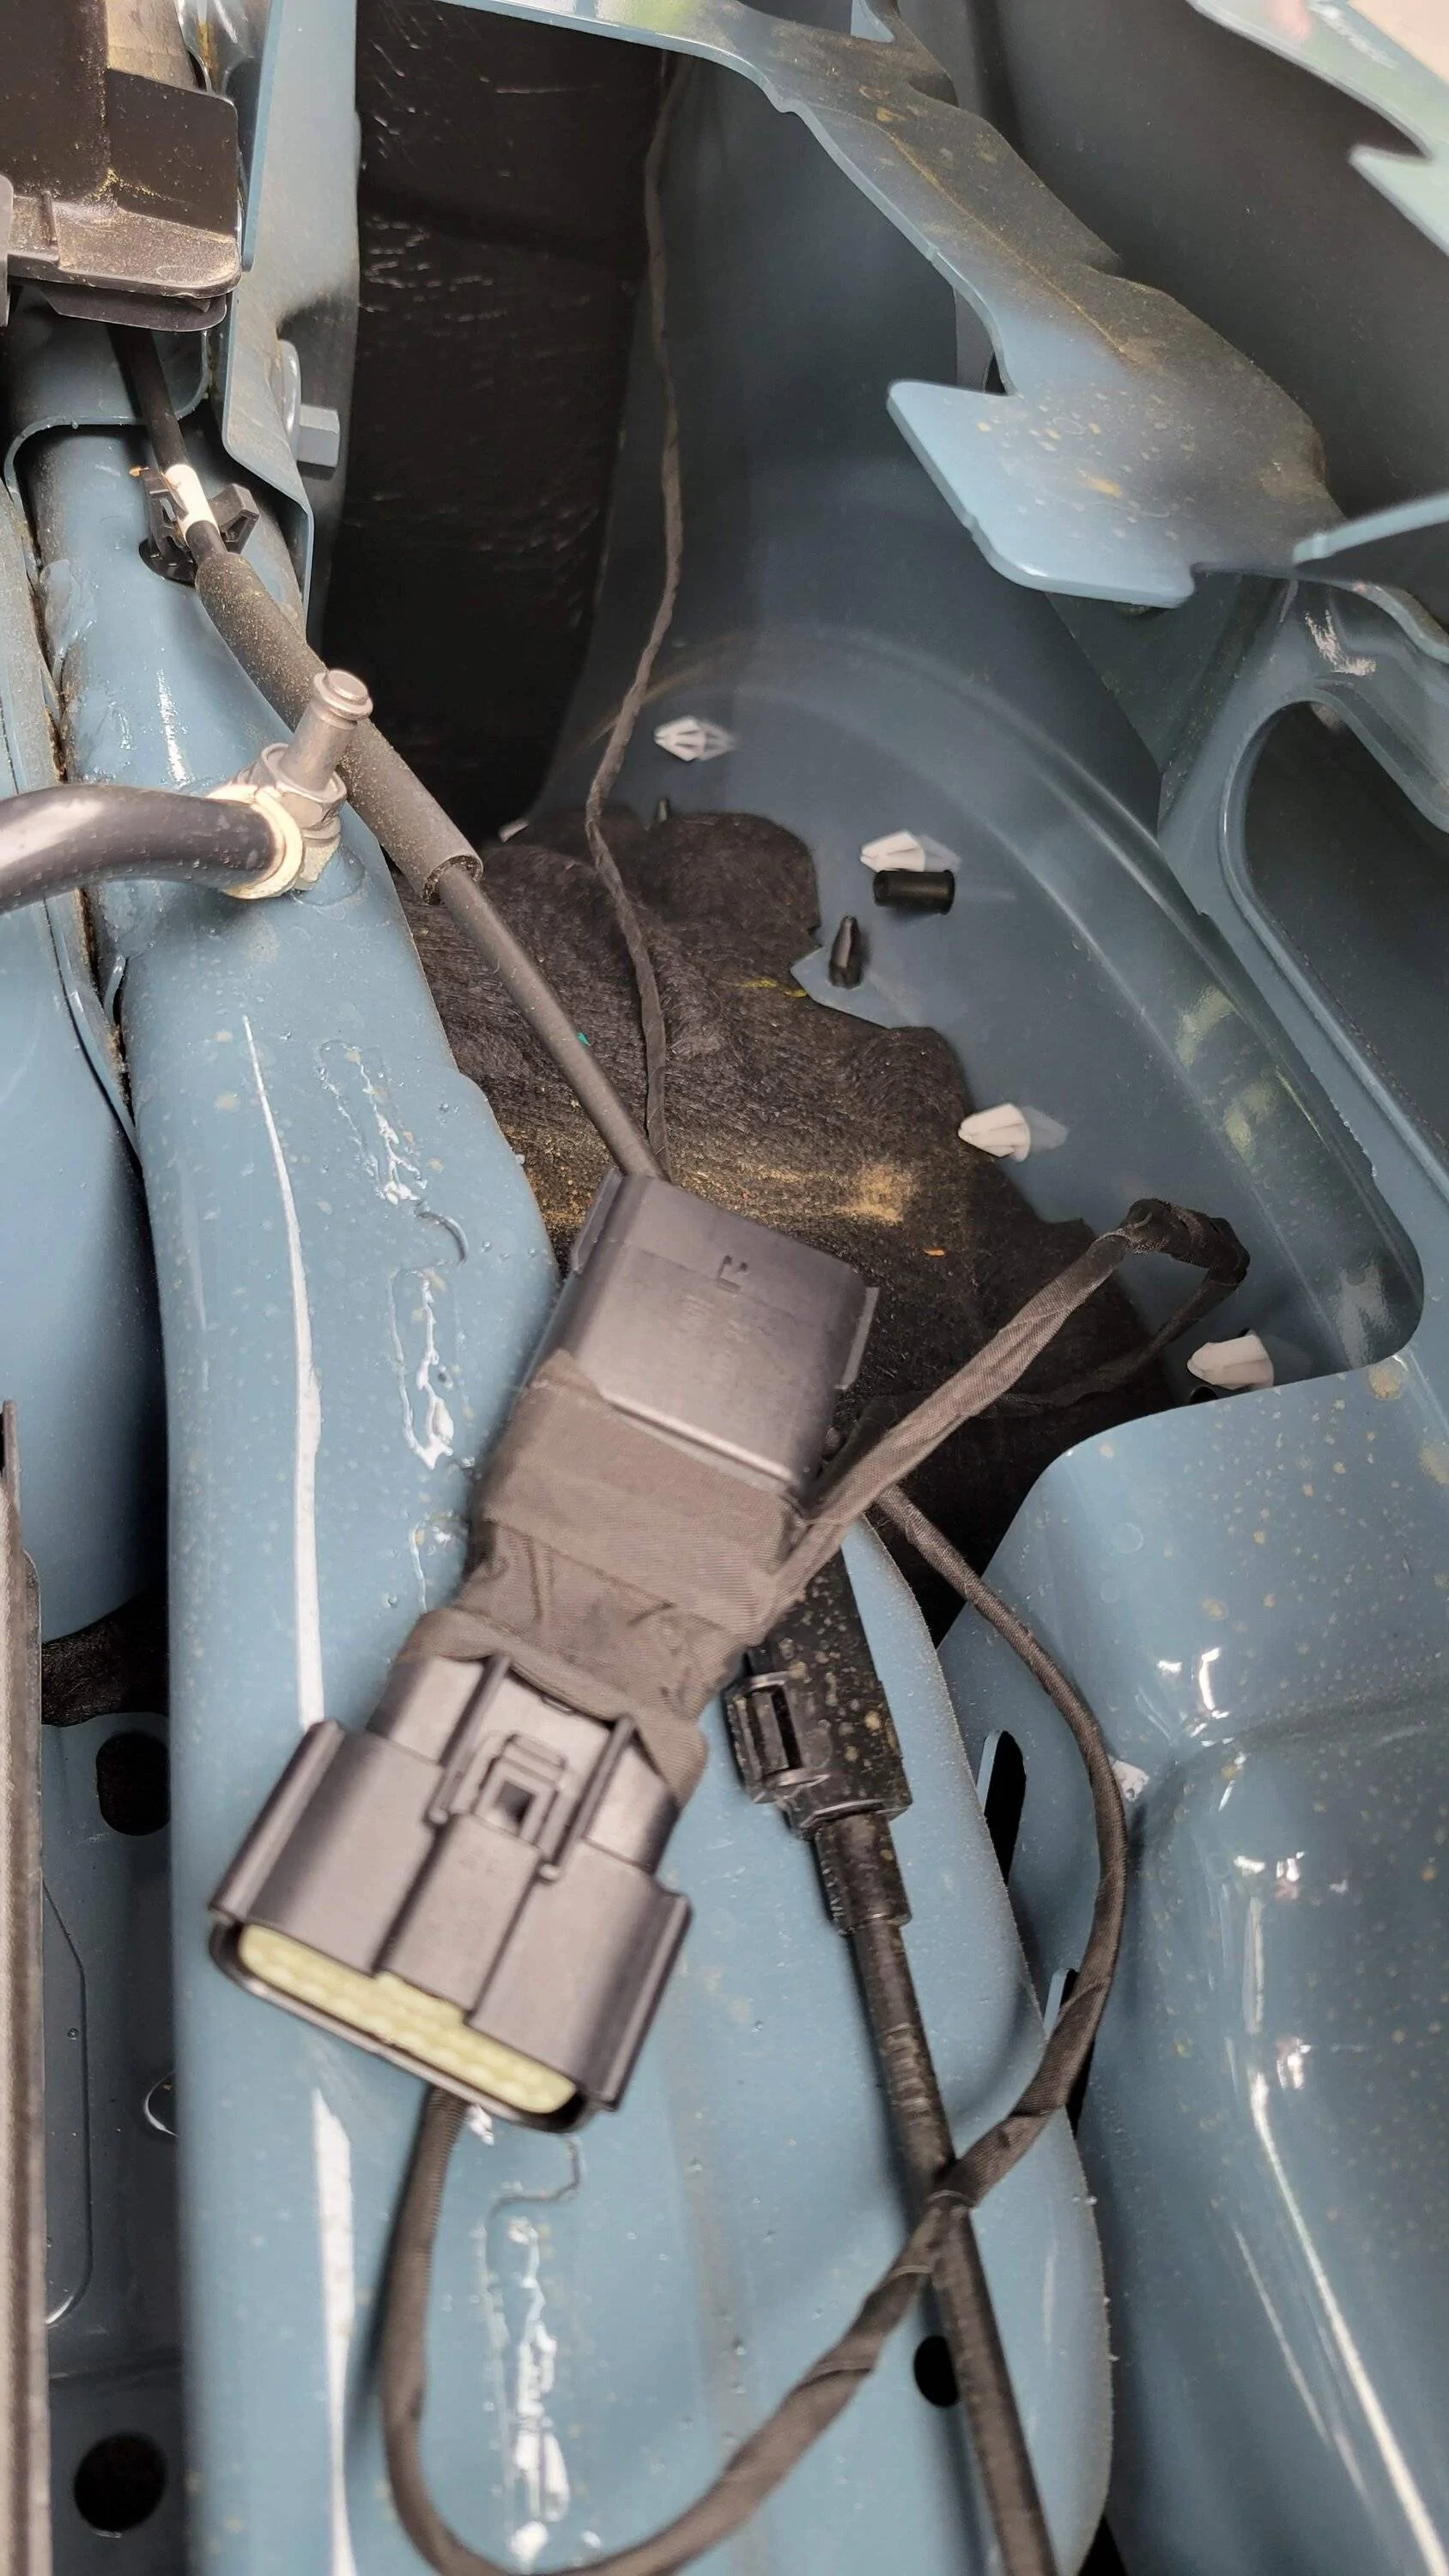
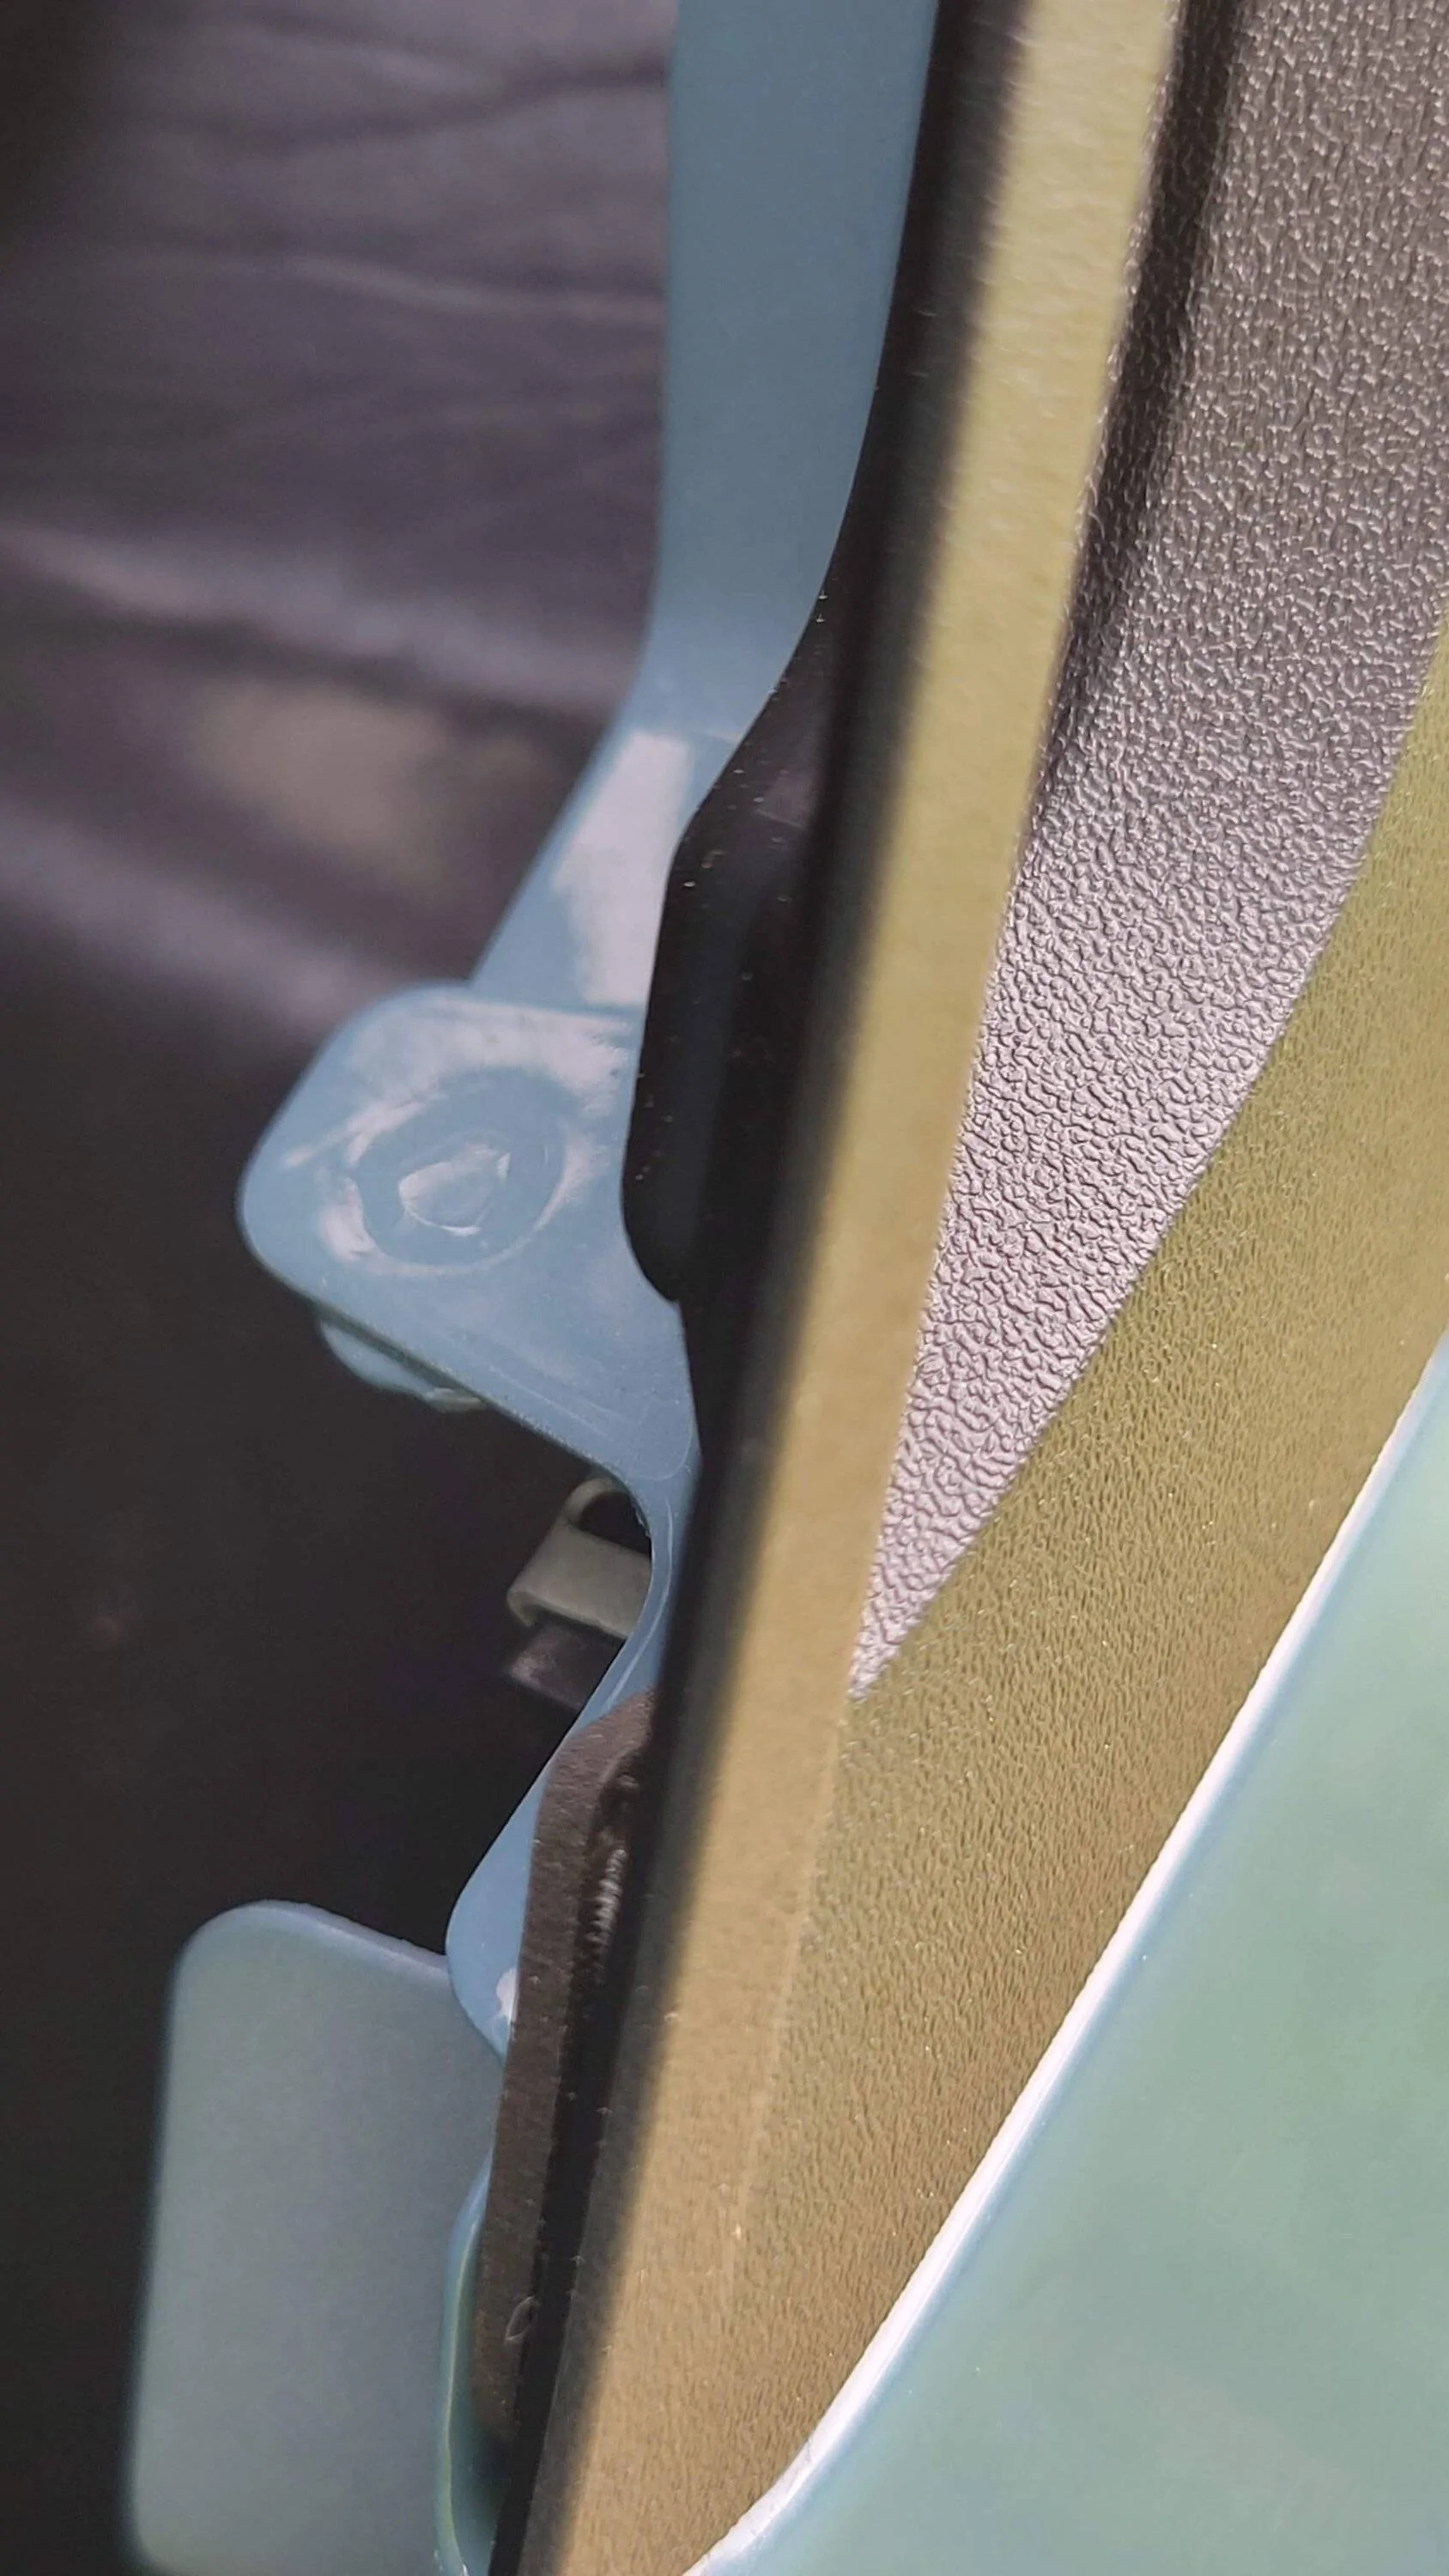
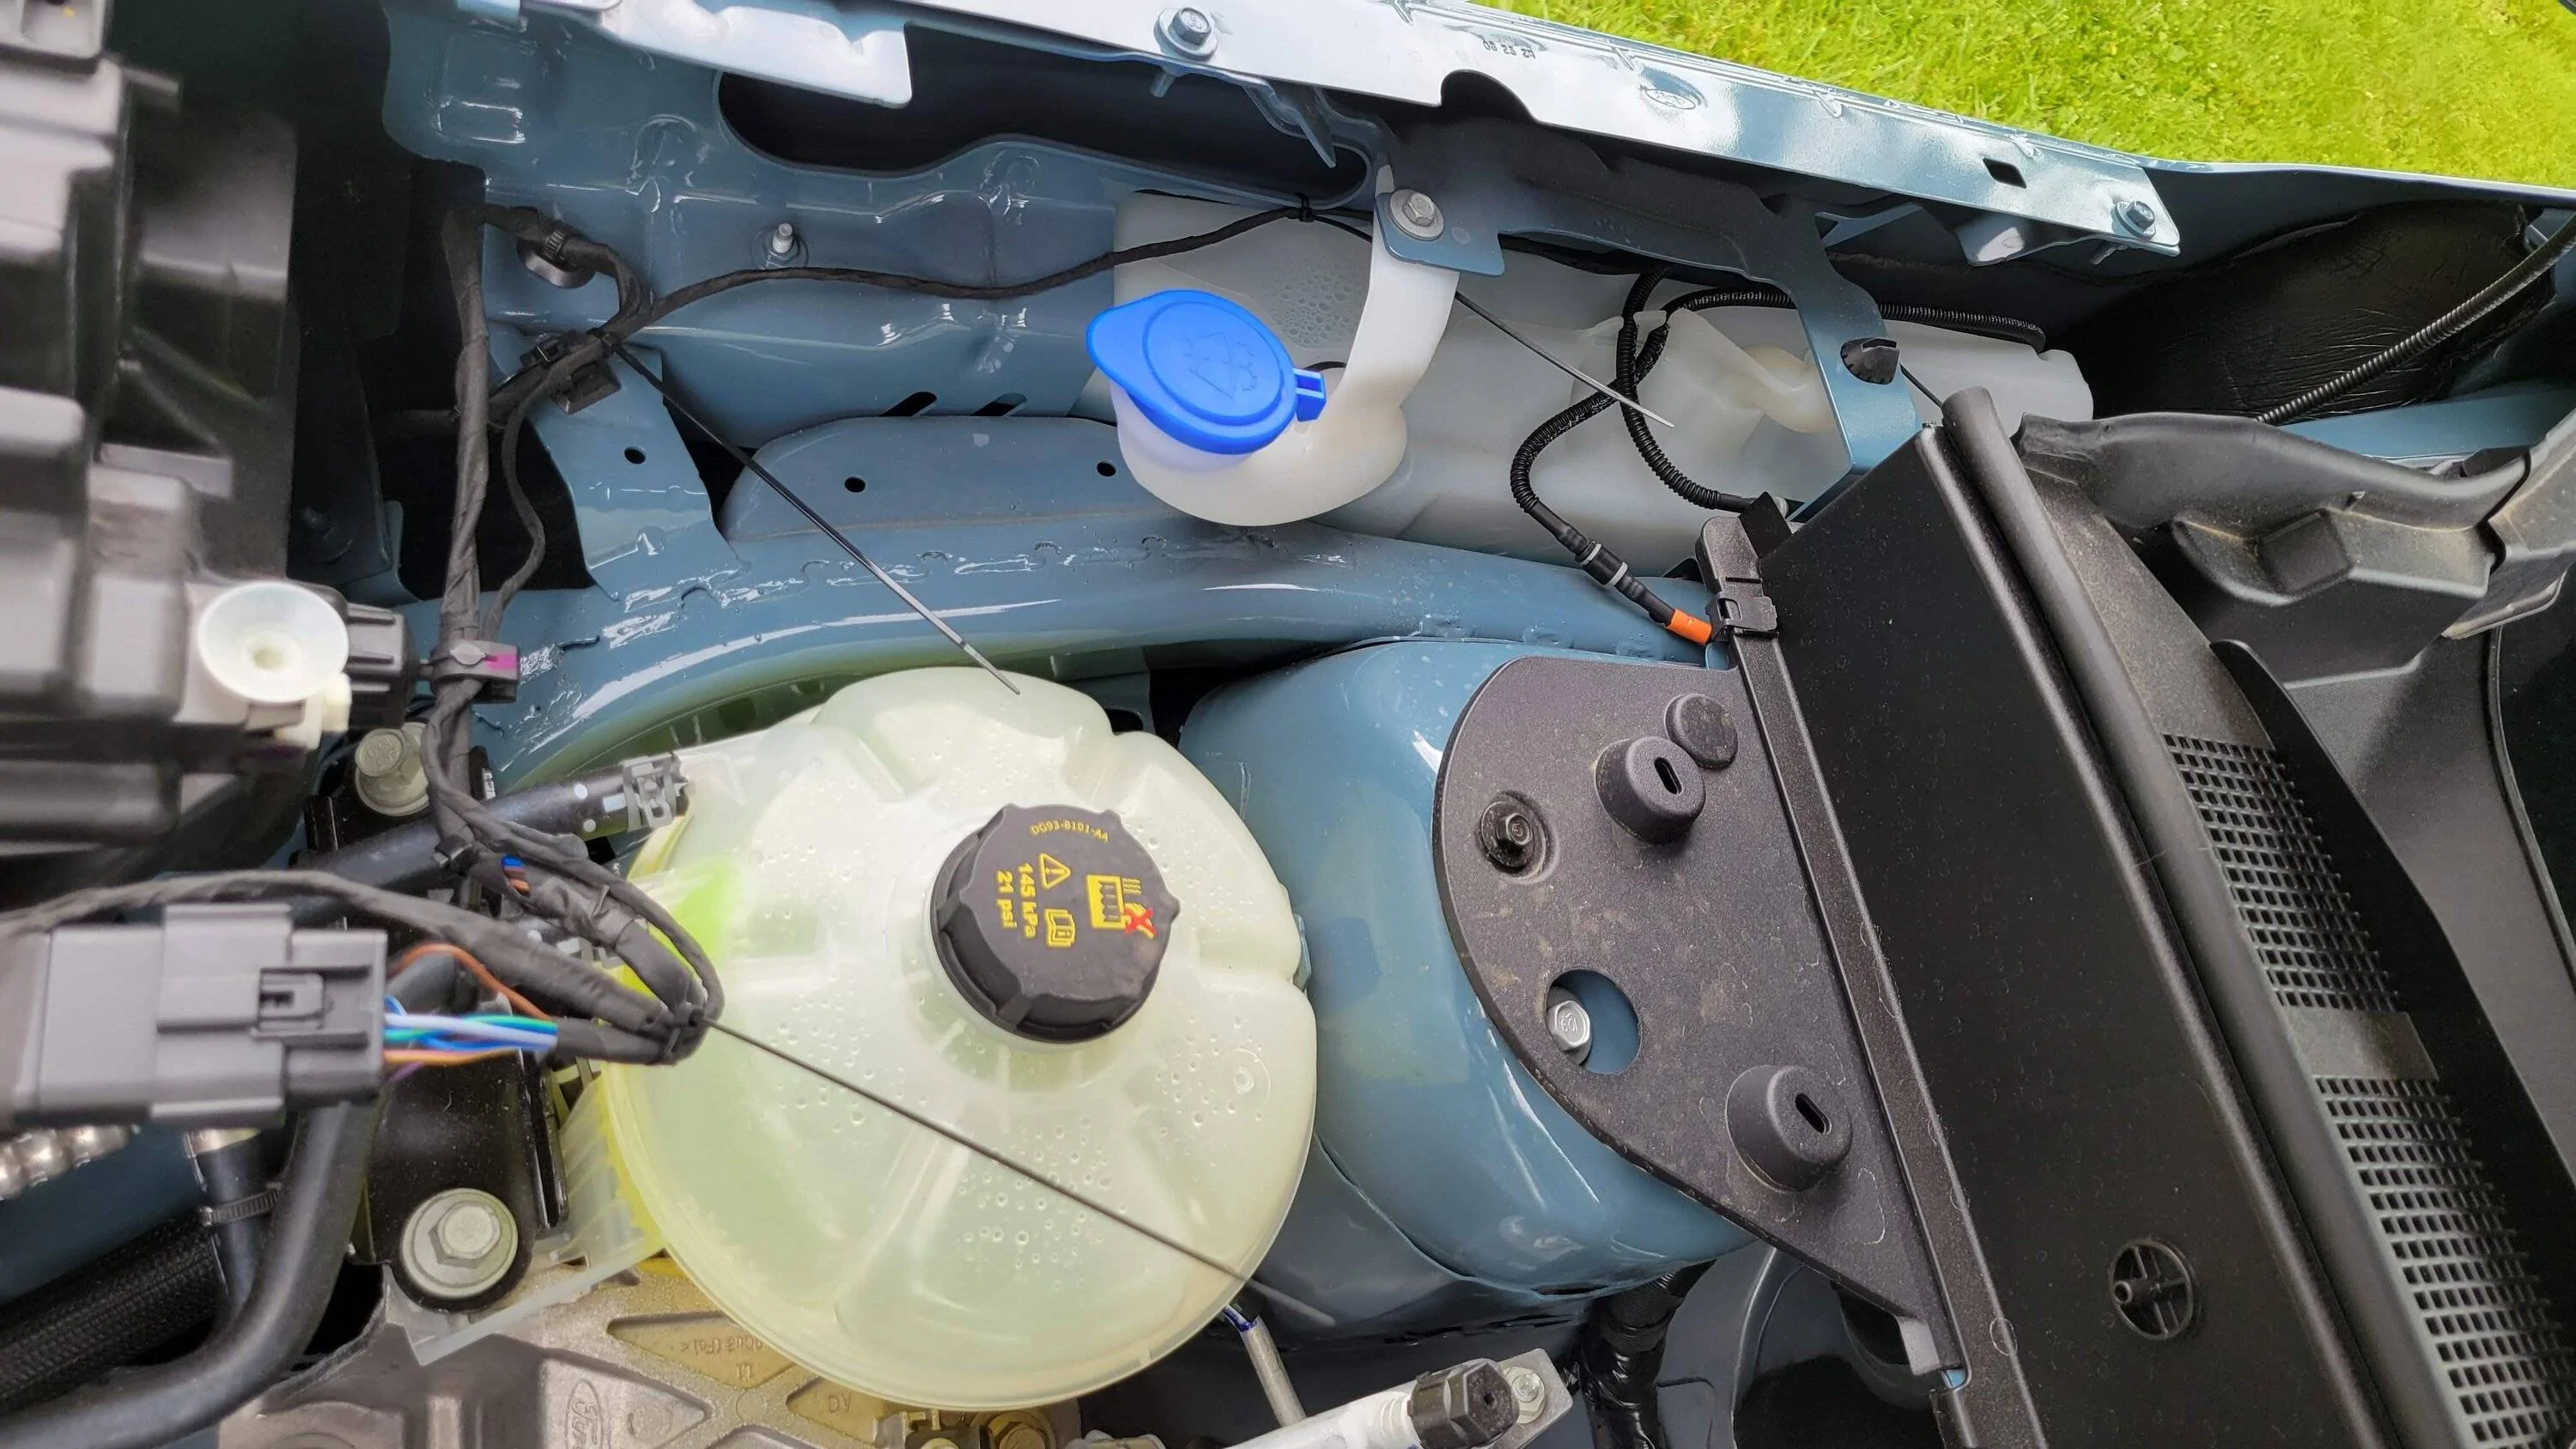
This is a view of the problem clip through the door opening, which I was able to access through the hood with my hand while watching through the door gap since the winshield washer fluid tank makes that area a bit tight to fit a hand and see what you are doing:
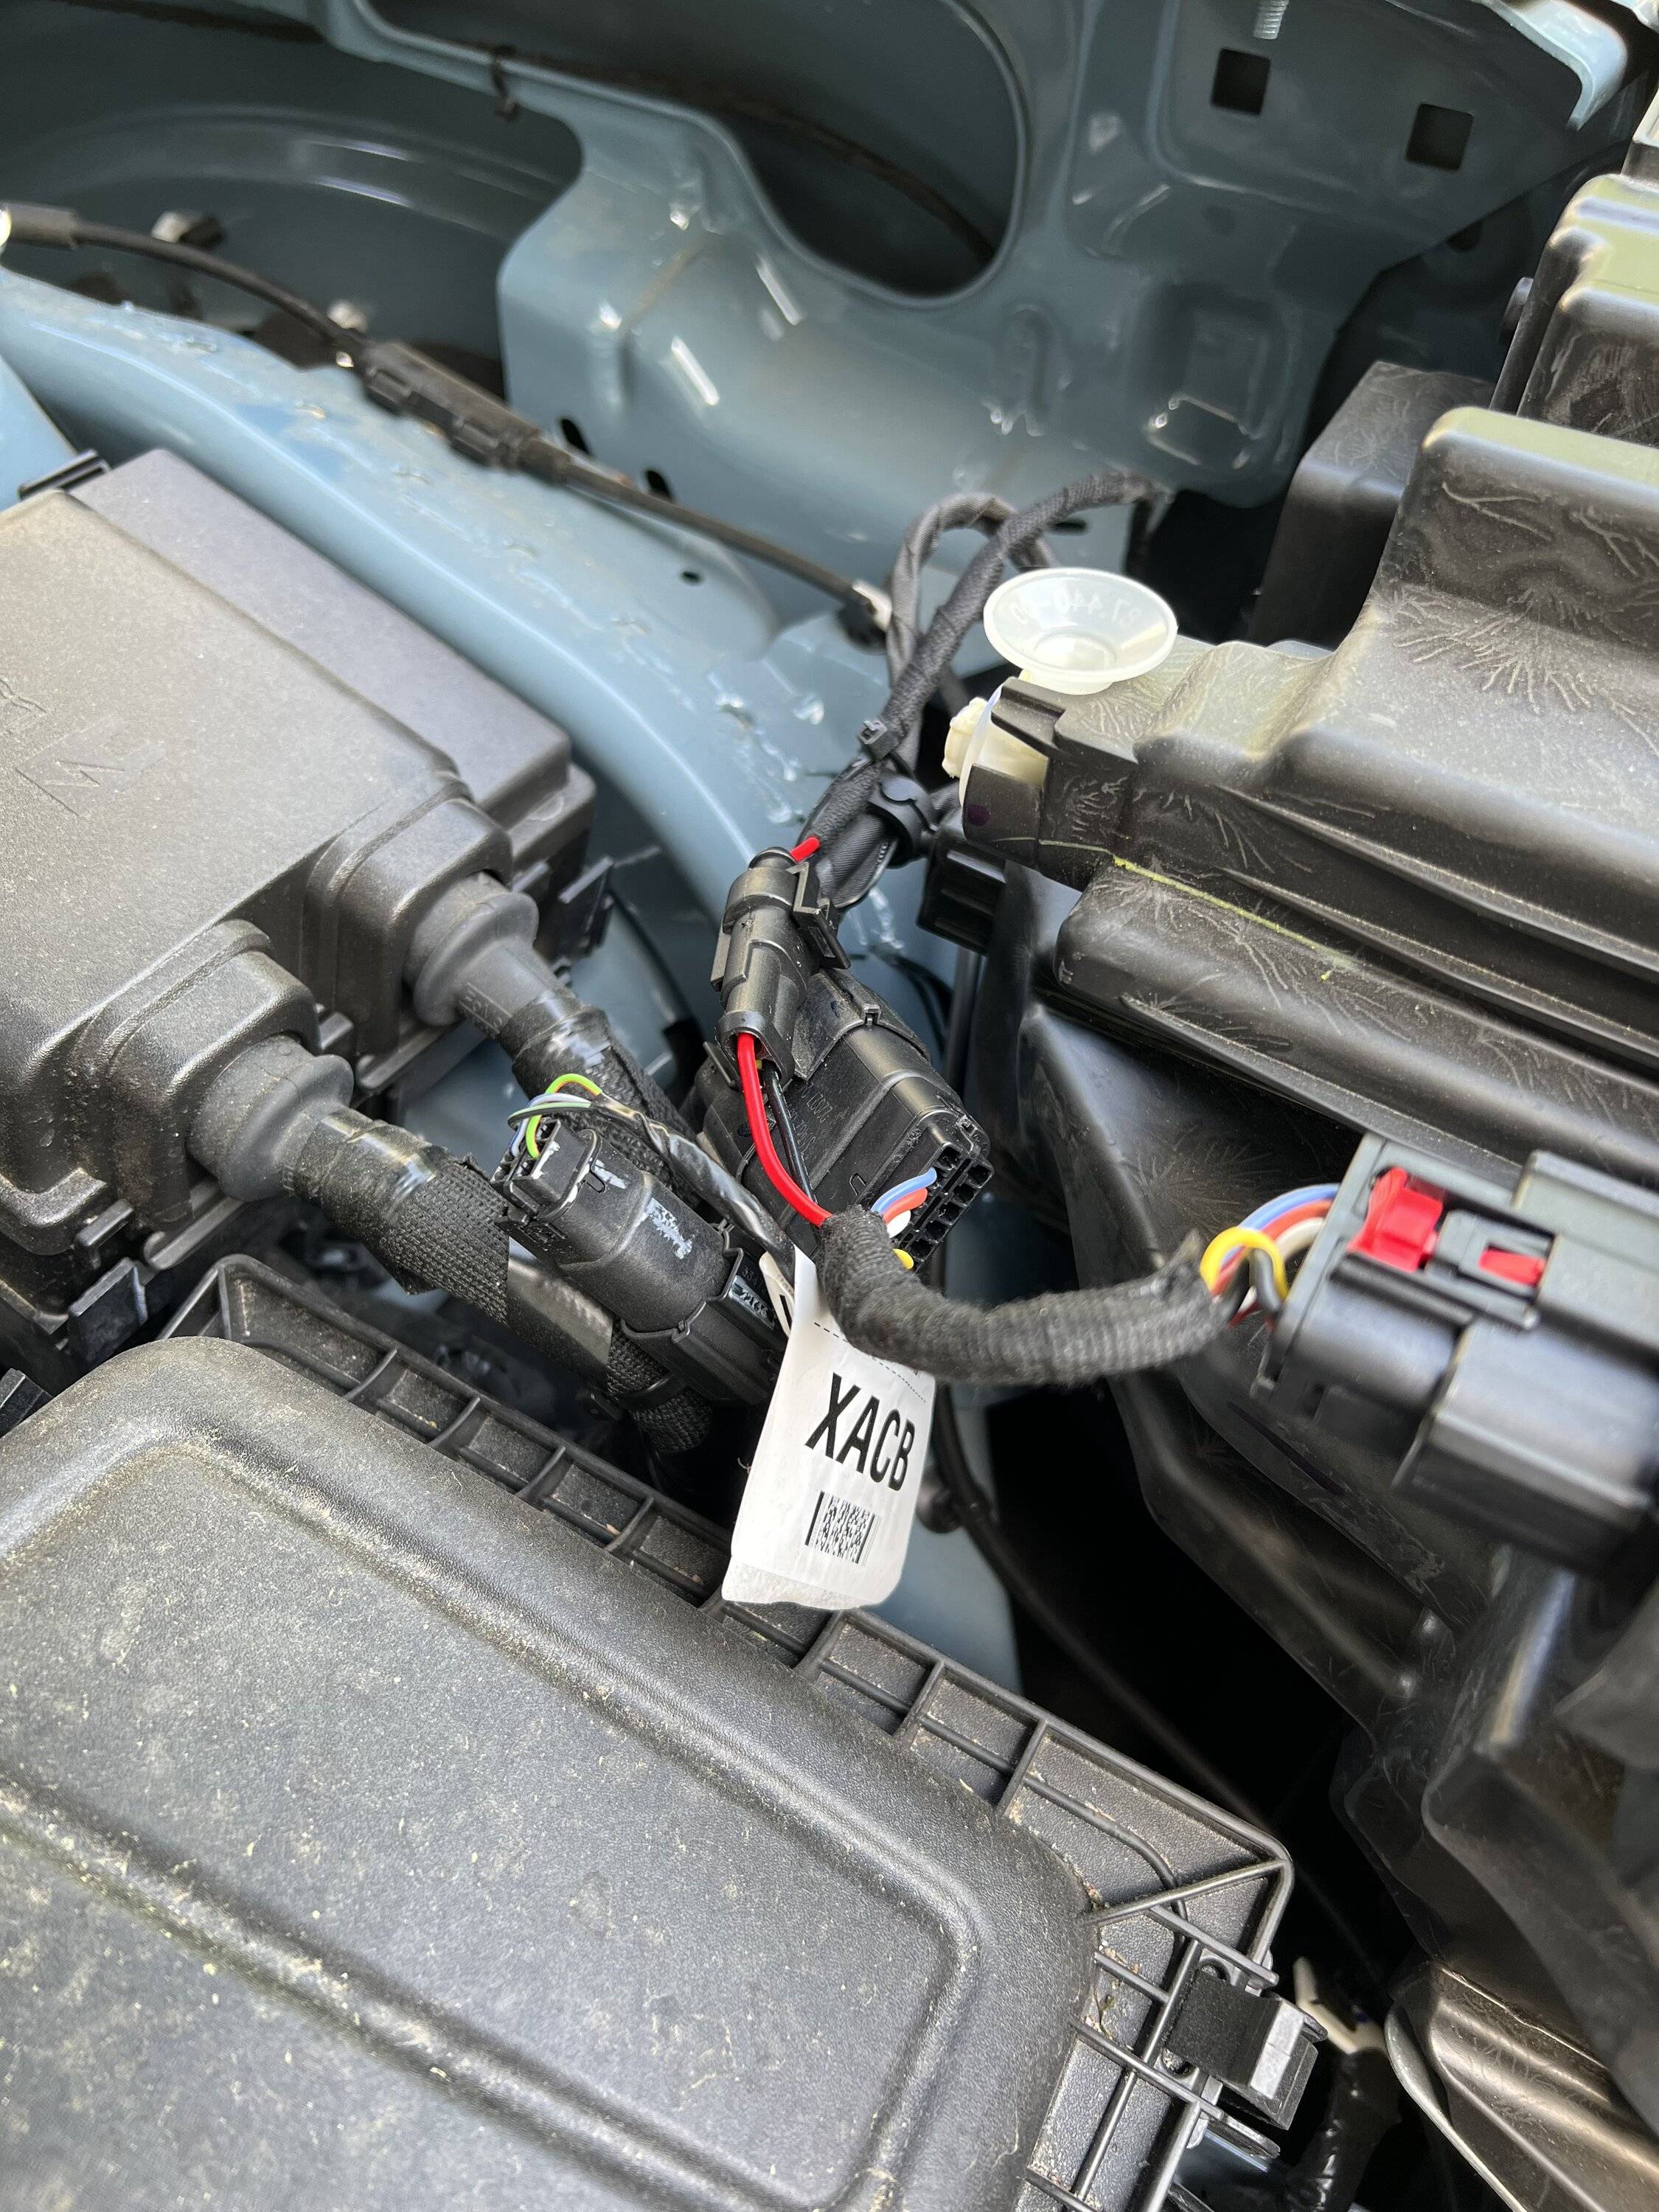
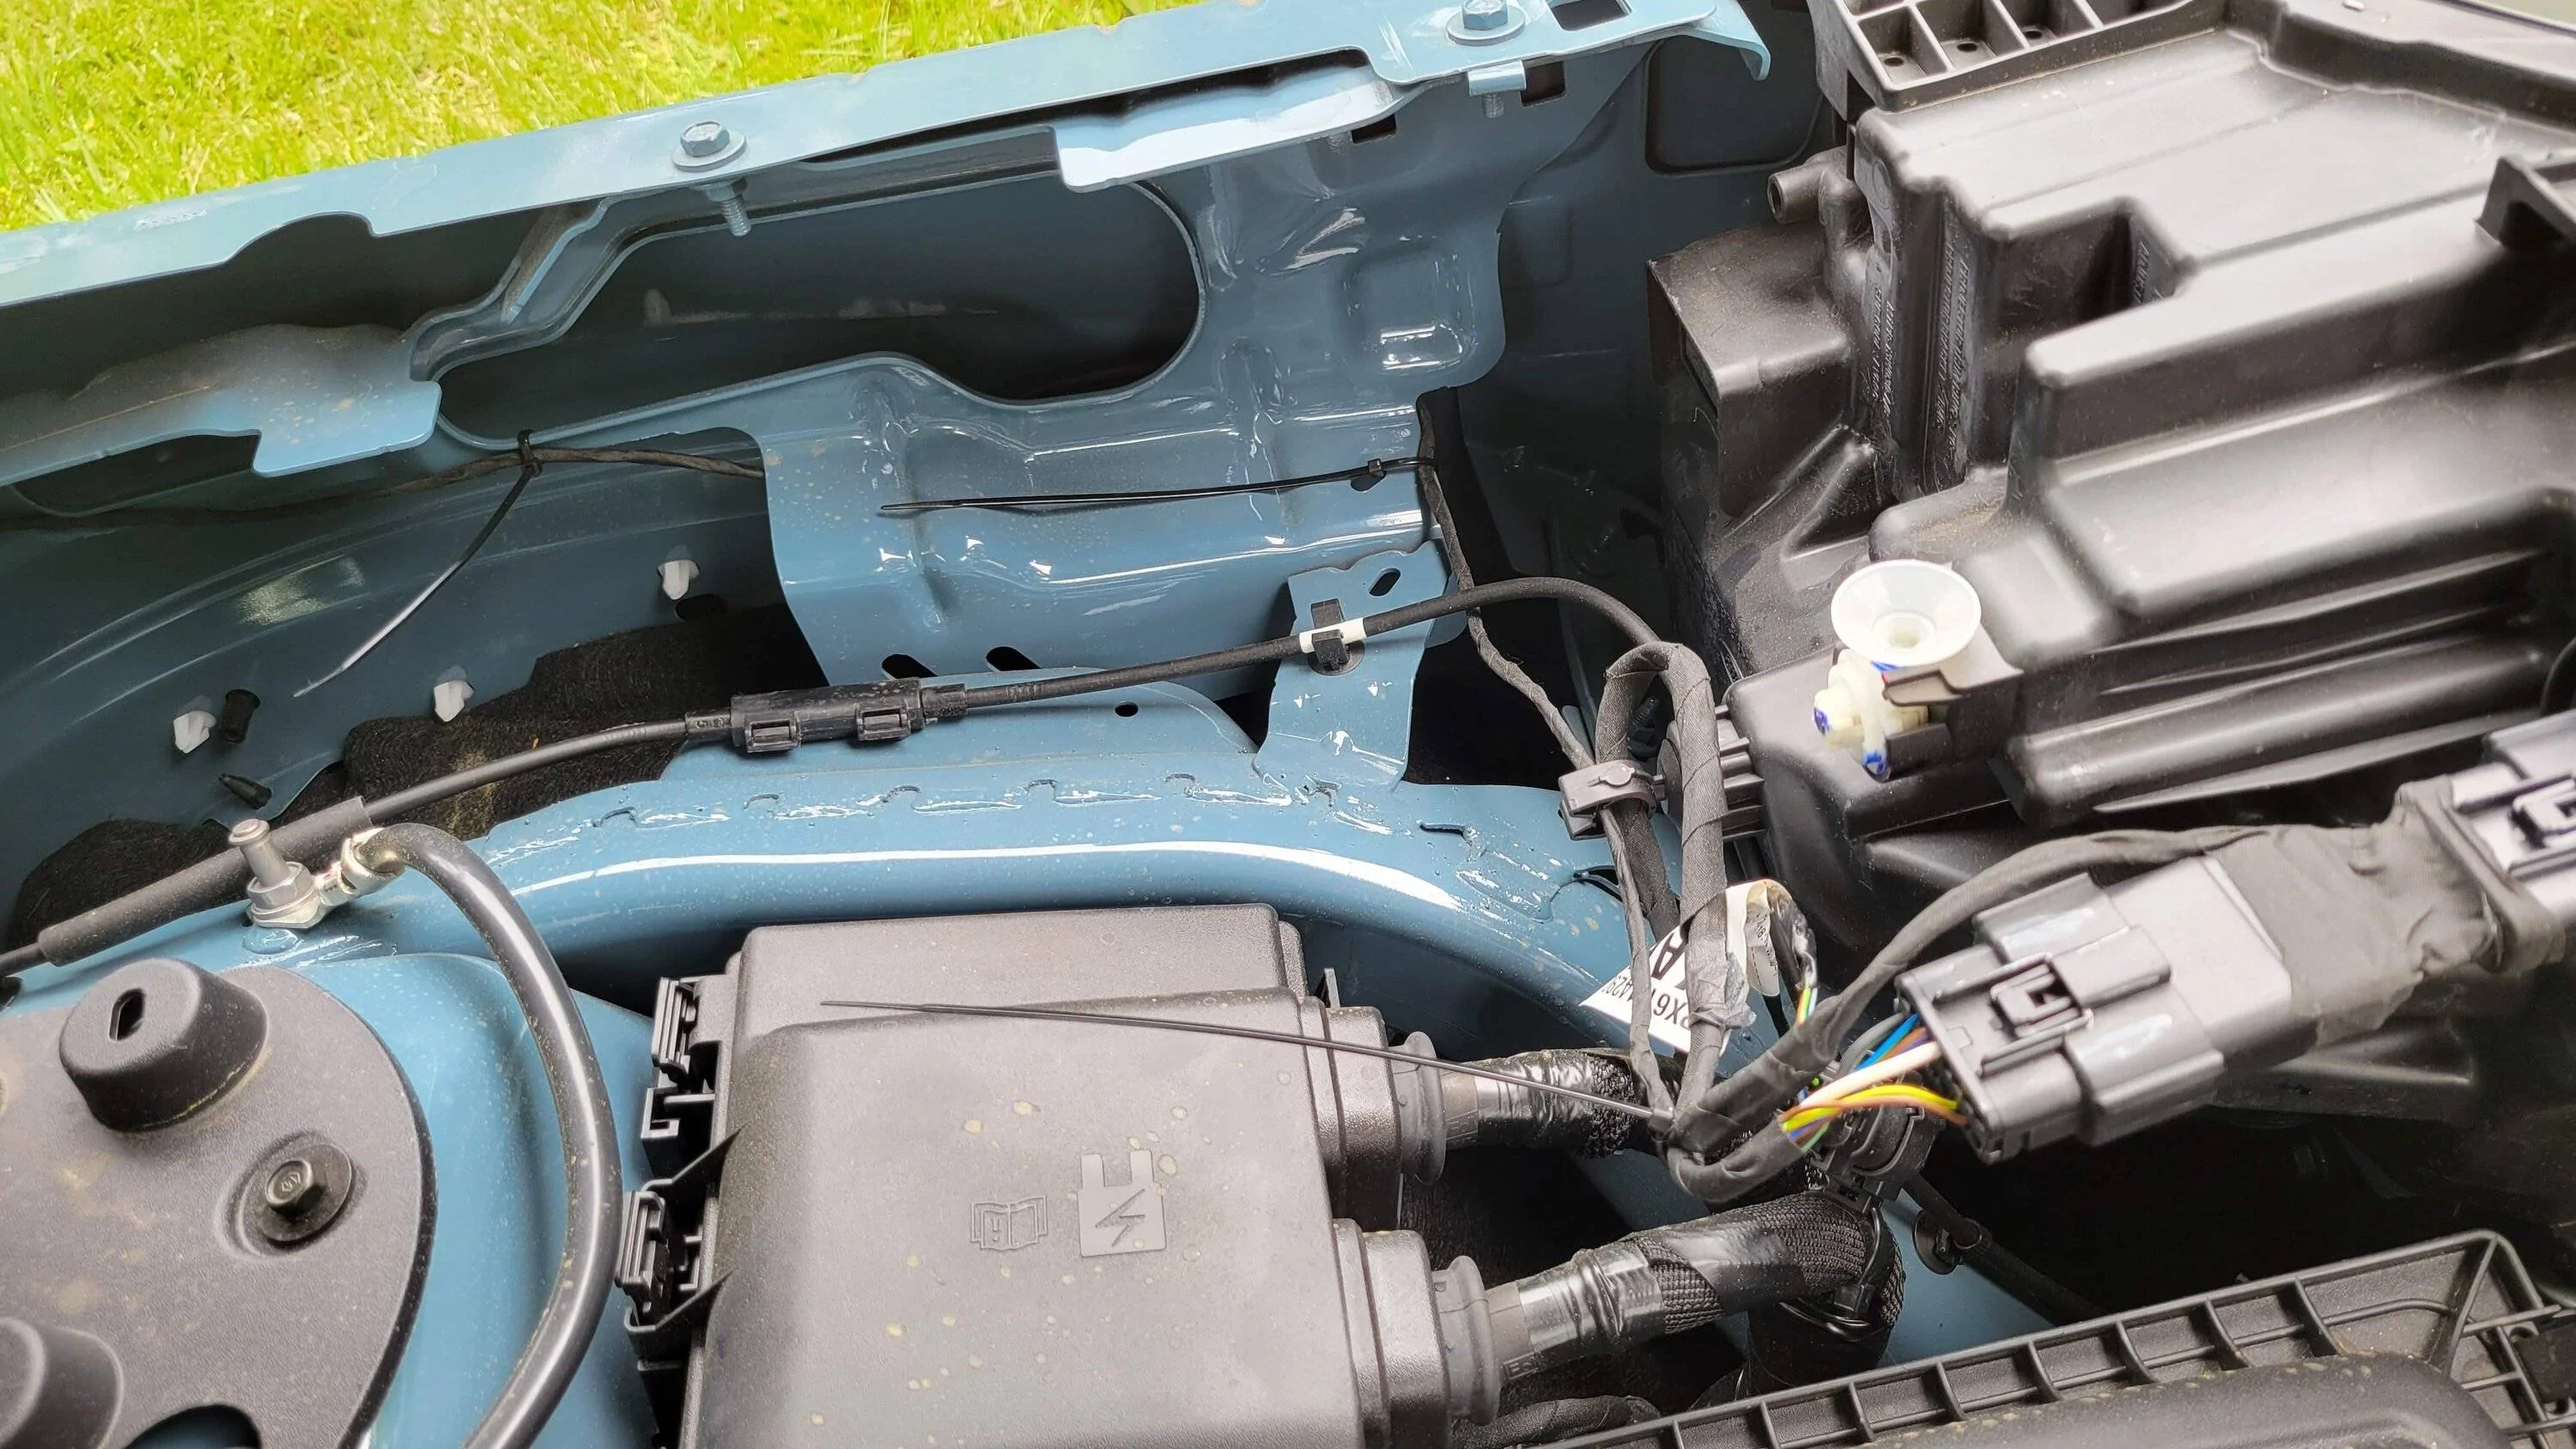
And finally, similar wiring run as the driver's side (again, zip ties cut short later):
All is working perfectly. Aside from making my own connector harness and using harness tape over the length of the wiring, I added some RV silicone around the wire entry into the side lights to act as additional waterproofing and a bit of strain relief. Very pleased with the results. Definitely looks like it was supposed to be this way from the start.
I agree completely. If a mechanic did that kind of work, he would never work on my vehicle again.The picture in post #17 indicates terrible wiring. I'm not singling out any owner or member here, only the hack wiring job in the picture.