
- First Name
- Tomas
- Joined
- Jun 2, 2024
- Threads
- 7
- Messages
- 1,045
- Reaction score
- 1,380
- Location
- Sacramento
- Vehicle(s)
- 2024 Bronco Sport Badlands
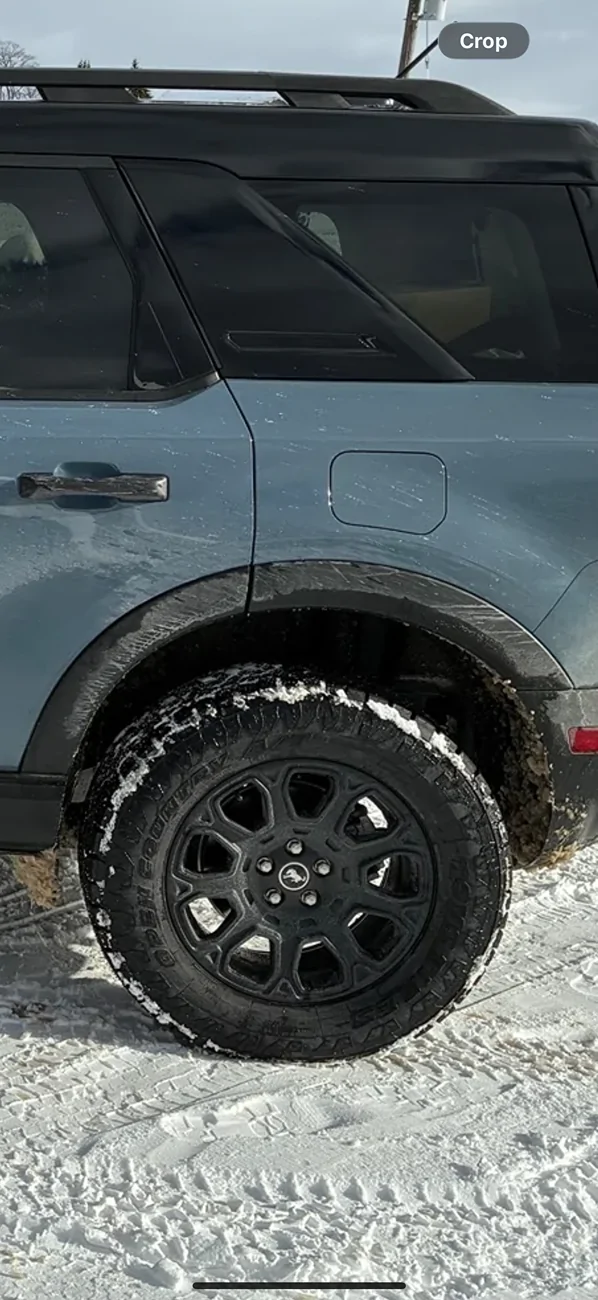
the pictures of his current set up show 225 series continentalsThat’s what Garth has.
Sponsored
the pictures of his current set up show 225 series continentalsThat’s what Garth has.
Those aren’t continentals.the pictures of his current set up show 225 series continentals

 you're right. i was looking too hard at the measuring tape. didn't notice the sidewall on the tires changed before and after as well.
You wrote a short story, and didn’t include any photos?I'll post an update if there are any issues with the alignment, but I'm crossing my fingers (and toes!).

https://eibach.com/product/5.81315KThis is a good very descriptive post, I see HRG also offer camber bolts which might be a good thing to have before the alignment.
The shop that installed mine said they couldnt source any and I should rotate the tires every oil change or sooner and keep an eye for uneven wear.
Thanks, I might pick some up. I would have thought if there was an issue Bilstein would have mentioned it or even included some.
Nah, camber bolts are a typical requirement for lifted suspension. HRG’s 1.5” kit includes them, and we sell them all the time at the NAPA I run, but I decided to outsource the ones for the bronco lolThanks, I might pick some up. I would have thought if there was an issue Bilstein would have mentioned it or even included some.
Post it here, too.Bad luck here with the b8 I will create a post to explain my issue but was a factory problem .

It looks like your swaybar link is bentBad luck here with the b8 I will create a post to explain my issue but was a factory problem .
