Project O'Bronco

Glamdring70

Badlands
Well-Known Member
First Name
Tim
Joined
Mar 26, 2021
Threads
18
Messages
1,223
Reaction score
1,910
Location
Oregon
Vehicle(s)
'21 BL+BL
This seems like a nice way to keep track of the changes as I go along and maybe share some ideas or techniques along the way. I'm the first one to admit, I like the "orange", but I think it's a hard color to love. I want to add things that add black and carbonized color to the body without just going black murder look on everything I can. This is also the first car I have ever had that has, like, zero chrome pieces. So I don't want to add chrome either. I think the lugs might be the only bit and they won't stay that way for long.

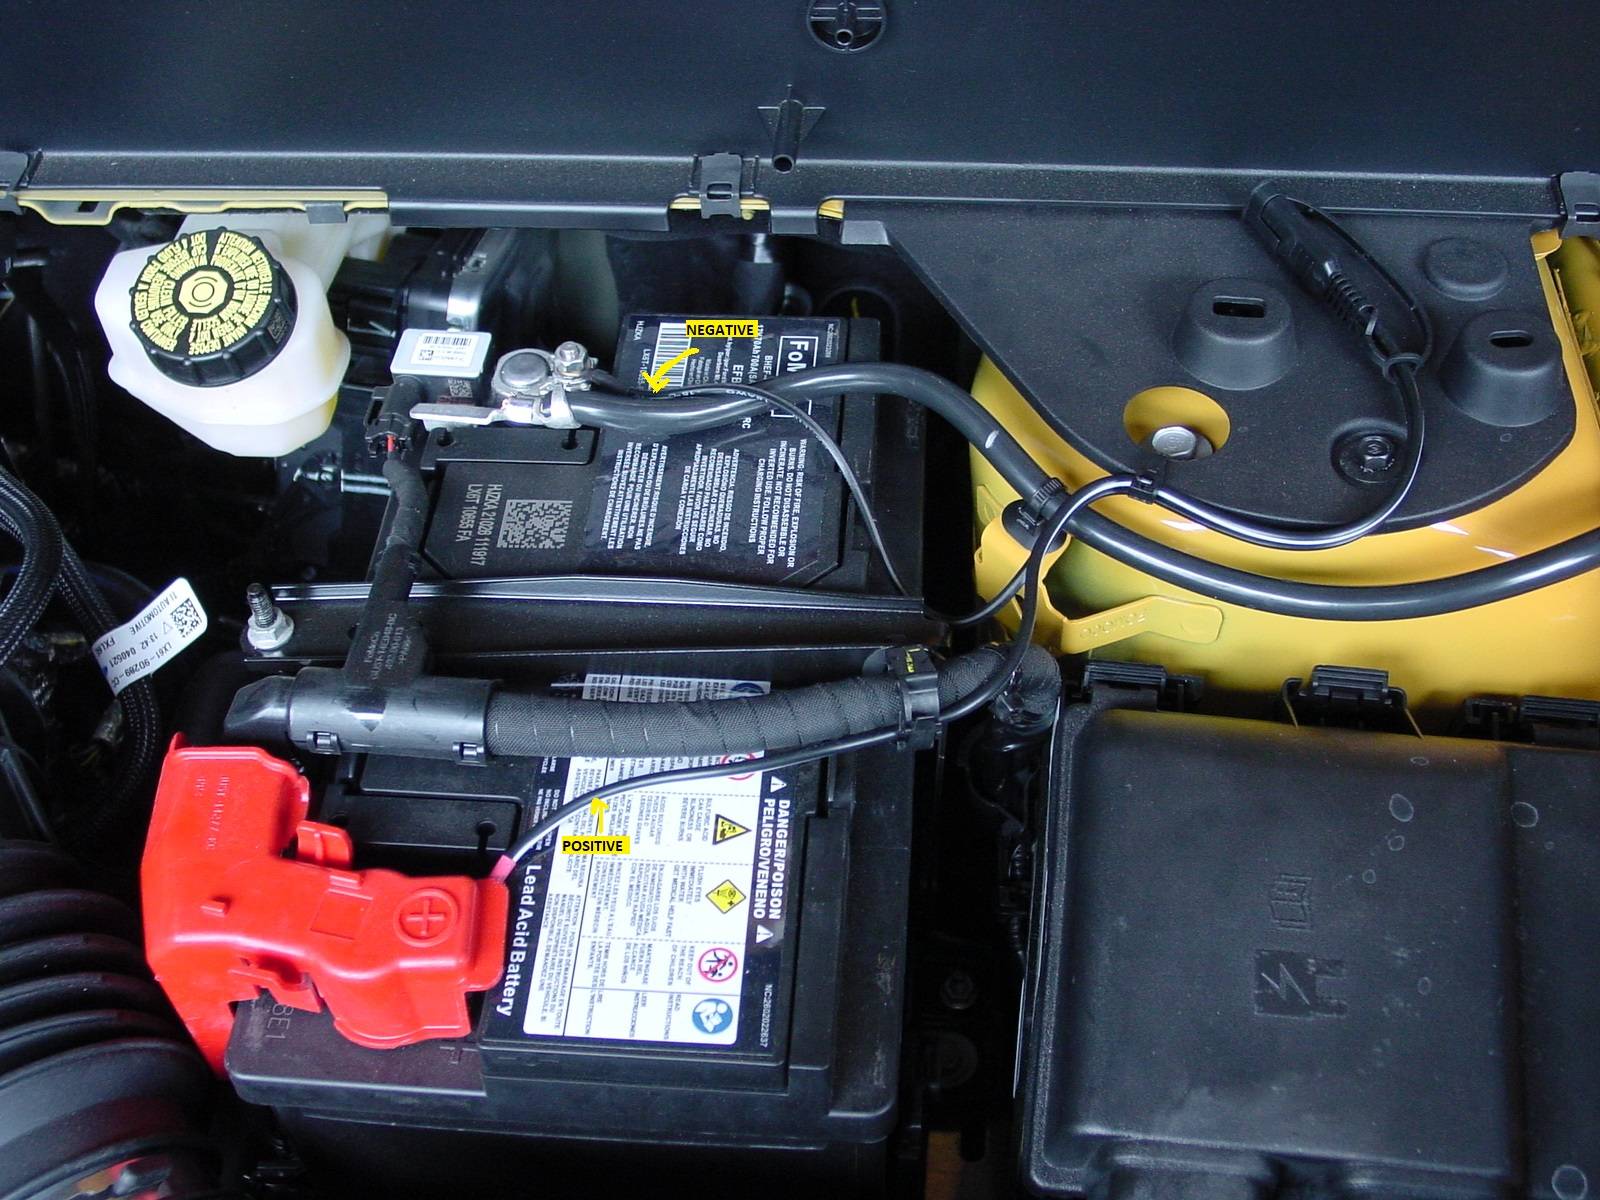
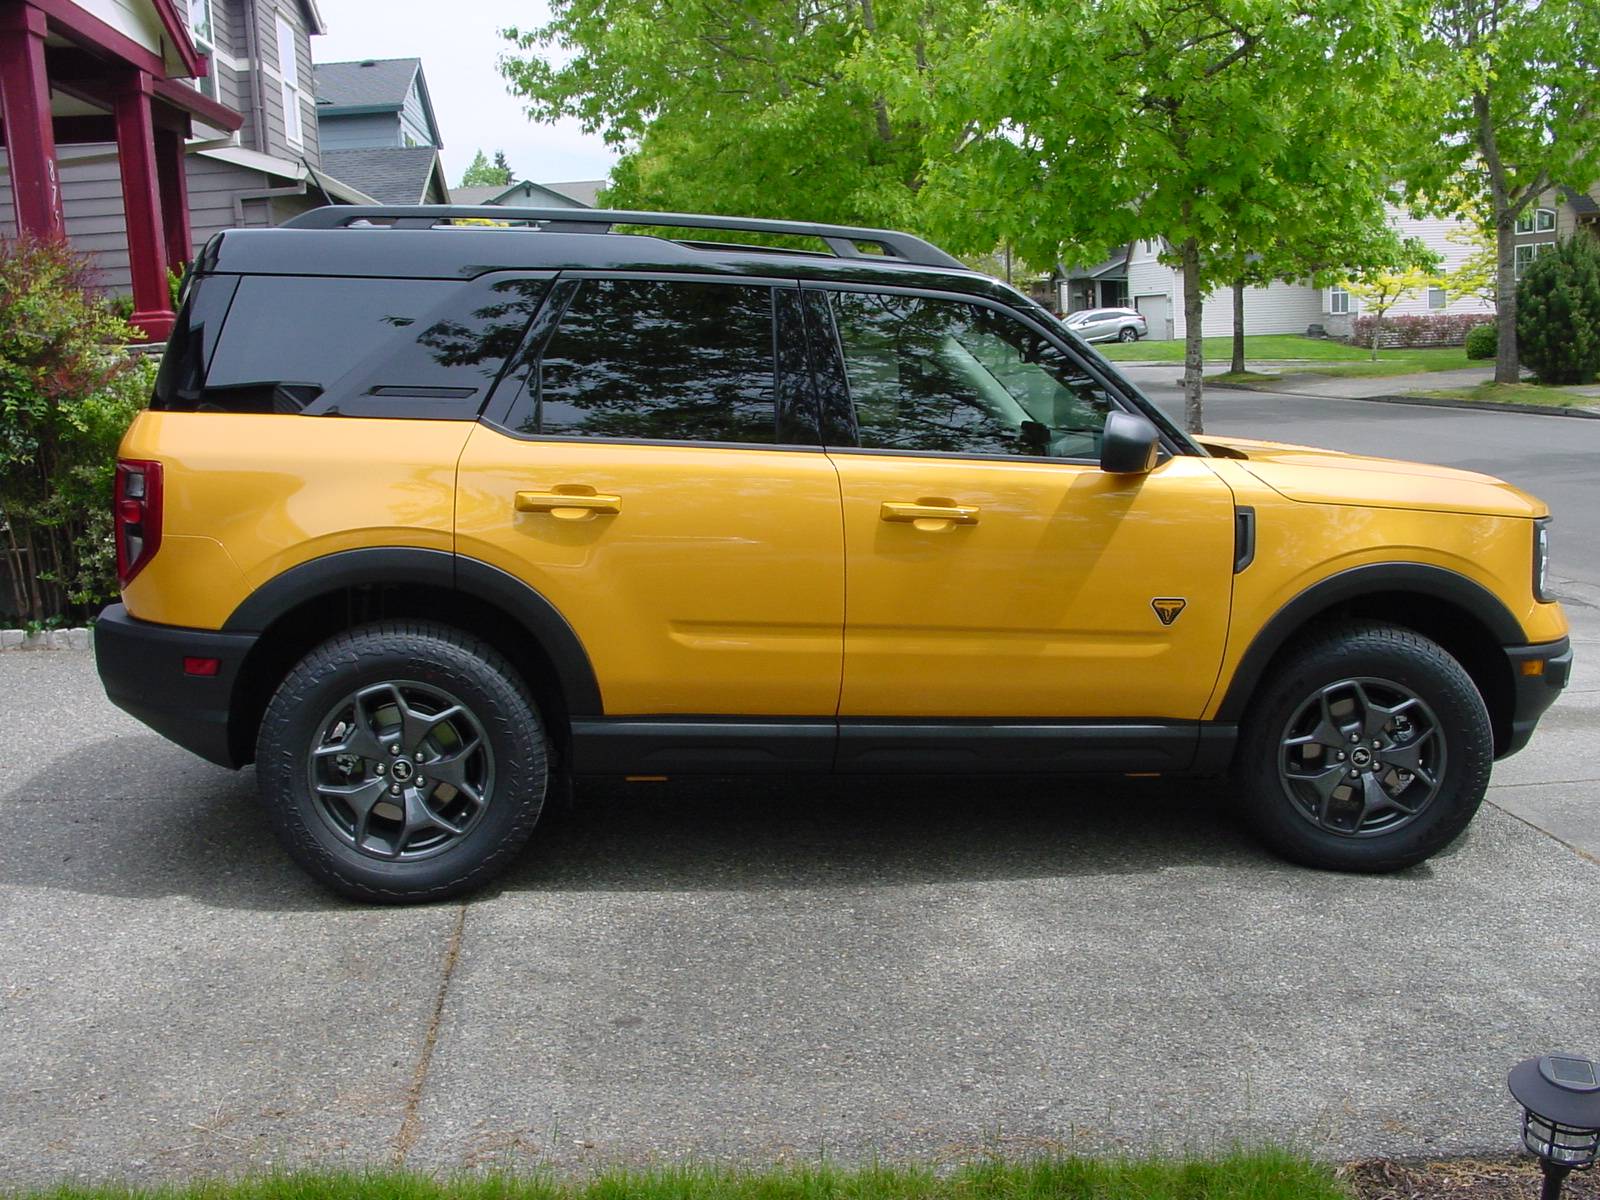
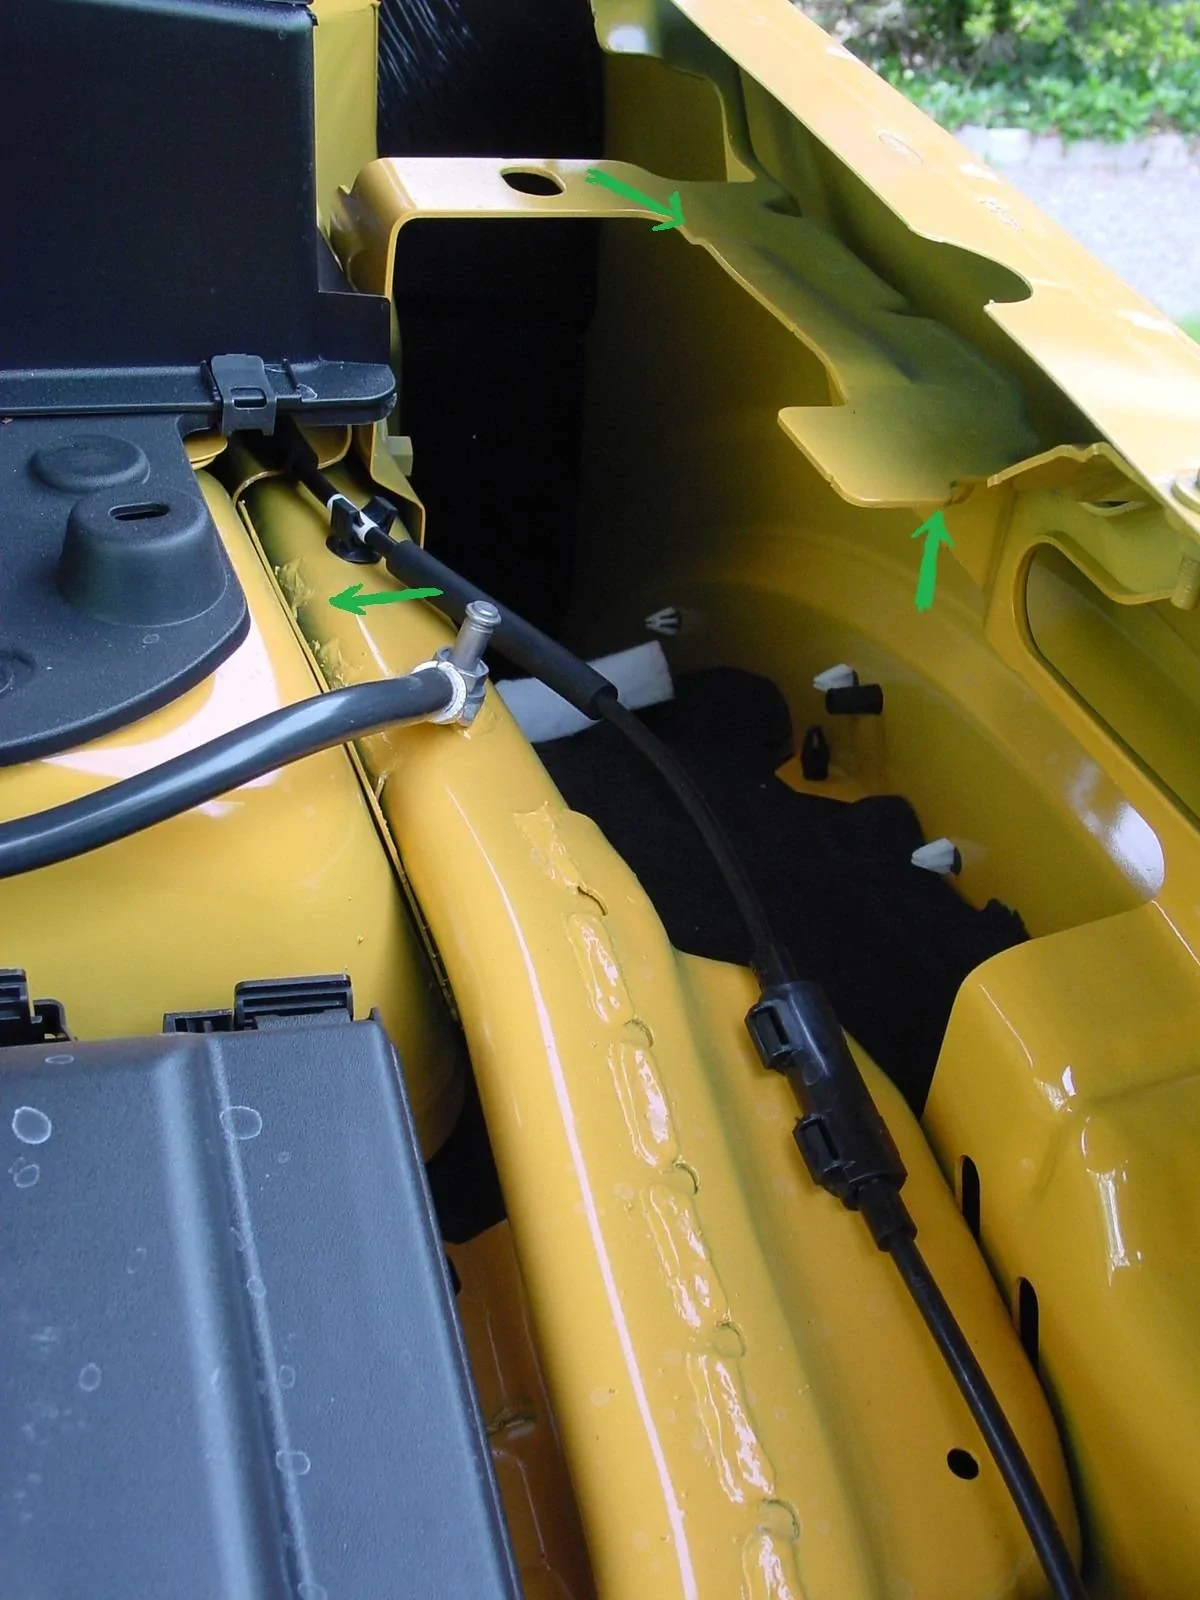
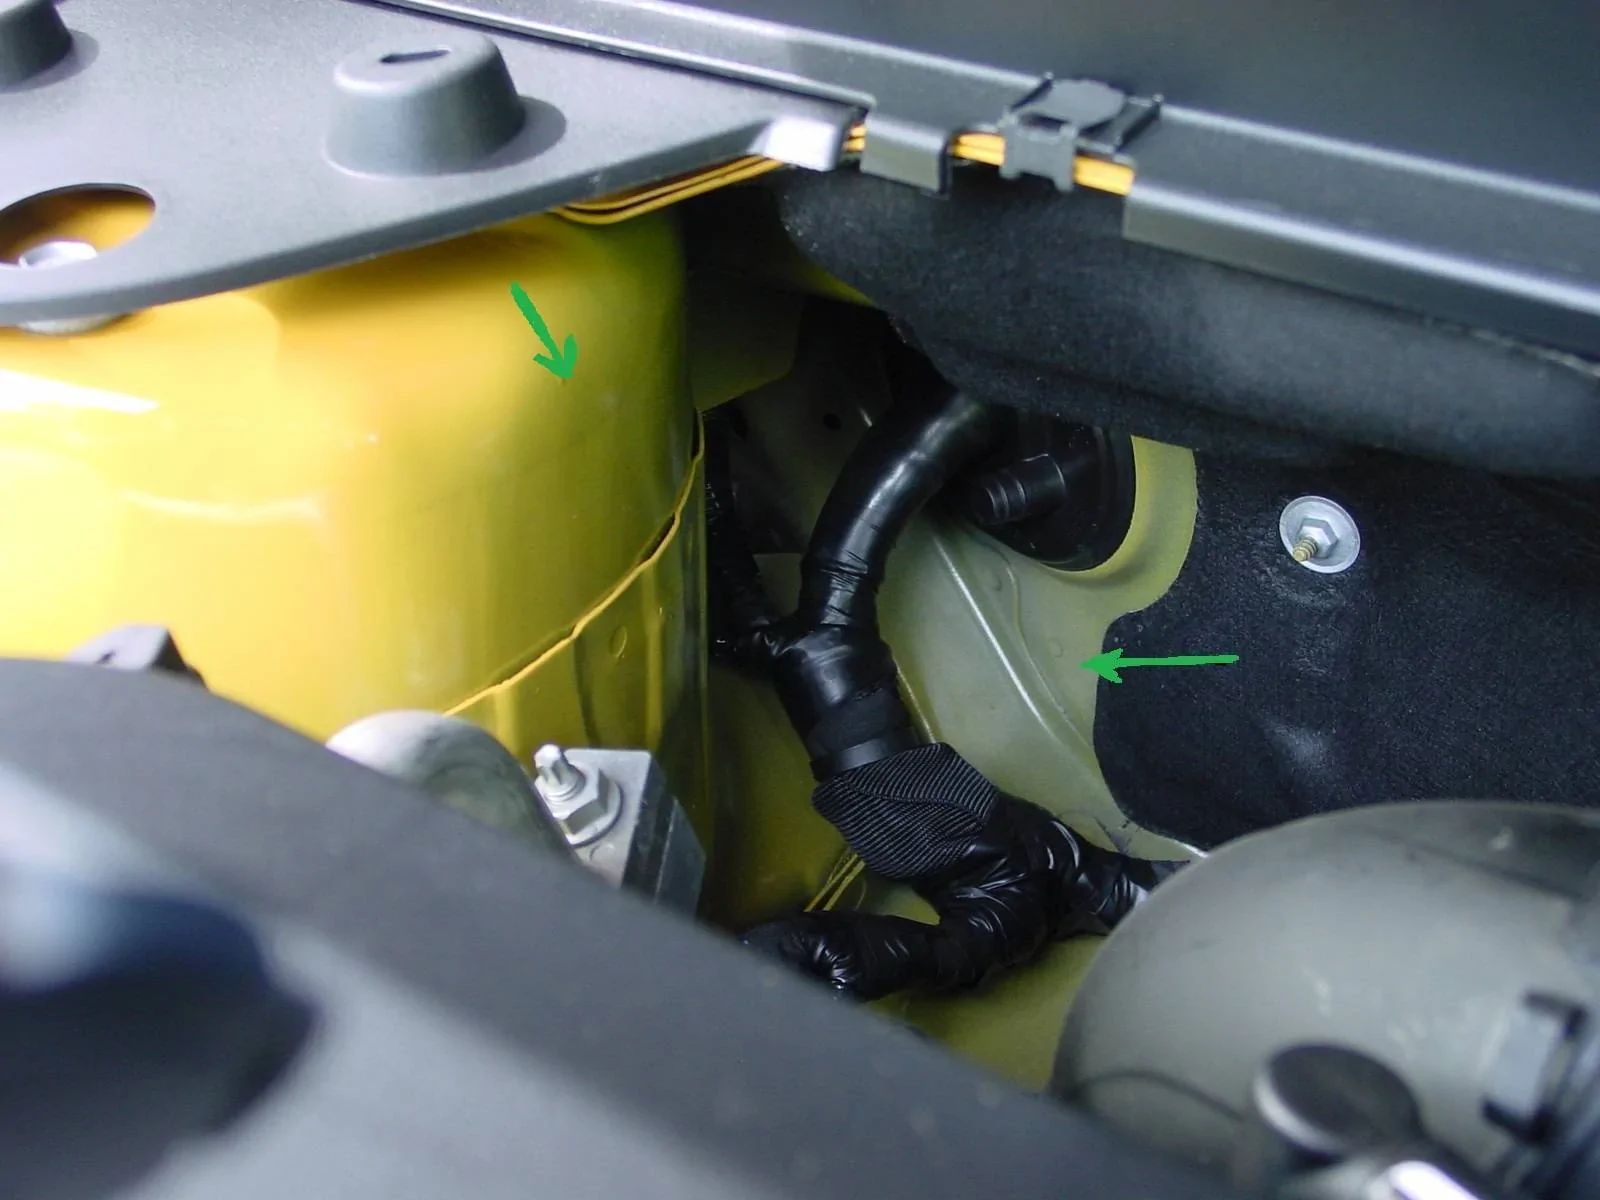
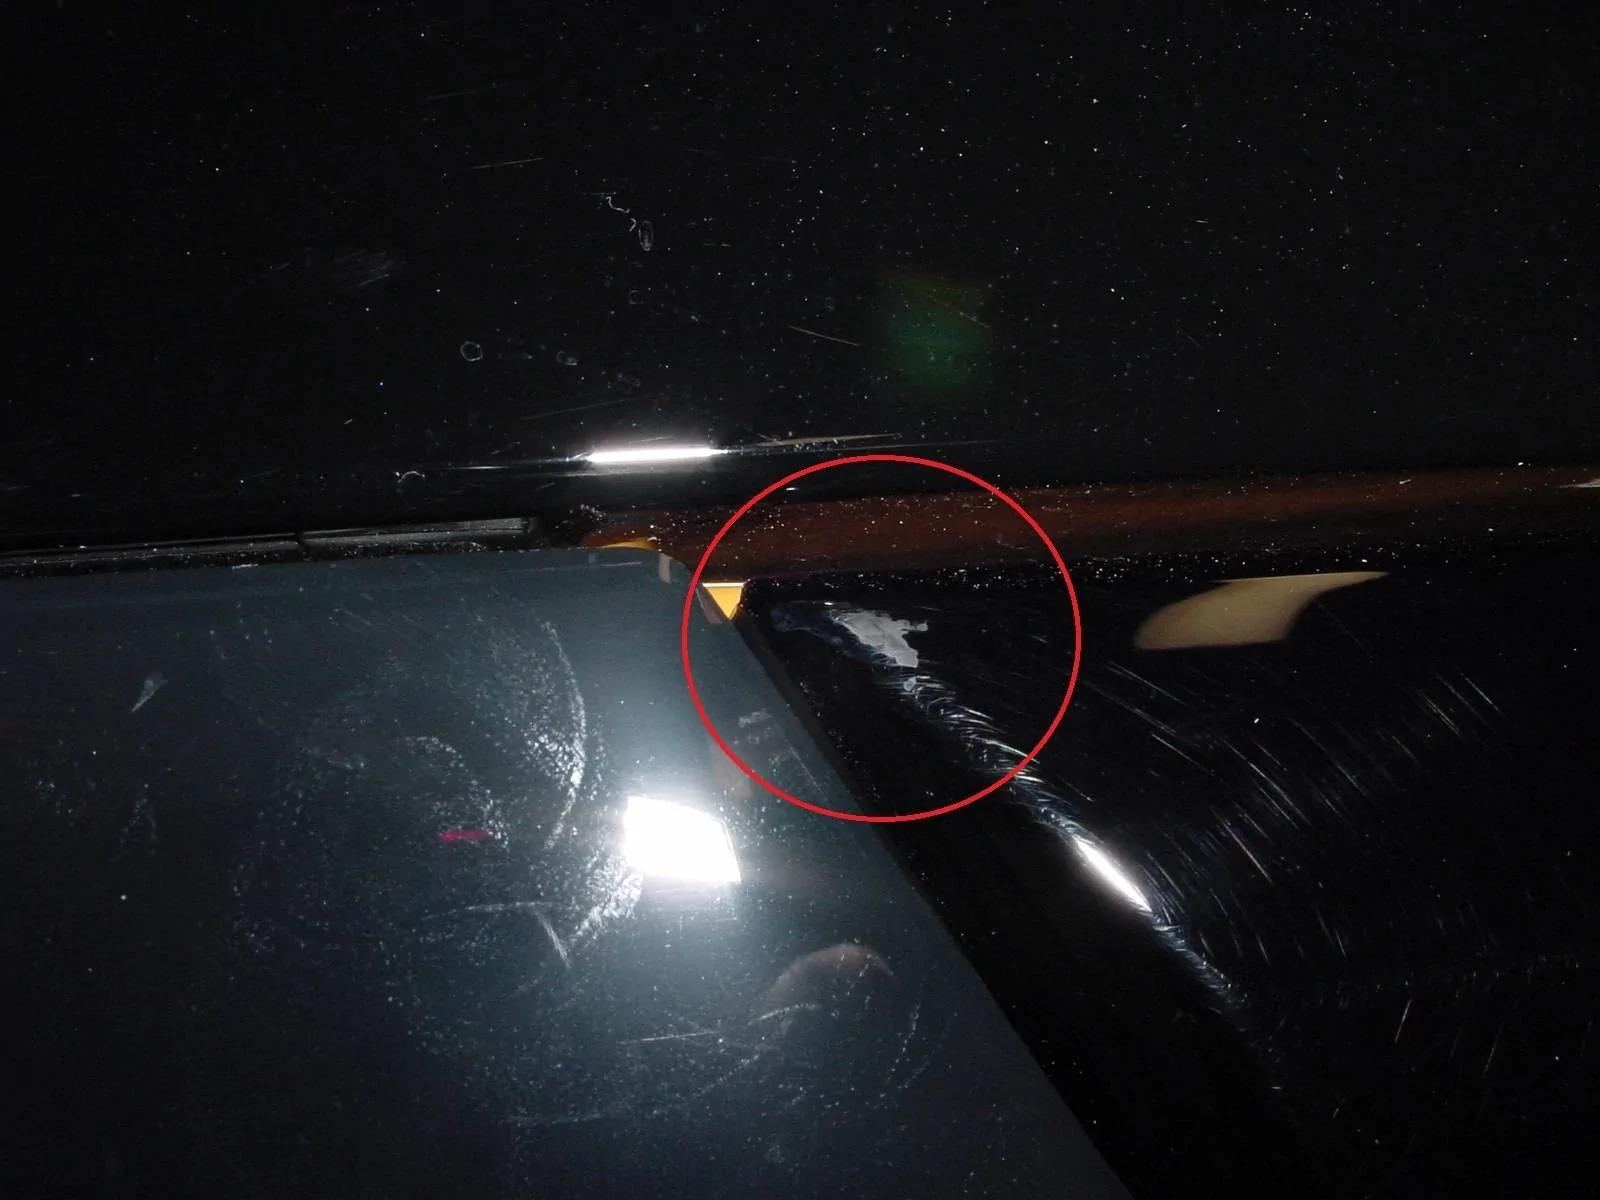
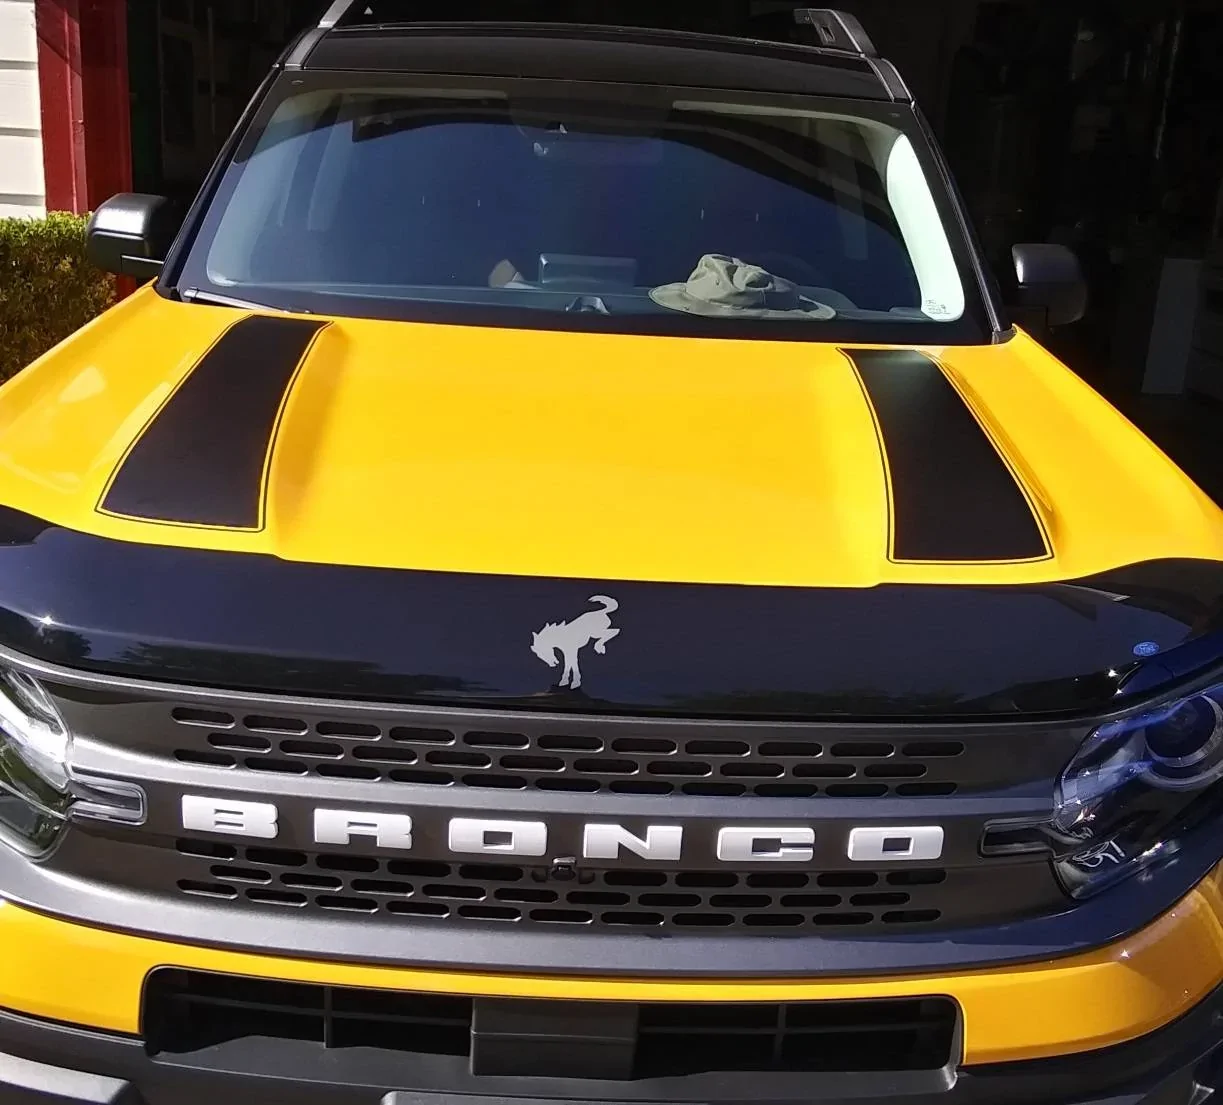
Here is a pic of the car just before I drove it off the lot. This "Cyber Orange" really is close to a Penske Yellow. I wish it had maybe 10-20% more magenta for you Photoshop users. The other thing that really bugs me, especially for a $600 "upcharge" paint, is how much of the body has really, really bad looking overspray and poor coverage. This is especially true on the parts of the door below the water seal and everywhere in the engine compartment. I know both of those are examples of places that will get a lot of dirt and grit over time, and that will hide it a lot. But if I was in charge at Ford, I would be embarrassed to push something like that onto a consumer and also charge them. I wouldn't even care if the strut towers had runs and orange peel. At least they would be color matched. But over the black base a lot of the over spray areas show a weird greenish look. I might post a picture in the future of what I mean.

Ford Bronco Sport Project O'Bronco DSC04869.JPG


I went to a tint shop. My goal wasn't to match the roof, I just really want the UV protection for the suede and for those soft parts an the dash mat. You know the sort of rubbery, foam, carbon fiber looking part? It is also used on the door sills. It reminds me greatly of the vinyl covered foam they put in 1950's Fords. My father had a '56 Crown Victoria and the dash mat was always brittle and crunchy from sun exposure. Sure, this is modern foam, but I bet in 10 years it will be faded and crunchy just the same way. The ceramic style tinting film will stop infrared and UV light intrusion which has the added effect of less heat when you park in a lot. The glass in the back isn't actually "tinted" from the factory. It's actually colored glass- think amber beer bottle. So it doesn't stop the heat rays more than a clear window.

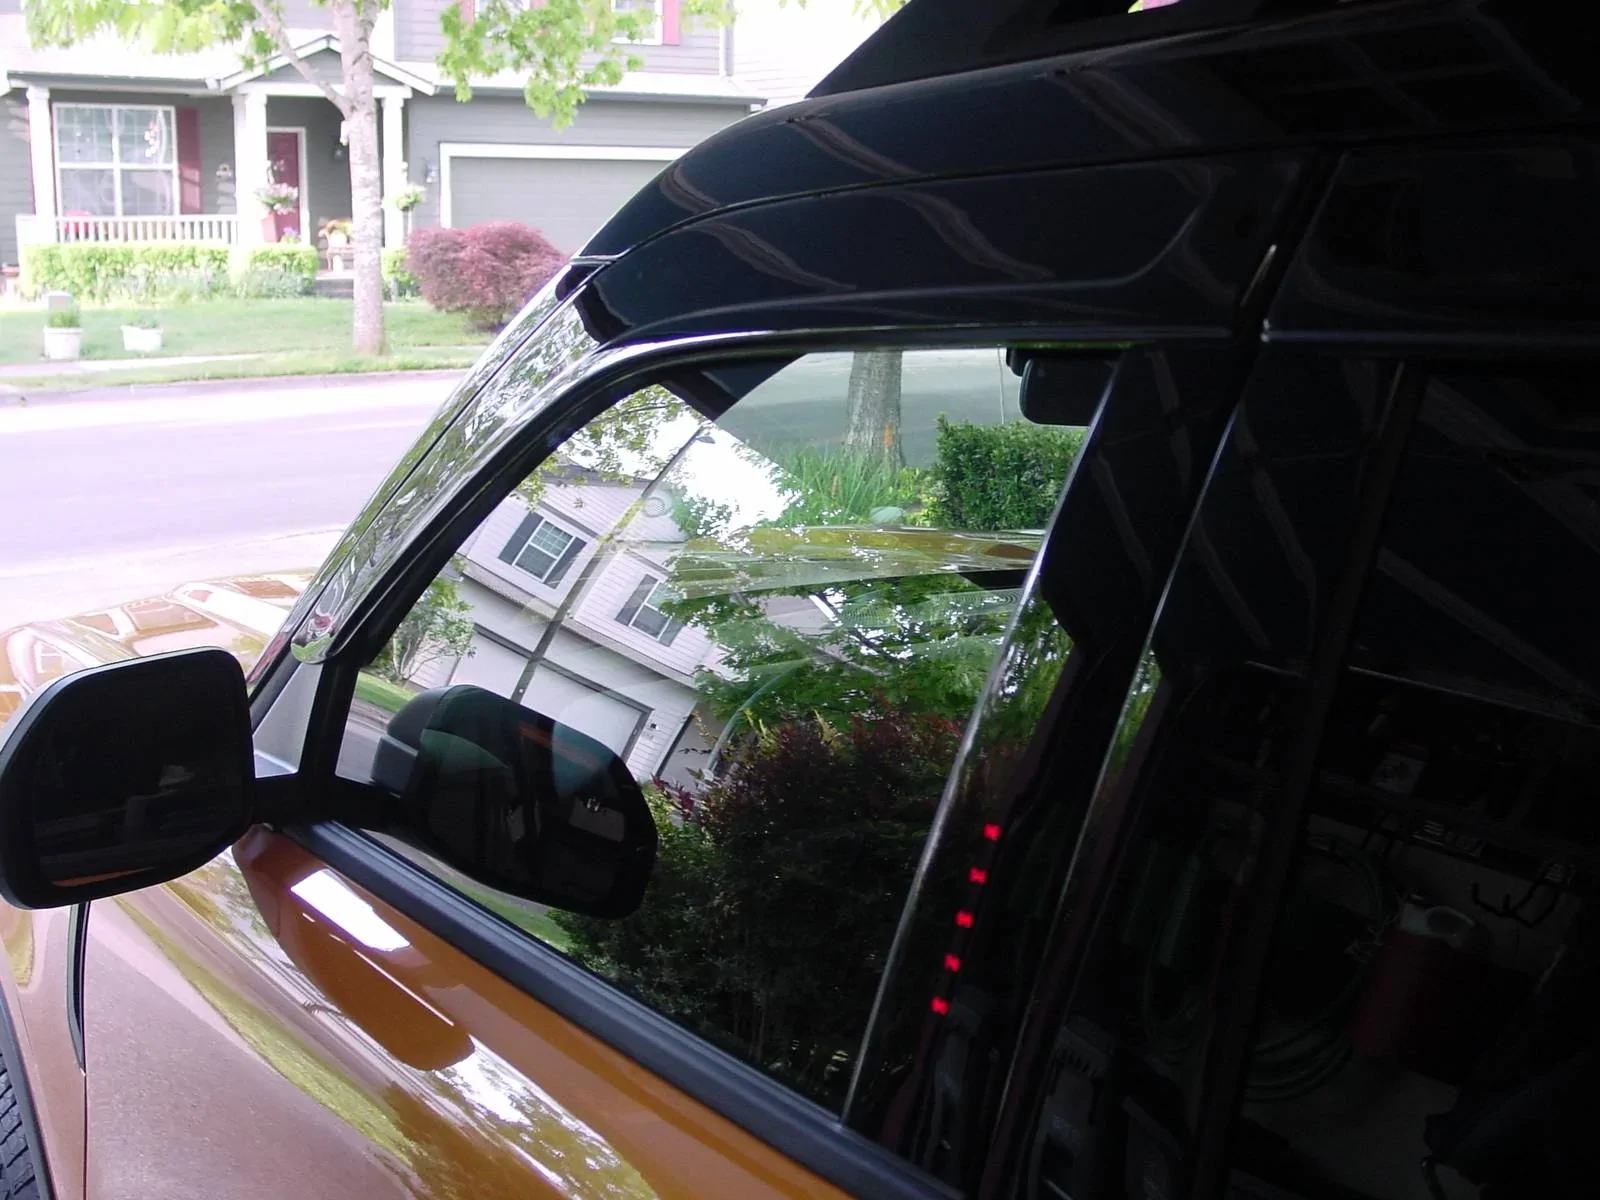
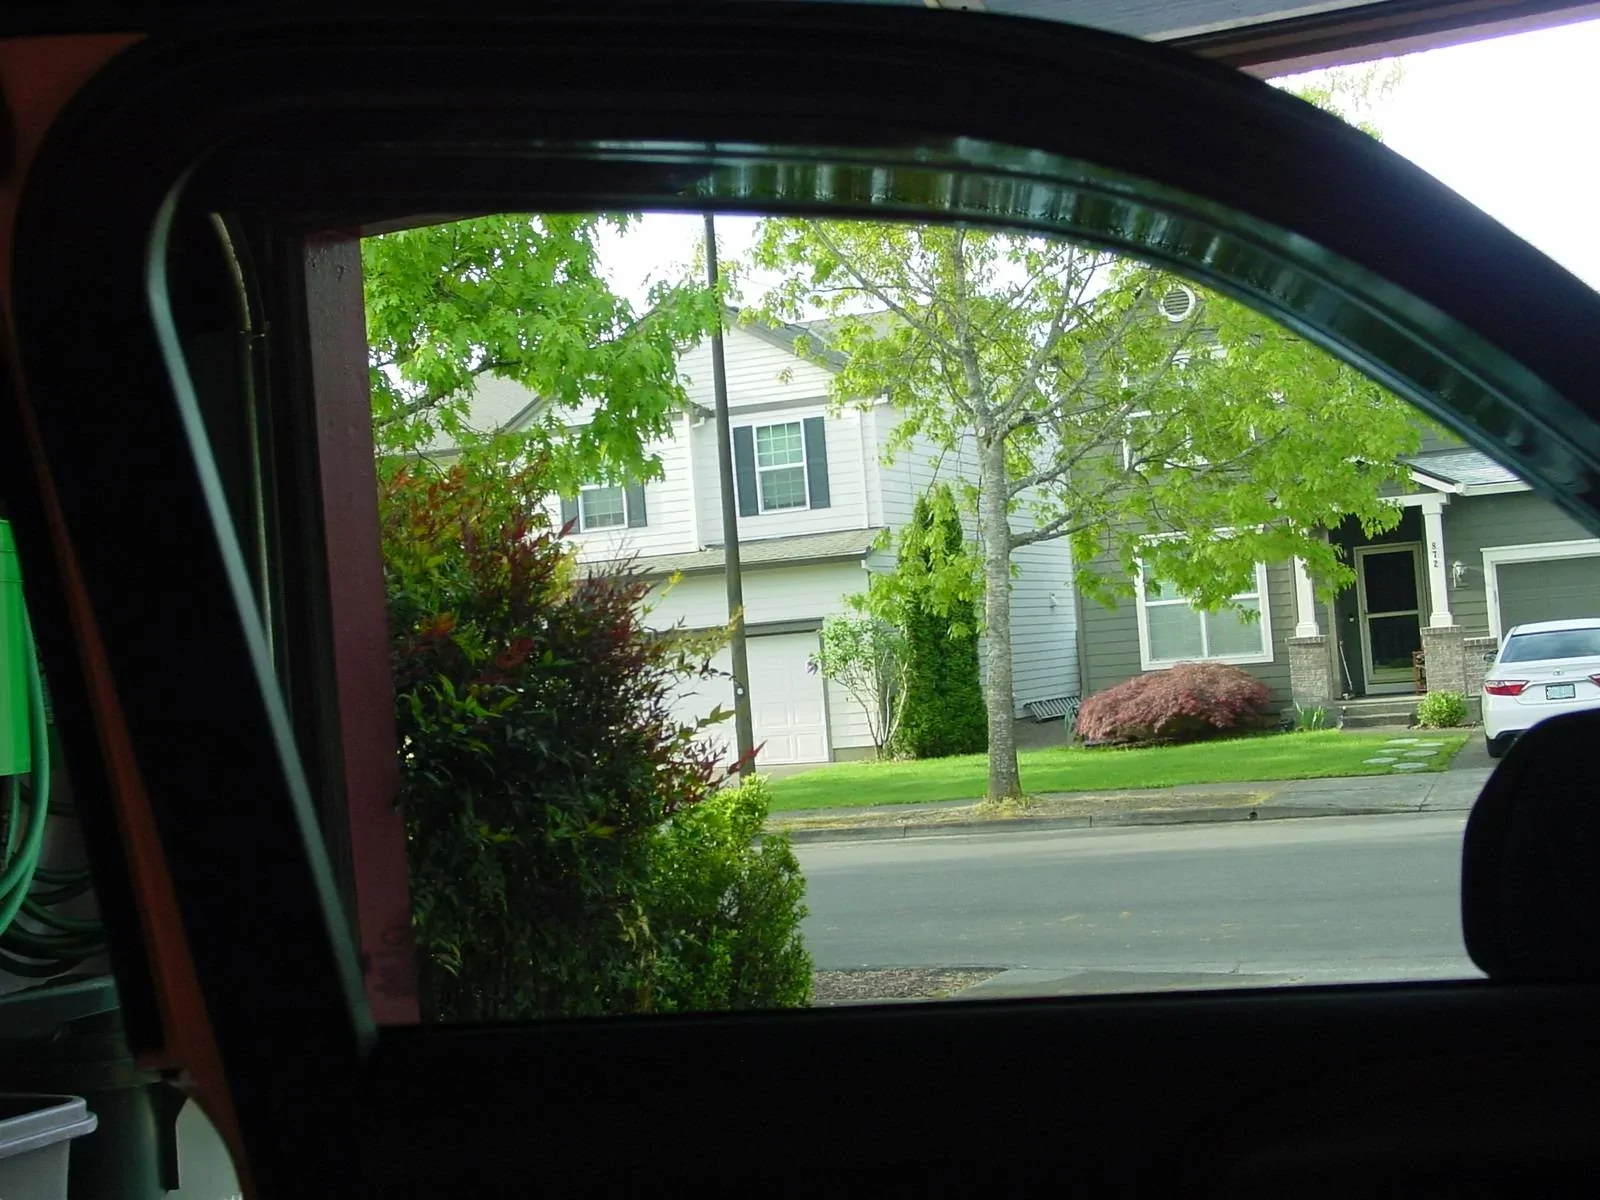
I put 35% all around except the windshield got 90. The number is the opposite of what you think so 90 is basically clear and 35 is as dark as my government lets me put on a car window. I don't mind the staggered look on the tint, I prefer it in some aspects, so the rear glass will get darker than stock. Here is the applied tint from the same side as the lot photo. You can see the difference on the A pillar and looking through the back windows.

Ford Bronco Sport Project O'Bronco DSC04871.JPG
Ford Bronco Sport Project O'Bronco DSC04872.JPG


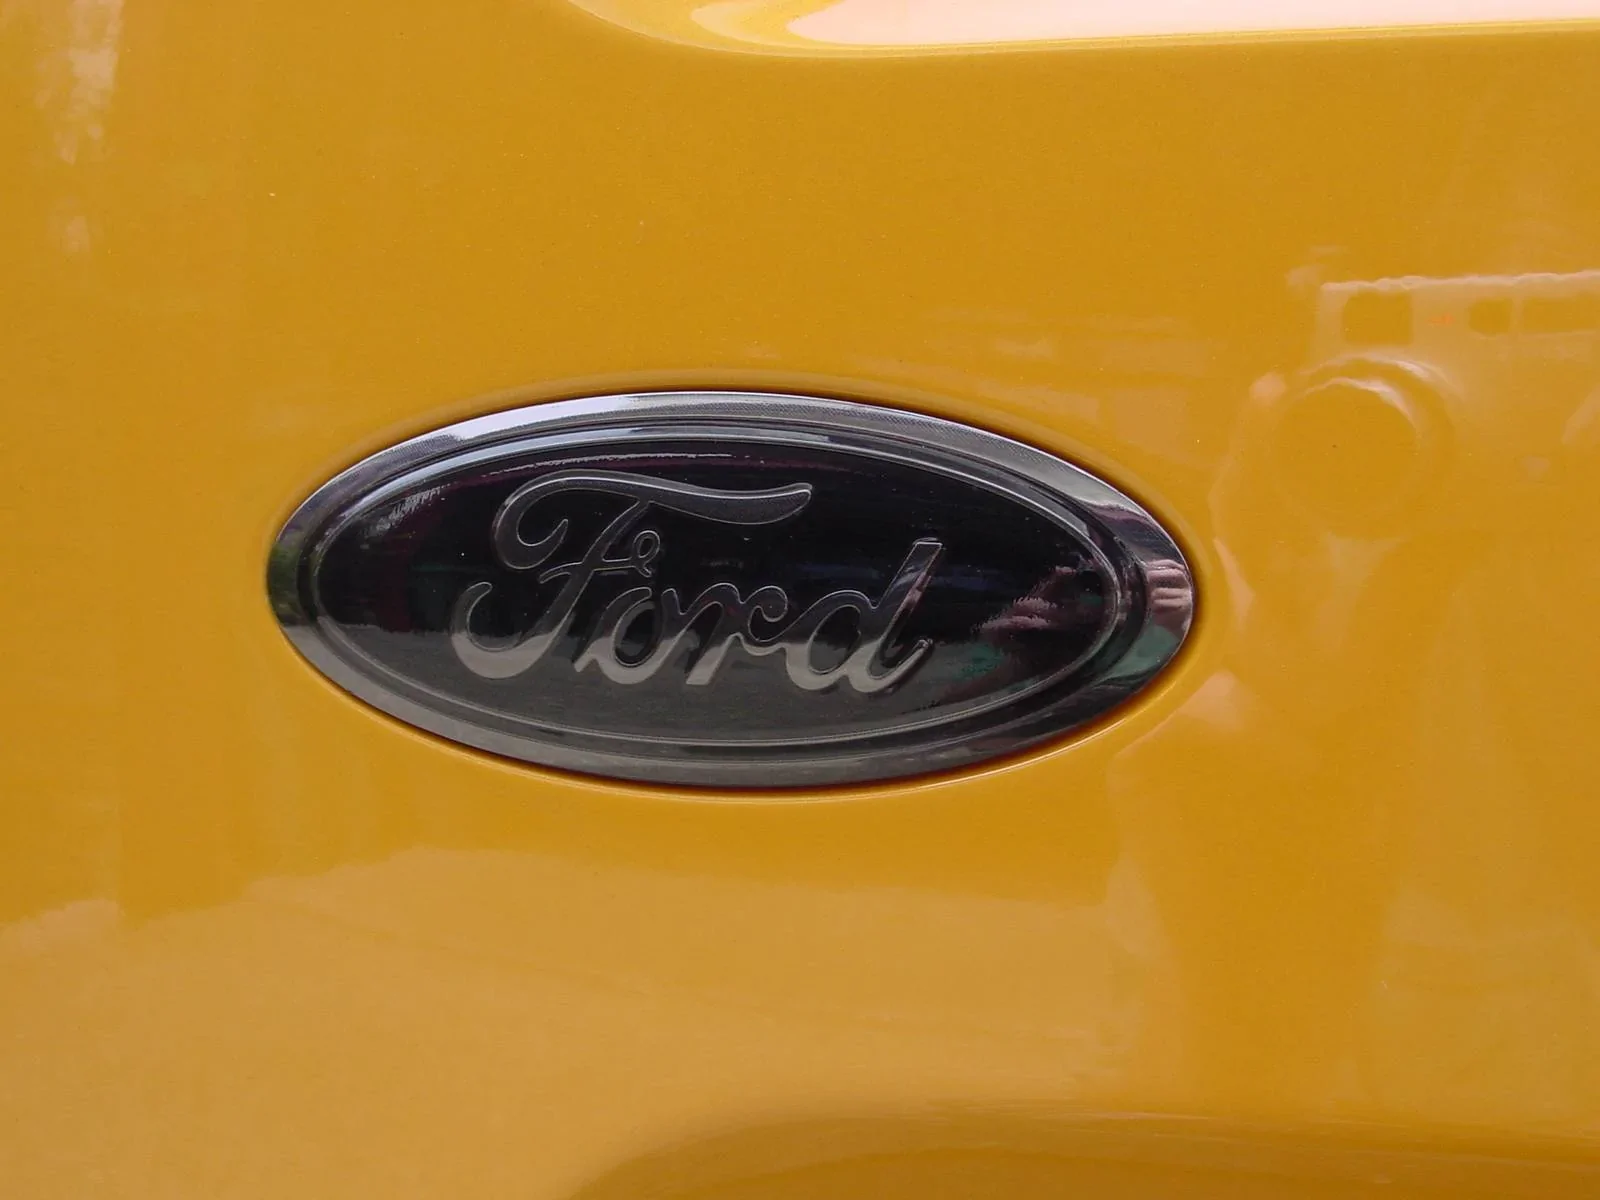
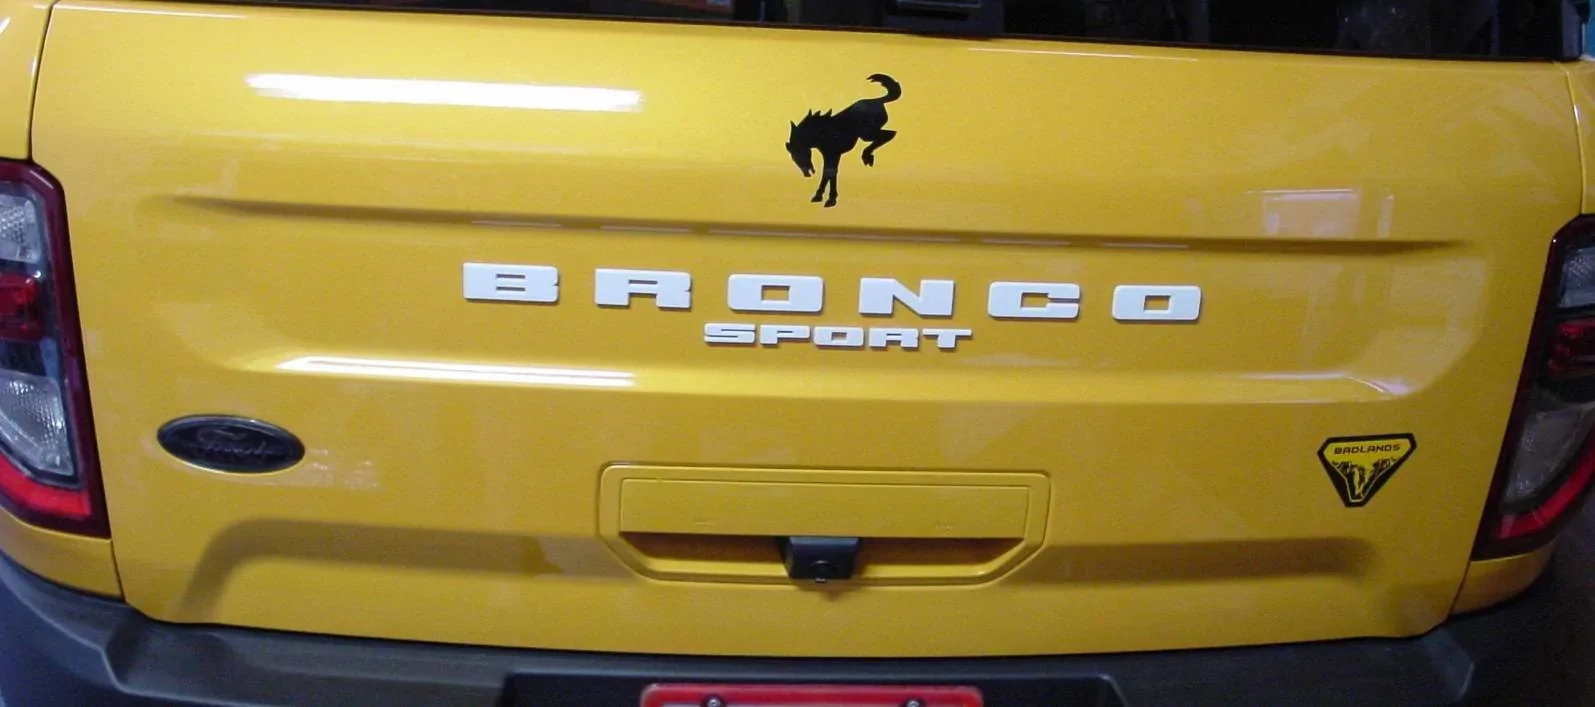
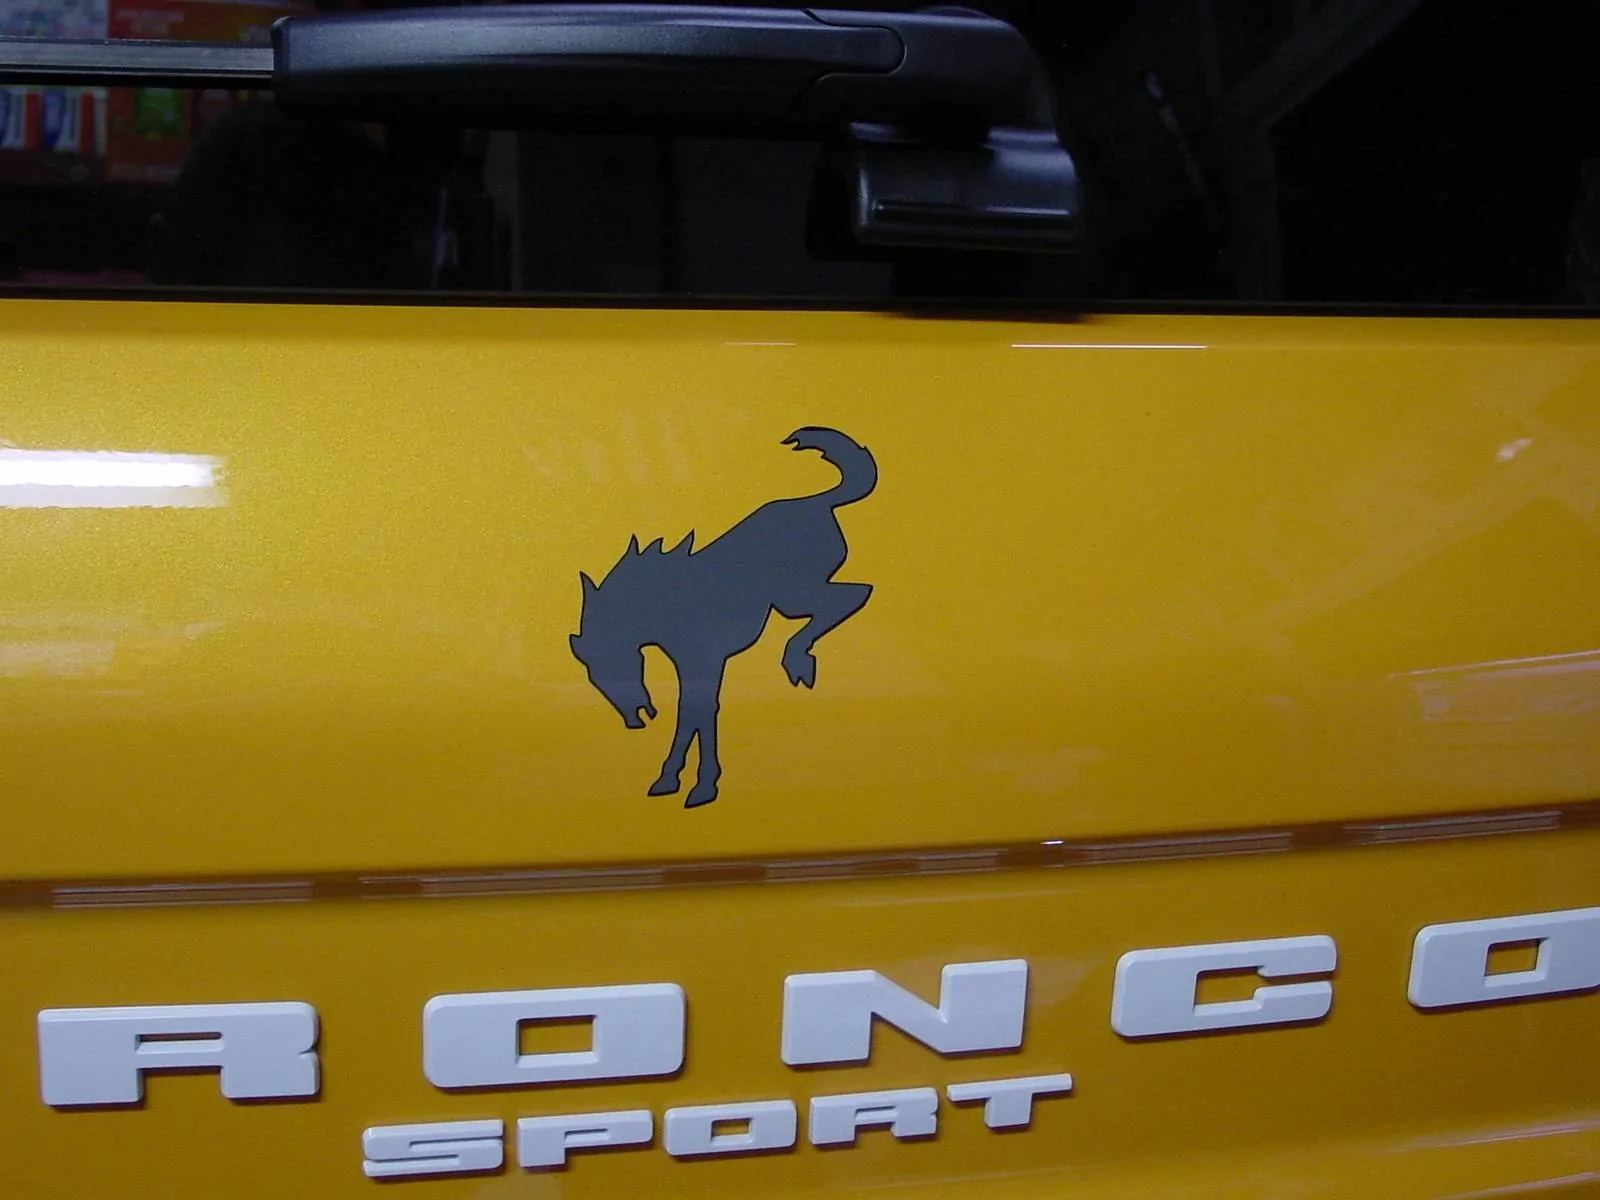
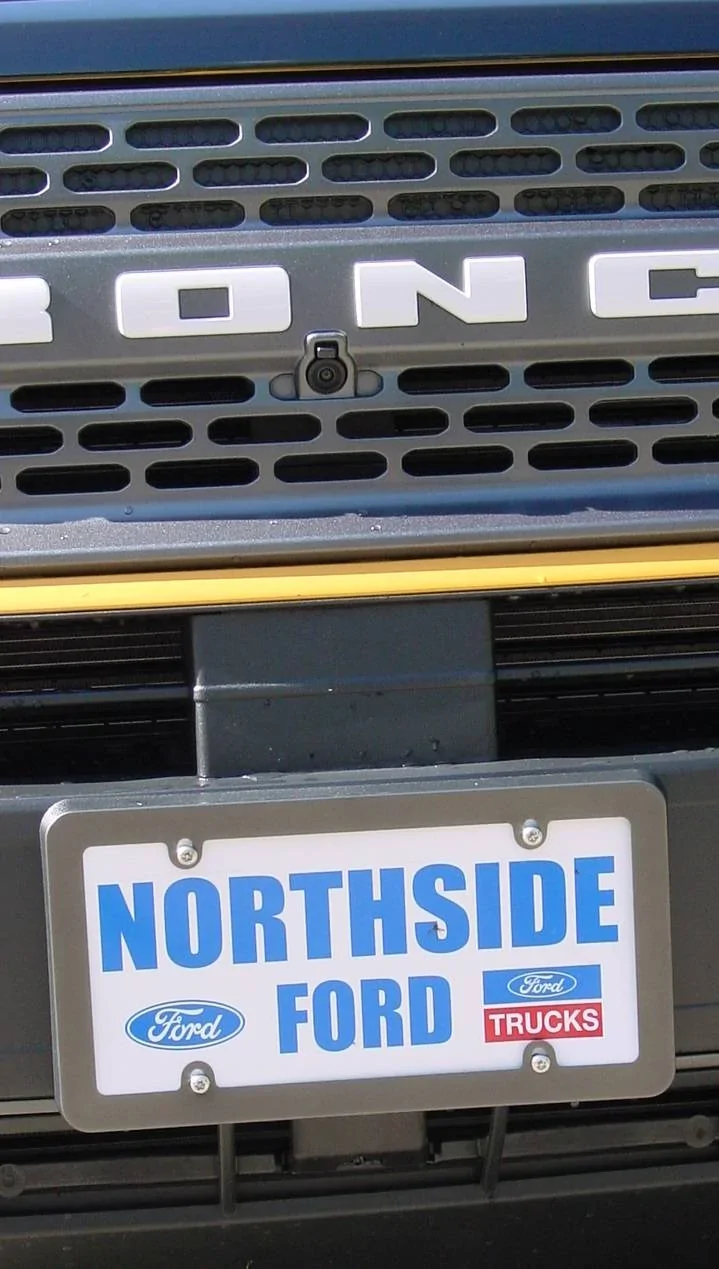
The shop guys were really into the new design so we were just talking and one thing I mentioned was that the Ford Blue Oval on the back was the only not-sticker on the car. I wanted to swap it out for a Bronco horse or a Badlands badge sticker, but they decided to make this the one recessed badge on the car (c'mon, Ford!). So I am kind of "stuck" (no pun intended) with a badge here. The guy at the shop had an idea to use a different film. This isn't a window tint, this is a product they use to darken taillights and lamps. This also comes in different shades, this is on the lighter side of what you can choose. It just sticks on so it's easy to take off for about 2-3 years and then it would be a pain to remove. I like that the Ford and the oval still come through as a black metallic look. If you look close and hard, the blue part isn't pure black looking because the blue is still under there but it looks monotone from 5 feet. Also a hard mod to pass up for $0 because the shop guys wanted to see what it would look like too.

Ford Bronco Sport Project O'Bronco DSC04873.JPG


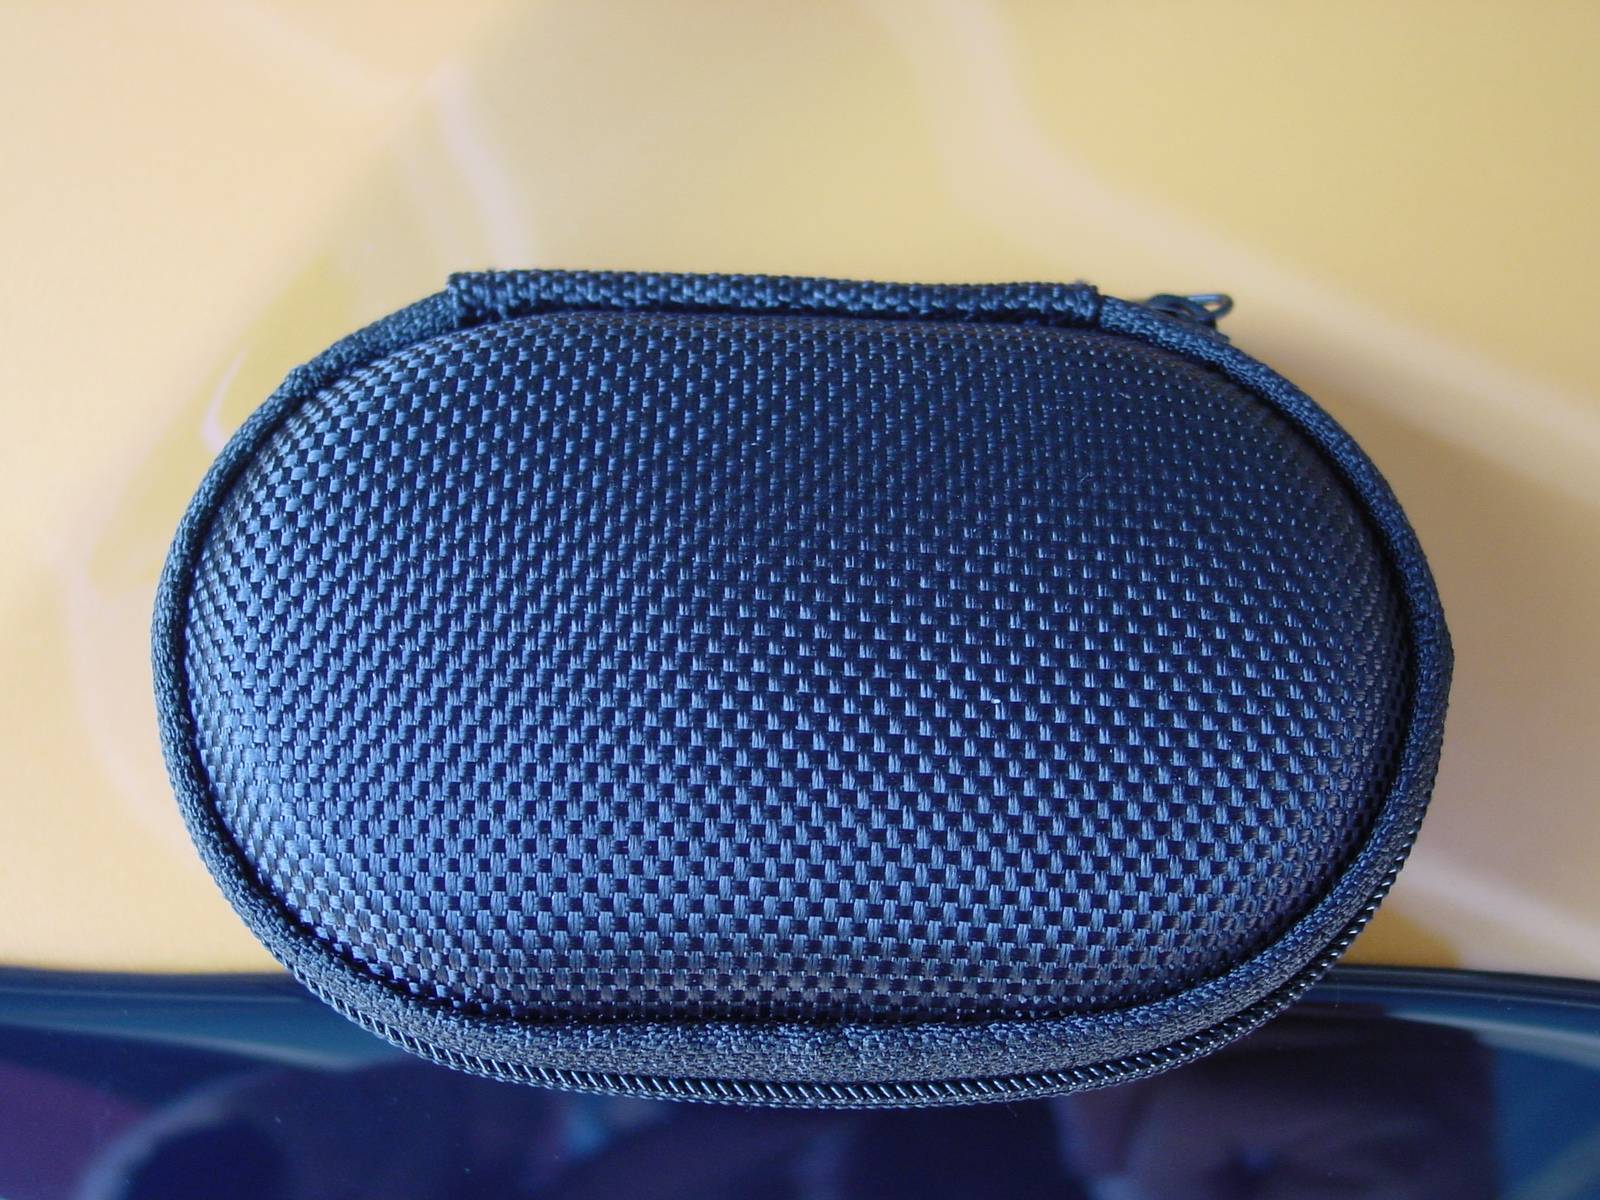
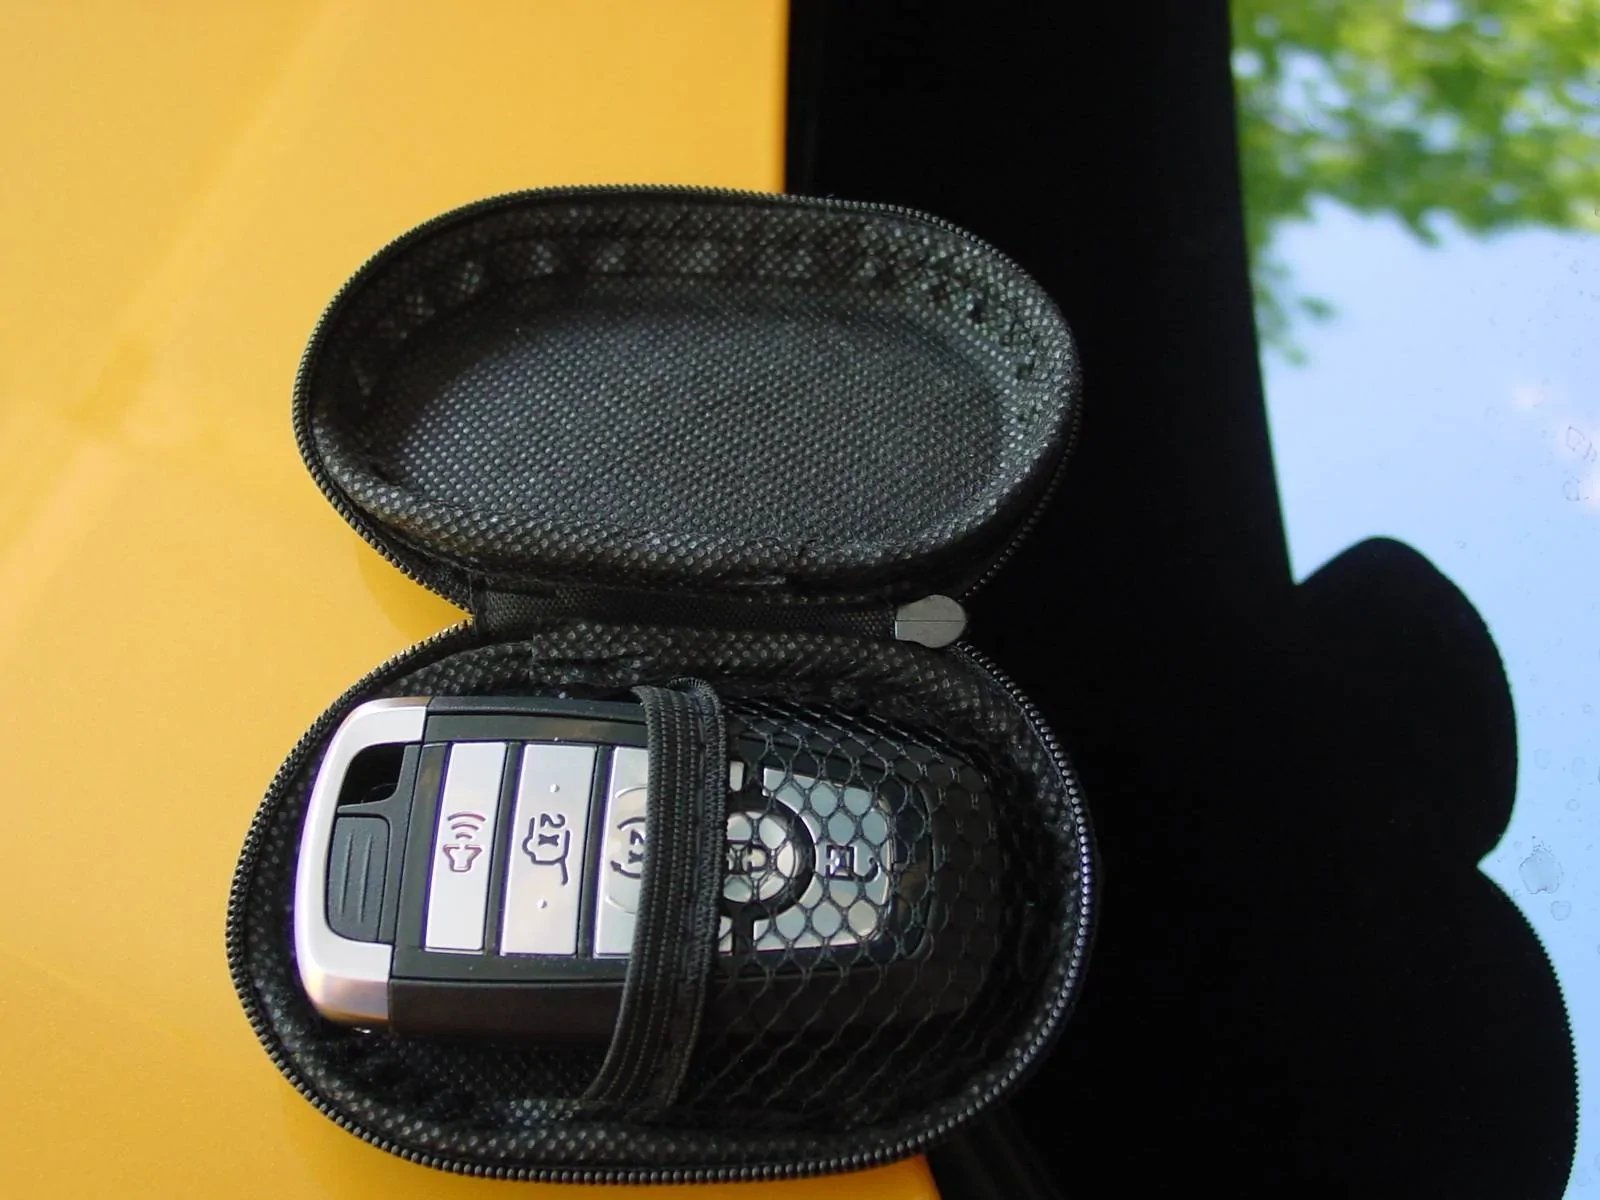
Next up, I have a garage full of official Ford accessories which I'm adding as time allows. The dealership was real "helpful" with getting me to spend my hardly-earned $500 accessory cash. They had already ordered in about $3,000 in stuff to put onto the vehicle. I didn't "have" to buy it all, but they really wanted me to, so I got special discount pricing on some of it. In total we filled the cargo space with:
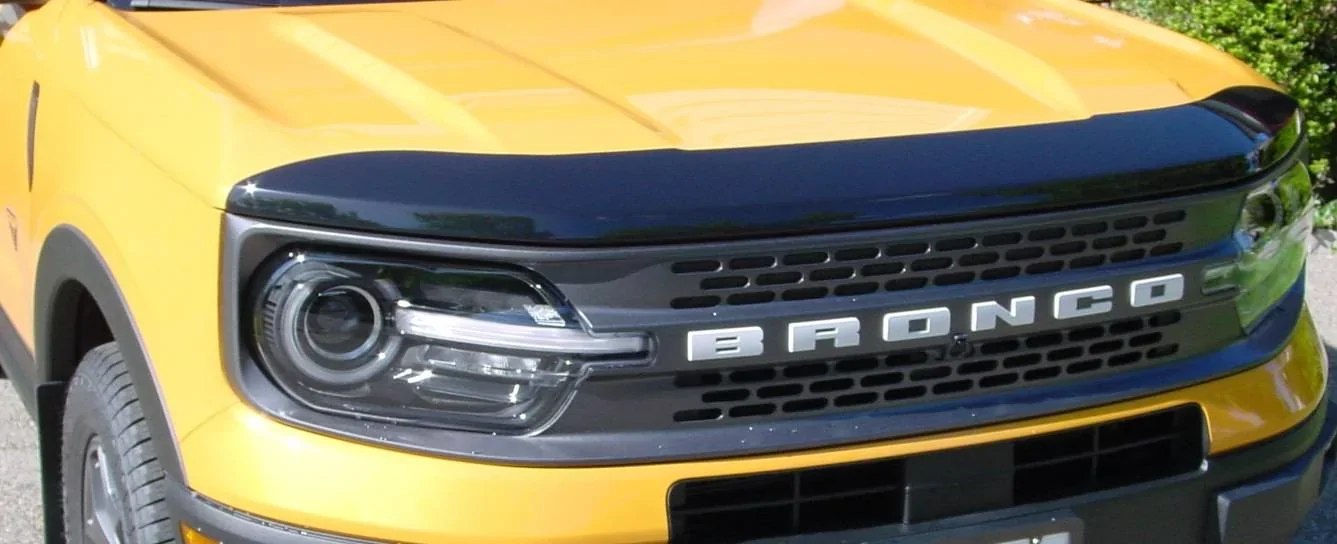
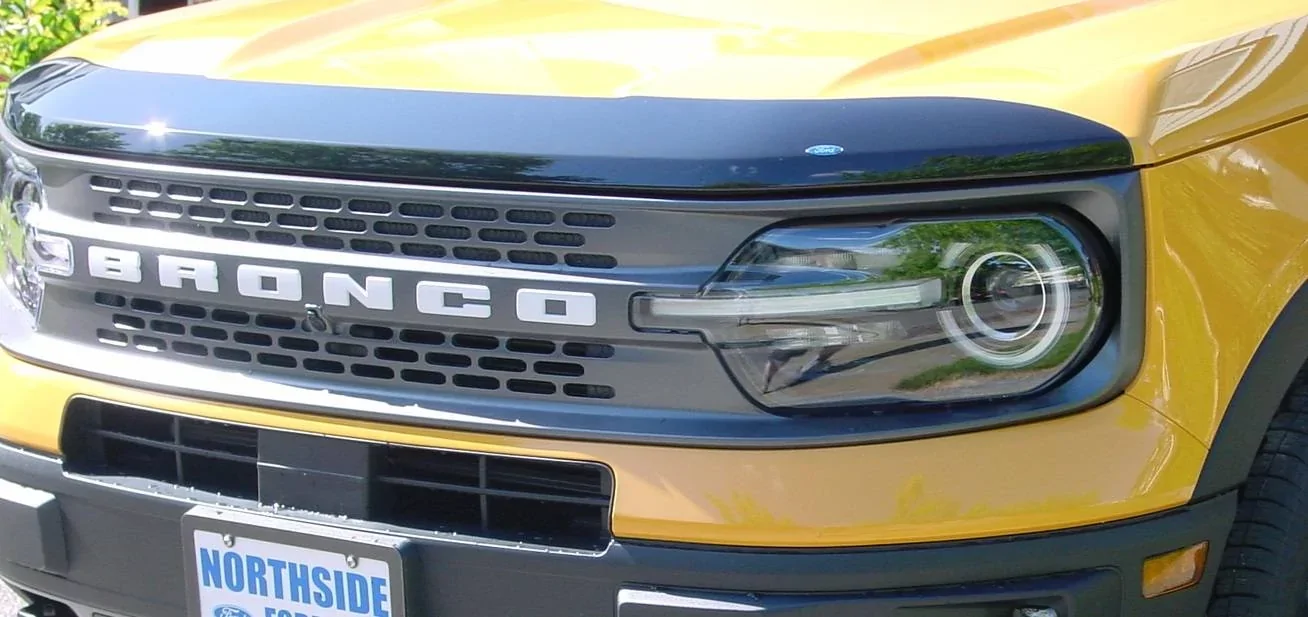
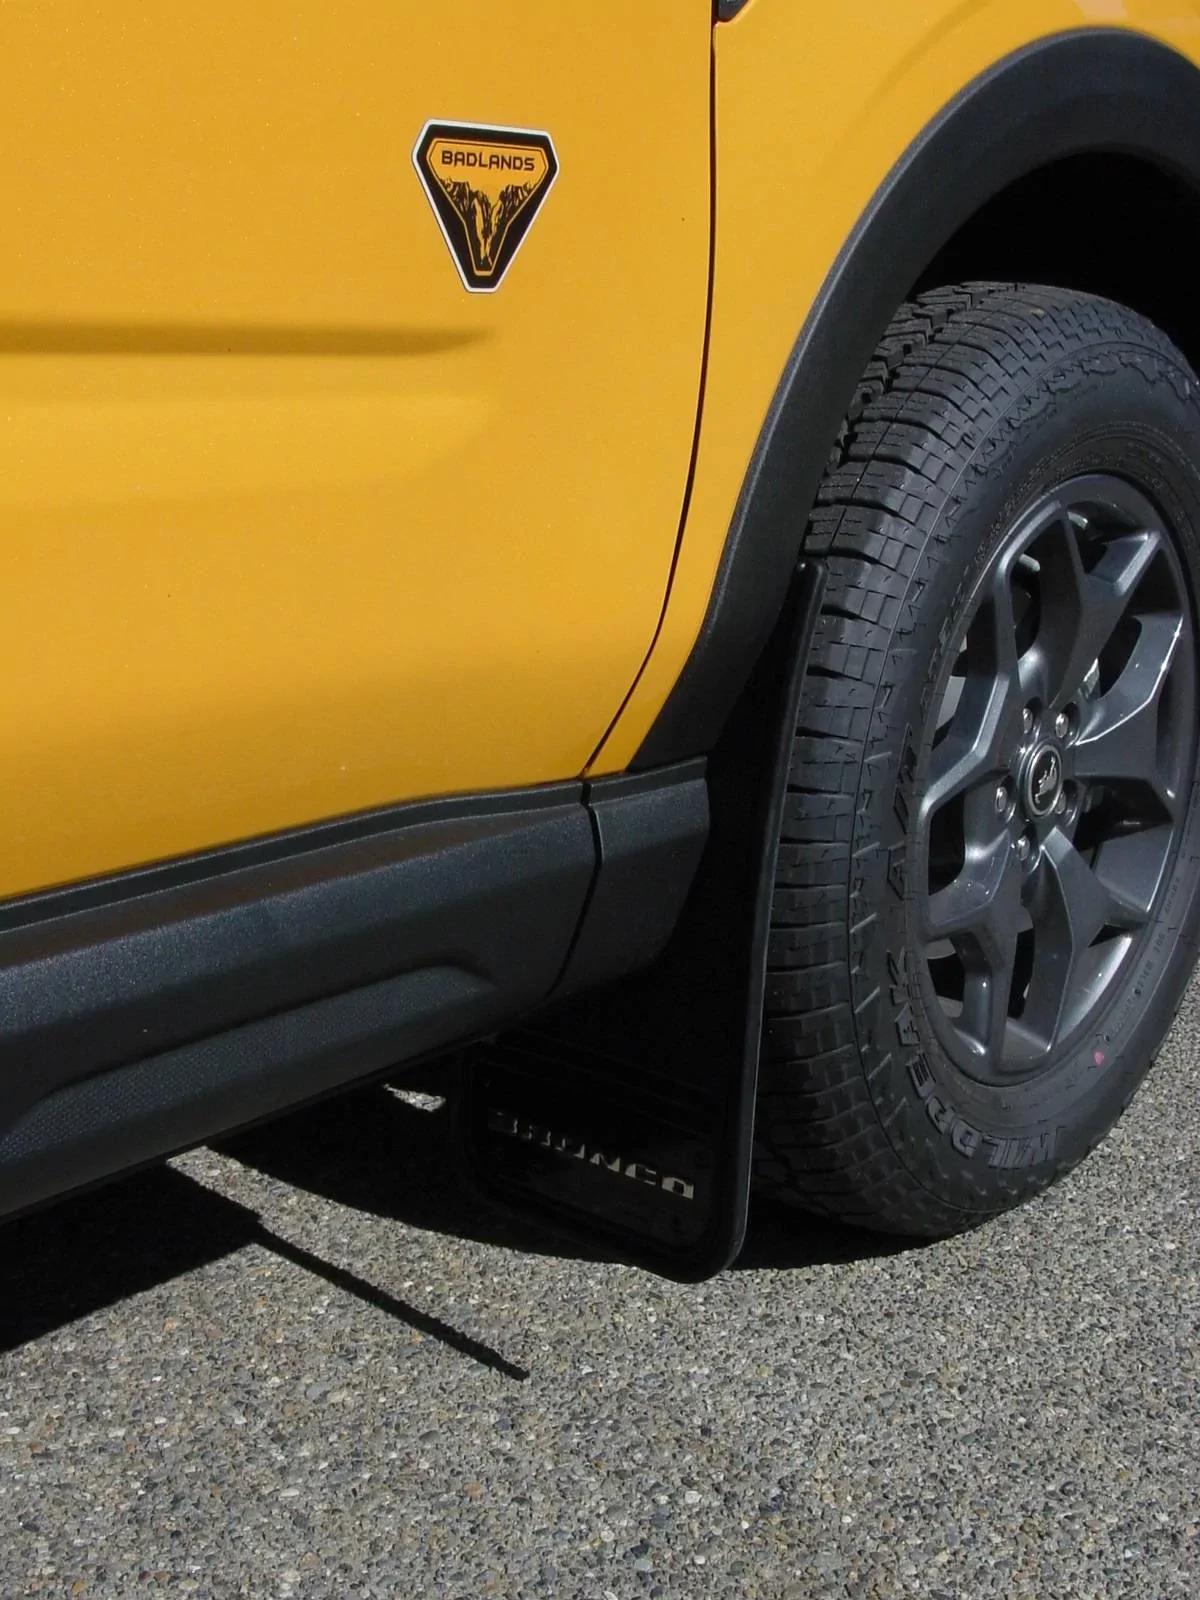
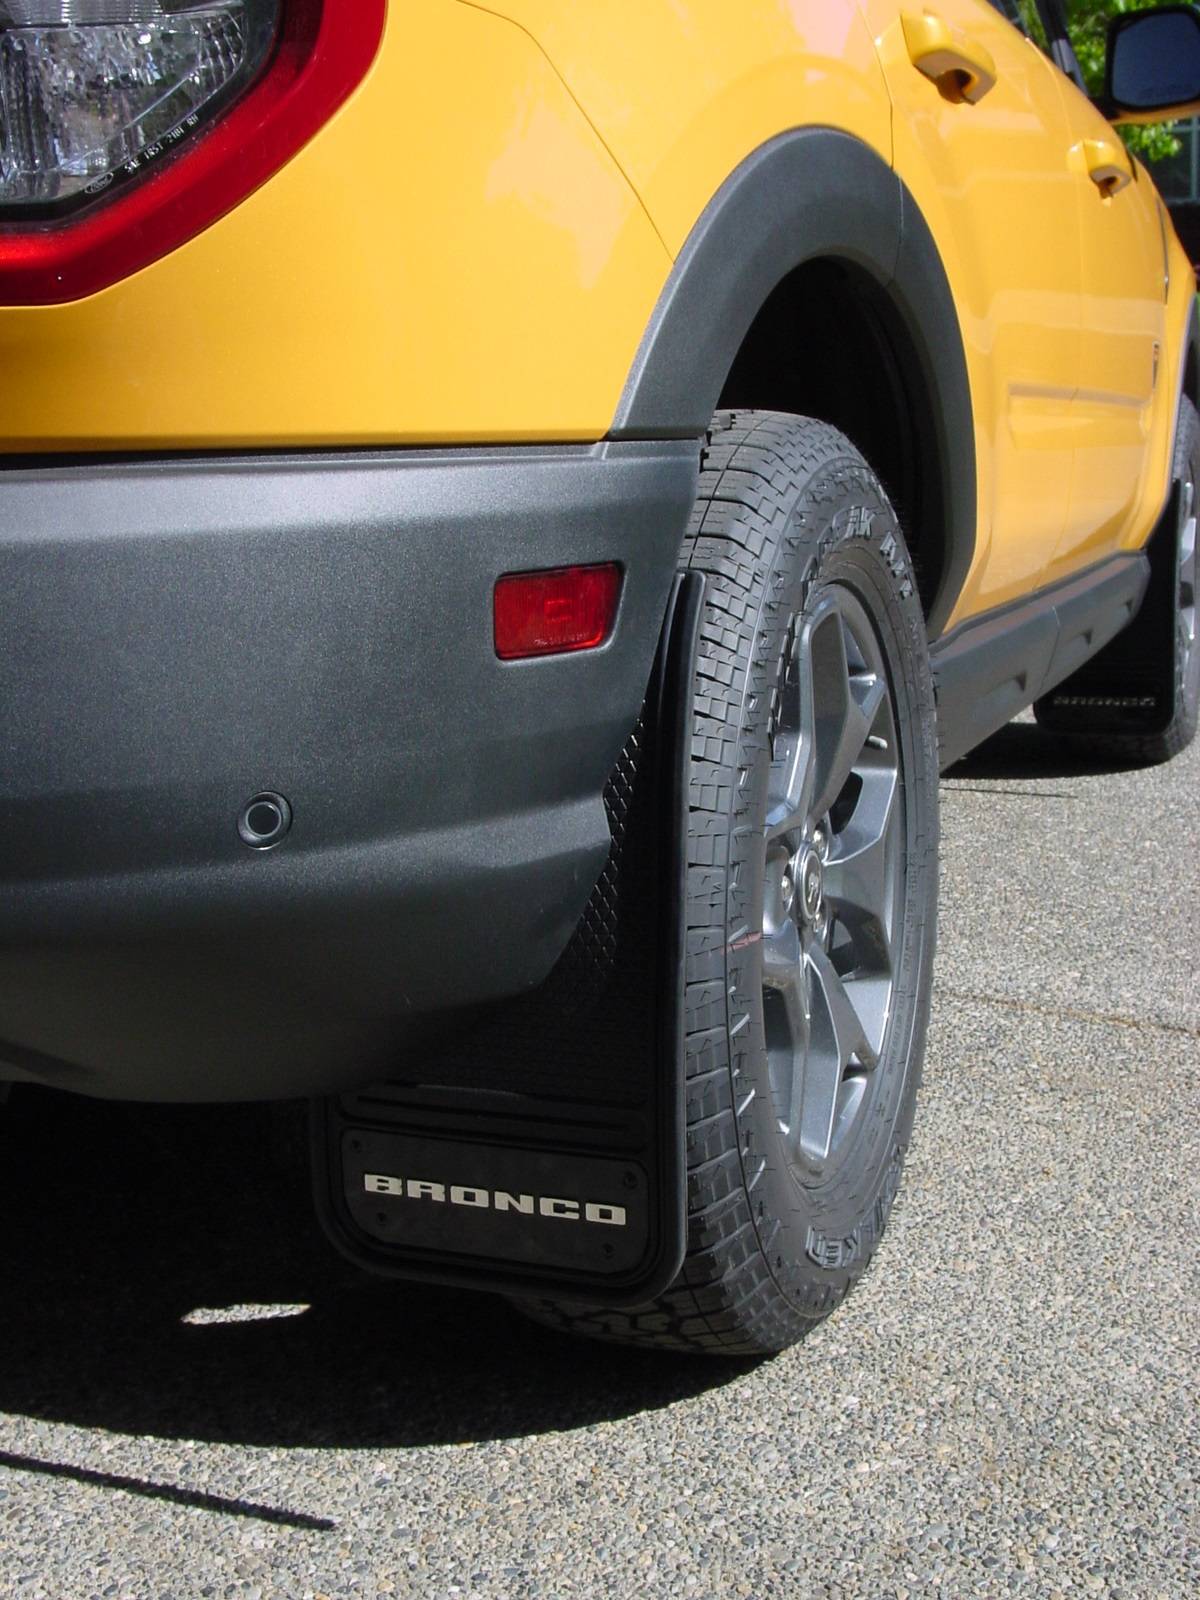
The rubber rear cargo mat, side window deflectors (smoke), the aero hood protector (smoke) which sadly doesn't currently come in Carbonized Grey to match a Badlands grill, a cargo kit with several Bronco branded pieces, a hitch receiver cap, and front and rear Bronco-branded Gatorback mud flaps. Note the roof crossbars (seen in first pic) came from the factory with the car as an option. I took them off for now and I will probably just save them until I want to roof-load something. I'll definitely add everything except the flaps, because they can just peel back off. The flaps really look professional and nice but are a big install that involves drilling a bit. They're also very large so I just want to be sure they'll look OK and not too horsey on a car this size. I might just get a rigid plastic set that is smaller. The car should have something with the wheels right at the back like they are. The Falken tires do stick out a bit so I think it will throw a lot of spray onto the doors too.

So to anyone shopping, as I write this, there are actually three ways to get some money from Ford when you buy a Bronco Sport.
1) Finance with FMC and if you take the 3-4 year financing you get $500 rebate towards downpayment.
2) You get $500 to spend on accessories. This can be anything from first aid kits to roof racks to tire shiner.
3) Within 30 days of purchase you get 42,000 MyFord points to spend. I think that translates into $200 for parts, service or whatever. Just don't leave a dollar on the table if you don't have to...
Sponsored


fourthgear

Outer Banks
Well-Known Member
First Name
Michael
Joined
Jan 31, 2021
Threads
8
Messages
528
Reaction score
594
Location
florida
Vehicle(s)
2021 Ford Bronco Sport ,MB Sprinter 4x4
I have no over spray at all , I have a OB in Area 51 color . When was yours built , maybe they were in. a hurry to pump them out that day. You don't sound pleased with your purchase .
 
OP
OP
Glamdring70

Glamdring70

Badlands
Well-Known Member
First Name
Tim
Joined
Mar 26, 2021
Threads
18
Messages
1,223
Reaction score
1,910
Location
Oregon
Vehicle(s)
'21 BL+BL
I have no over spray at all , I have a OB in Area 51 color . When was yours built , maybe they were in. a hurry to pump them out that day. You don't sound pleased with your purchase .
Well, I'm not a paint expert, but I'd wager that the A51 is totally different from the tri-stage orange and it gets painted differently somehow. Or maybe it was built on a Friday! How can I find those details out?
Perhaps a picture can tell more than words. What would you think if a new car was painted like this? See the green arrow areas? That isn't a trick of light and shadow; that's how the body is painted.

Ford Bronco Sport Project O'Bronco DSC04874.JPG
Ford Bronco Sport Project O'Bronco DSC04875.JPG


On the contrary, I very much like the car and I like driving it. Nothing I was critical of is on a "show surface", and it should in no way affect performance, but I very much think it reflects poor workmanship and if/when Ford sends me a feedback survey I think they should improve on those points. You can be both pleased and critical of something, like with a marriage.
 

fourthgear

Outer Banks
Well-Known Member
First Name
Michael
Joined
Jan 31, 2021
Threads
8
Messages
528
Reaction score
594
Location
florida
Vehicle(s)
2021 Ford Bronco Sport ,MB Sprinter 4x4
Never thought engine bays were that important , anything on the outside ? Yes its not perfect in there , that Green may be Primer of some sort . Did you try wiping it off ?
 

DakotaBronco

First Edition
Well-Known Member
First Name
Lance
Joined
Mar 24, 2021
Threads
12
Messages
90
Reaction score
206
Location
Northern Plains
Vehicle(s)
Ford Edge Sport
Well, I'm not a paint expert, but I'd wager that the A51 is totally different from the tri-stage orange and it gets painted differently somehow. Or maybe it was built on a Friday! How can I find those details out?
Perhaps a picture can tell more than words. What would you think if a new car was painted like this? See the green arrow areas? That isn't a trick of light and shadow; that's how the body is painted.

Ford Bronco Sport Project O'Bronco DSC04874.JPG
Ford Bronco Sport Project O'Bronco DSC04875.JPG


On the contrary, I very much like the car and I like driving it. Nothing I was critical of is on a "show surface", and it should in no way affect performance, but I very much think it reflects poor workmanship and if/when Ford sends me a feedback survey I think they should improve on those points. You can be both pleased and critical of something, like with a marriage.
Wondering why you bought this suv if you're that unhappy and disappointed in it. Might not be the right "marriage".


DMEARC

Outer Banks
Well-Known Member
Joined
Jan 19, 2021
Threads
5
Messages
339
Reaction score
368
Location
Virginia
Vehicle(s)
2019 Mustang, 2021 BS OB
Regarding the paint in the engine bay: common. No high volume manufacturer is going to spend much time trying to make that look any better. It’s a common cost saving measure for an area that will see very little scrutiny from the vast majority of owners.
 
OP
OP
Glamdring70

Glamdring70

Badlands
Well-Known Member
First Name
Tim
Joined
Mar 26, 2021
Threads
18
Messages
1,223
Reaction score
1,910
Location
Oregon
Vehicle(s)
'21 BL+BL
Today I added to the rear. If you have access to a vinyl cutter or a home Silhouette or Cricut craft vinyl machine you can produce a variety of stuff for next to nothing but time. Aficionados will see that the Badlands badge is not a 100% reproduction of a Ford badge/sticker. But the "correct" Ford one at $45 is just more than I want to spend so this is a $1 knockoff creation made at home. I like the better balance with more badging, and the price is right to peel it up and do it over again to make a change. Perhaps making the Bronco horse a carbon grey instead of black.

I am still mulling over the lettering. I don't want the white letters. The options are to paint them or vinyl cover them. Again I am weighing a carbon black color (like the grill) vs. a gloss or matte black. I am also thinking about just coving the faces and leaving the white edges so it's more like the factory Badlands badging.

Ford Bronco Sport Project O'Bronco DSC04881.JPG
Ford Bronco Sport Project O'Bronco DSC04880.JPG
Ford Bronco Sport Project O'Bronco DSC04882.JPG


I'm still messing with the vinyl options and did this as another test idea. I like the life the outline gives to it and I think I am going to shop for some material that is closer to the wheels than the solid color.

Ford Bronco Sport Project O'Bronco DSC04884.JPG
 
Last edited:
OP
OP
Glamdring70

Glamdring70

Badlands
Well-Known Member
First Name
Tim
Joined
Mar 26, 2021
Threads
18
Messages
1,223
Reaction score
1,910
Location
Oregon
Vehicle(s)
'21 BL+BL
Every picture of cyber orange looks so different. It looks so yellow in your pictures.
Ford managed to pick a number of colors that get influenced by the lighting or the surrounding colors. The Cactus Grey is particularly susceptible to that. Of the three pics I just put up, I would say the close up of the horse most represents how the car appears. It is definitely not like the far shot, the fluorescent lights in my garage put a ton of green into the camera. The first shot with the Badlands badge is a little too rich with a macro focus and fill flash.
 

fourthgear

Outer Banks
Well-Known Member
First Name
Michael
Joined
Jan 31, 2021
Threads
8
Messages
528
Reaction score
594
Location
florida
Vehicle(s)
2021 Ford Bronco Sport ,MB Sprinter 4x4
The covering of the letter faces & leaving the white edges with the Black letters looks cool , someone else did it & there is a photo of it here on the forum some where .


OP
OP
Glamdring70

Glamdring70

Badlands
Well-Known Member
First Name
Tim
Joined
Mar 26, 2021
Threads
18
Messages
1,223
Reaction score
1,910
Location
Oregon
Vehicle(s)
'21 BL+BL
I spent a lot of time over the weekend doing peel-and-stick modifications. In all I attached the Ford branded hood protector, vent visors and Gatorback mud flaps. All of these items are very easy to self install and just take some patience. Here are some tips I can think of for anyone else planning to add the same accessories:

1) The vent visors need the rubber surface prepped. You should wear gloves and the first wipe is basically alcohol. The second wipe is the nastier stuff- a hexane/ benzine blend. I suggest you fit the panels and then open the doors to apply the wipes. You can close them to do the application and get a nice line up. I was very careful but I just lightly touched the corner of the wipe to a spot of the piano black (accidentally) and it instantly strips it. Fortunately it doesn't show badly. Pic of the spot is right on the corner.
Ford Bronco Sport Project O'Bronco DSC04879.JPG
Ford Bronco Sport Project O'Bronco DSC04876.JPG
Ford Bronco Sport Project O'Bronco DSC04877.JPG


The hood protector comes in two varieties. A pebble finish plastic kind of like the rear bumper and a smoked plexi, this one. It matches the window vents. It uses the same wipes to prep the surface. I was real sketchy about using wipes on the painted hood so I tried it on the frame below just to see and I didn't get a sense that it removed any paint. Still, I wouldn't scrub it in, just one wipe across lightly and done. Follow the instructions and work from the center. If you work slow and make sure it goes in position it will come out smooth. By the way, the blue oval is just stuck on with 3M auto tape or something and I think it would come off if you didn't want it.

I've gone back and forth wishing it matched the carbonized grill and liking the contrast.
Ford Bronco Sport Project O'Bronco DSC04887.JPG
Ford Bronco Sport Project O'Bronco DSC04888.JPG


The mud flaps are a little more intimidating because there are a lot of hardware pieces (too much hardware actually) and you have to drill 1 hole for each of the back. It doesn't drill the body, just the fender liner and through the plastic cladding. You have to pay very close attention to which direction the retainer clips go. Some face out, some face in. The length of the bolt you're putting in is a clue. Put them towards shorter bolts. I did not remove the wheels- that might make it easier for some steps but not worth it IMO.
For the front, watch the youtube video they made to explain how to mount the studs for the bracket. It's convoluted and uses a lot of extra machine screws and washers that could be eliminated by a redesign or a different piece like a u-bolt that goes through both frame holes. There are a couple pieces of existing padding and nuts to remove that the instructions don't mention (and then put back on over it all). So you have to innovate a little. I suspect this is a pre-production design and will get updates.
Most of the sheet metal screws are 3/4in longer than they would ever need to be. Especially the final one on the front. It goes through washers and flap, and through the bracket and a sharp pointed screw end is just sticking out about 1" extra. You won't be reaching up there until you're trying to clean off the mud and gunk and it's gonna get someone. Next time I can get to Ace I will just get a machine screw and a nylock nut to attach it. I am pleased with my install but I was nauseous from new rubber smell by the end. Unless you want this exact branded flap, you might get a cheaper one aftermarket. I got a good deal on them but still probably overpaid.
They do flex and fold so you are less likely to pop or rip a cladding piece if you catch the back side of a rock or log than with a $30 plastic set. The logo plate looks nice with the wheel too. There are a lot more cars coming out with wheels set right at the back so the flaps are also just basic courtesy IMO.
Ford Bronco Sport Project O'Bronco DSC04886.JPG
Ford Bronco Sport Project O'Bronco DSC04885.JPG


I found this Cruiser brand plate frame at one of those cheapie auto sections like Wally World. This is item #20820 in an anodized metal. The color is a dead match to the carbonized grill and the edges perfectly go over the front plate frame. I'm not expecting the DMV to process the plates for 2-3 months though because everything seems to take forever now. <sigh>
Ford Bronco Sport Project O'Bronco DSC04889.JPG


Lastly, when I was in a Dollar Store, they had these teeny bags for earbuds. I don't have earbuds but it just happened to fit the key this well. If you don't need to hit remote start and use the keypad entry, this'll hold the key but I wish the zipper eye was a tad larger to attach it to regular keys too. Could always put a grommet through it and get a carabiner. Can't go wrong for a buck.
Ford Bronco Sport Project O'Bronco DSC04891.JPG
Ford Bronco Sport Project O'Bronco DSC04890.JPG
 
OP
OP
Glamdring70

Glamdring70

Badlands
Well-Known Member
First Name
Tim
Joined
Mar 26, 2021
Threads
18
Messages
1,223
Reaction score
1,910
Location
Oregon
Vehicle(s)
'21 BL+BL
I wrote earlier about vinyl options and what you can do with a home operation. I was going back and forth on a grey like the grill, but settled on black. I picked up 30' of this Oracal 651 matte black for about $20. If you order elsewhere, you can get it cheaper than at Big Rainforest, but it's slower. That gave time to work out some designs. This was pieced together out of several silhouettes and sized to fit the Bronco. I used a sheet of butcher paper over the body to trace the contours, breaks, and interference areas like fender and badge and handles. The hardest part was waiting for the materials to arrive. The designs were made with a combination of Illustrator and the Cricut software and then cut and installed at home. This probably represents 9 hours of install and like 2 more of the machine cutting.

The hood graphic was hand made. It proved difficult to correctly follow all the curves on the hood edge and the deflector. The bumps grow from about 6" by the windshield to 8" at the front so this is like a trapezoid with 3 French curve sides. I printed out a template on paper to test the hood graphics. I pieced all the prints together into an accurate size of the creation. Then I measured and used blue painter's tape to section off the area so there was a solid reference to lay down the vinyl.

Like the Bronco logo I put on the back, I decided to put a hood ornament on the deflector. I've gone back and forth with the letters. I saw a really good looking orange with orange letters, but it must have been FE because it had black edges. The white on front really stands out and goes well with the light bars IMO. So maybe I will leave that alone?

I'm still struggling with the BRONCO SPORT on the back. It's proving difficult to run down a good template. There are a lot to find with Google, but they do a poor job following the contours satisfactorily. It's still stock white and top of my list of things to "correct". But I'm super pleased with how much the add-ons break up the orange areas.

Ford Bronco Sport Project O'Bronco 20210515_163529_HDR_resized
Ford Bronco Sport Project O'Bronco 20210515_164016_HDR_resized
Ford Bronco Sport Project O'Bronco 20210515_164032_resized
 

JP25

Outer Banks
Active Member
First Name
Jon
Joined
Apr 7, 2021
Threads
2
Messages
38
Reaction score
37
Location
Arlington, VA
Vehicle(s)
2021 Ford Bronco Sport
I LOVE those side decals - the way they taper towards the front, and the semi-hidden Sasquatch are awesome - well done!!
 
OP
OP
Glamdring70

Glamdring70

Badlands
Well-Known Member
First Name
Tim
Joined
Mar 26, 2021
Threads
18
Messages
1,223
Reaction score
1,910
Location
Oregon
Vehicle(s)
'21 BL+BL
Thanks! Both the taper and the Squatch were my wife's ideas. I rejected the Sasquatch a few times, but eventually it was a good price to pay for the help :cwl:
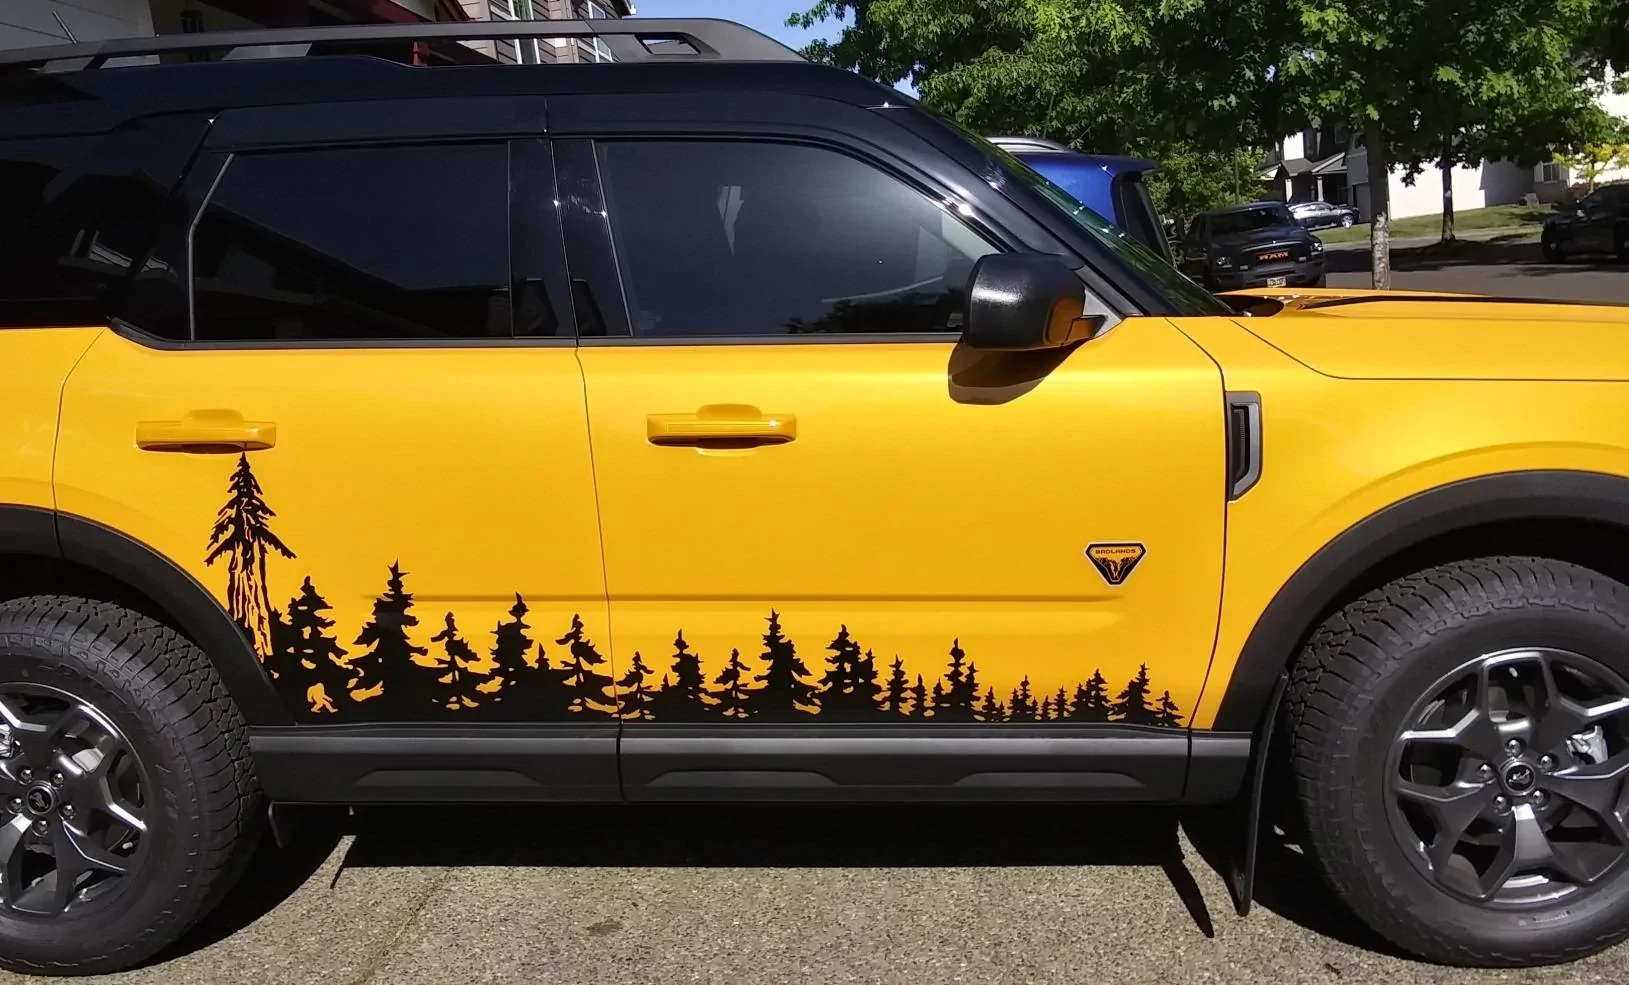
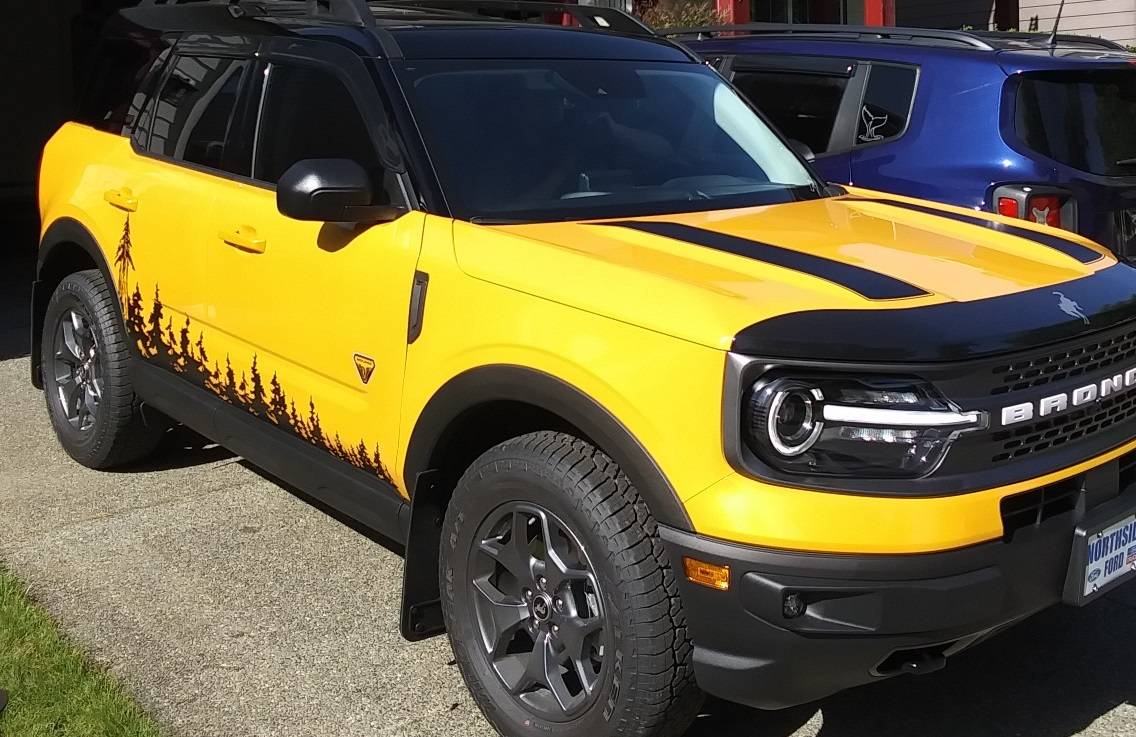
. We debated size and placement a lot on that one. We're still talking about redoing that panel and shrinking him a bit. She wants him to walk right on the rocker panel too.
 
OP
OP
Glamdring70

Glamdring70

Badlands
Well-Known Member
First Name
Tim
Joined
Mar 26, 2021
Threads
18
Messages
1,223
Reaction score
1,910
Location
Oregon
Vehicle(s)
'21 BL+BL
Tonight's addition is really simple if you're a tiny bit brave. I put in a wire tap for a trickle charger.

I've had the Schumacher trickle charger for a bit. Always err bigger with power supplies. The 3A will easily (slow) charge the battery in the Bronco and it will also work on a number of other sizes and types. Should I upgrade to a gel glasspak, it works on those too. It has a normal charge mode and automatically shifts into float charge. I'm sure there are lots of models that fit the bill, I've just used Schumacher hardware for decades. With all the stuff this vehicle does while off, I suspect it will be rough on a battery and like the float charge to extend the life.

Important stuff: Always remove the negative post first. The vehicle is a negative earth ground so by removing the negative terminal you effectively isolate the battery voltage. Set the terminal aside because the positive terminal gets attached first. If you didn't remove the negative and worked the positive terminal you would create a circuit by touching any exposed part of the body since the whole thing goes to ground. I still try to not touch the positive except with insulated pliers and a nutdriver. Secondly, be aware of the owner guide, page 281 about removing the battery. It has a number of warnings, most important is to not immediately disconnect the battery after shutting off. The system needs time to perform a few functions and you risk a software issue if the power cuts.

The pliers held the locking post in place so it was easy to reattach the nut. I used a ziptie and existing cable stays to keep it neat and not let the pigtail fly around under the hood. This eliminates the need to use wonky clamps to attach the charger. It's also a good idea to keep the charger away from the battery as much as practical. After posing for the photo, I moved it over to a spot behind the coolant recovery before plugging in. I just did this after a 10 mile drive, and the charger said the battery was at only 95% capacity and went to work.
Ford Bronco Sport Project O'Bronco DSC04895.JPG
Ford Bronco Sport Project O'Bronco DSC04896.JPG
Sponsored


Top