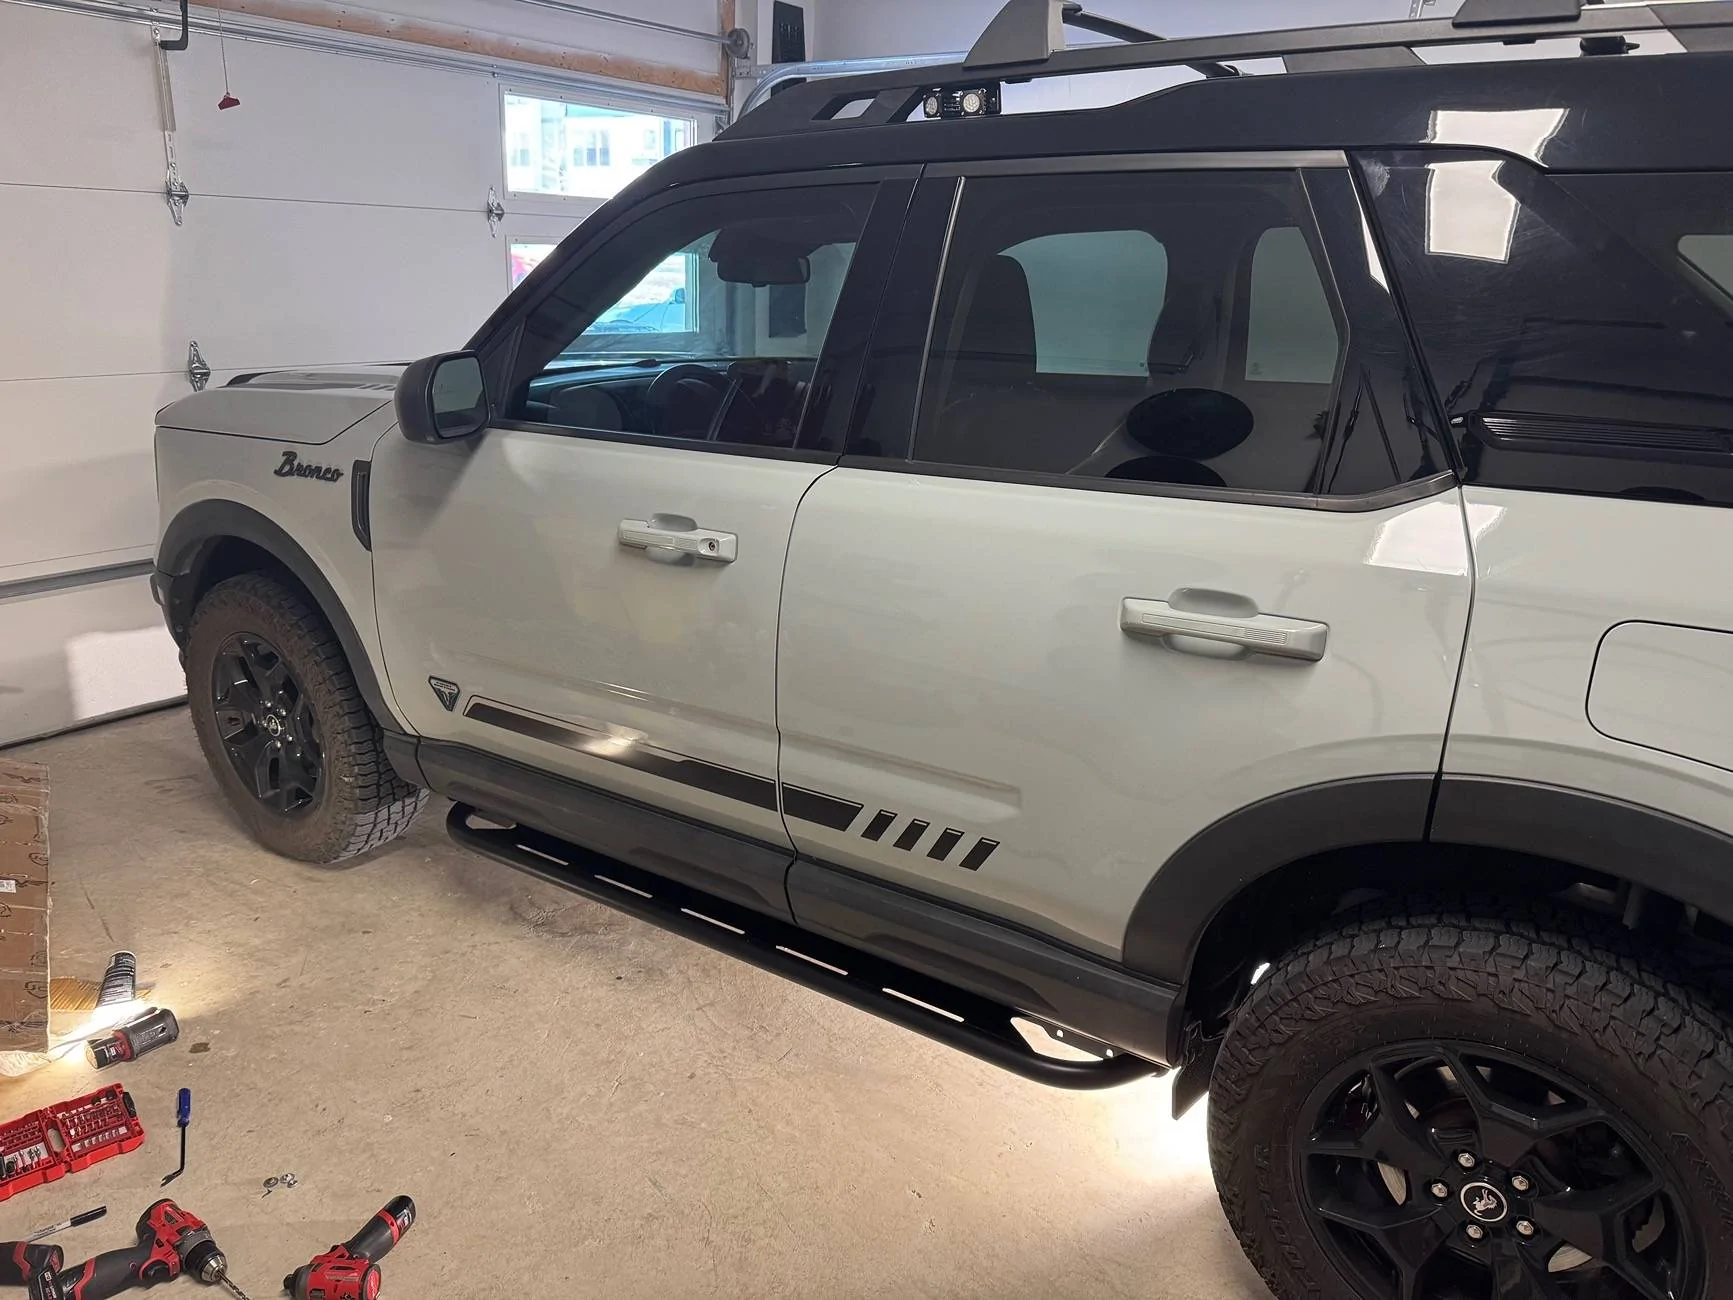
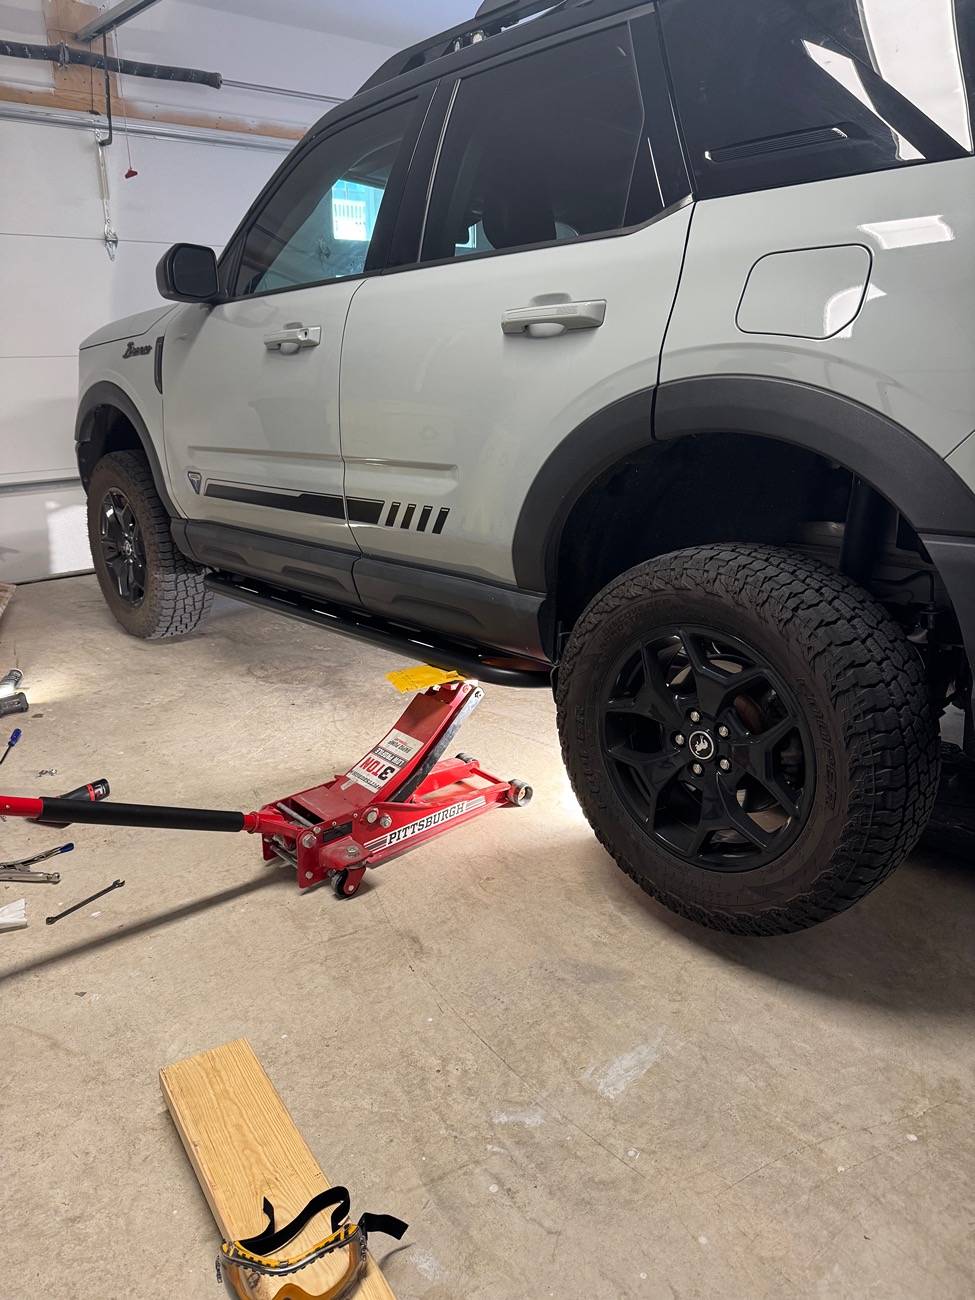
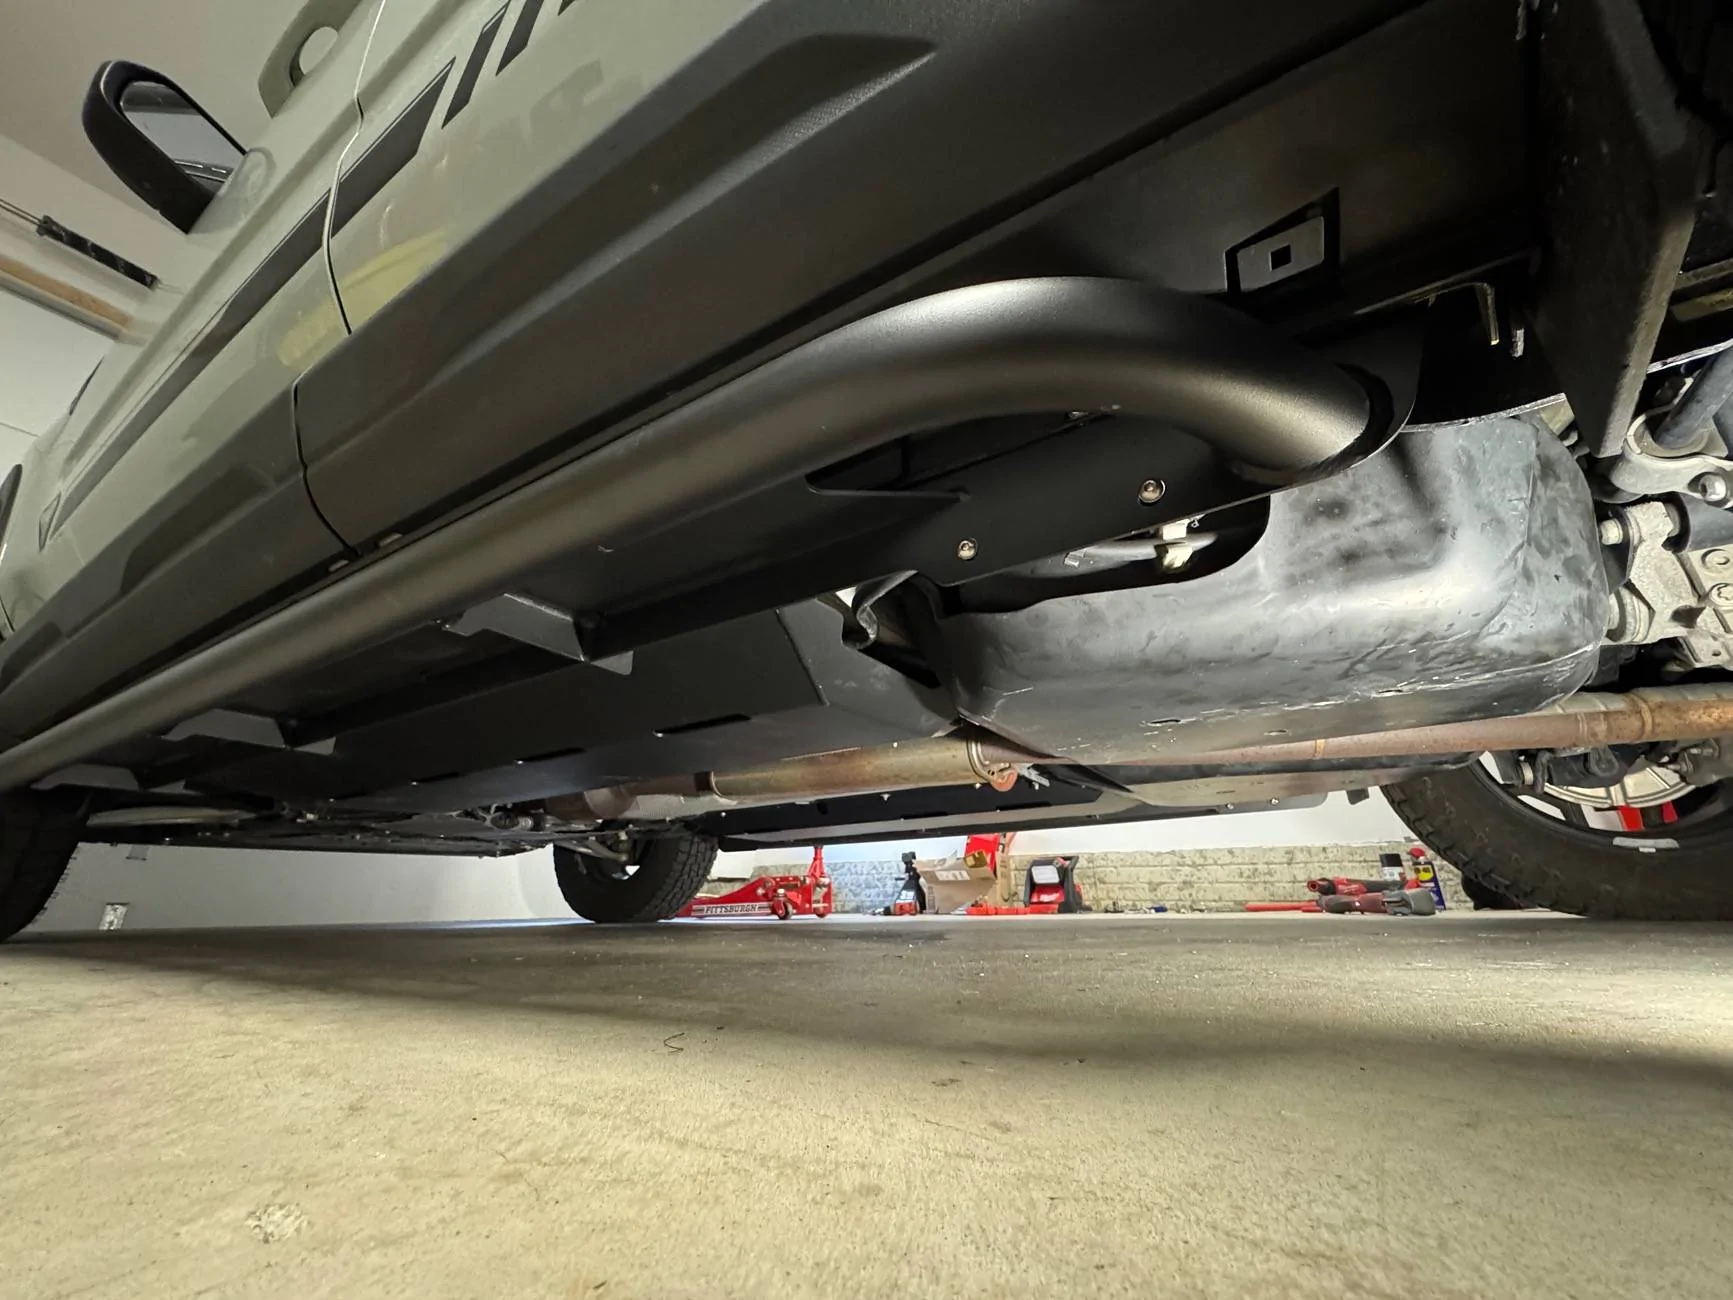
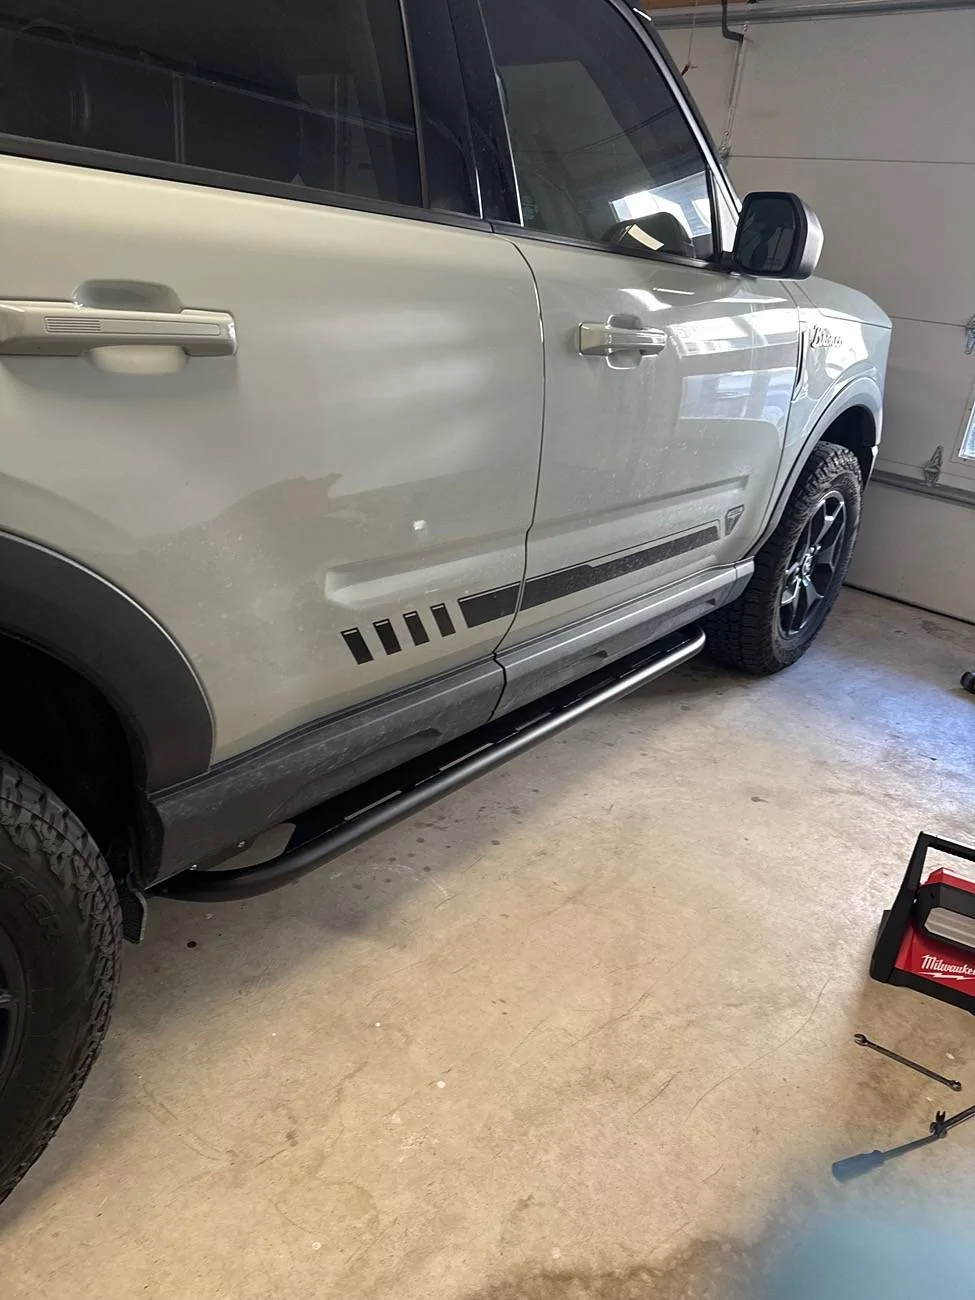
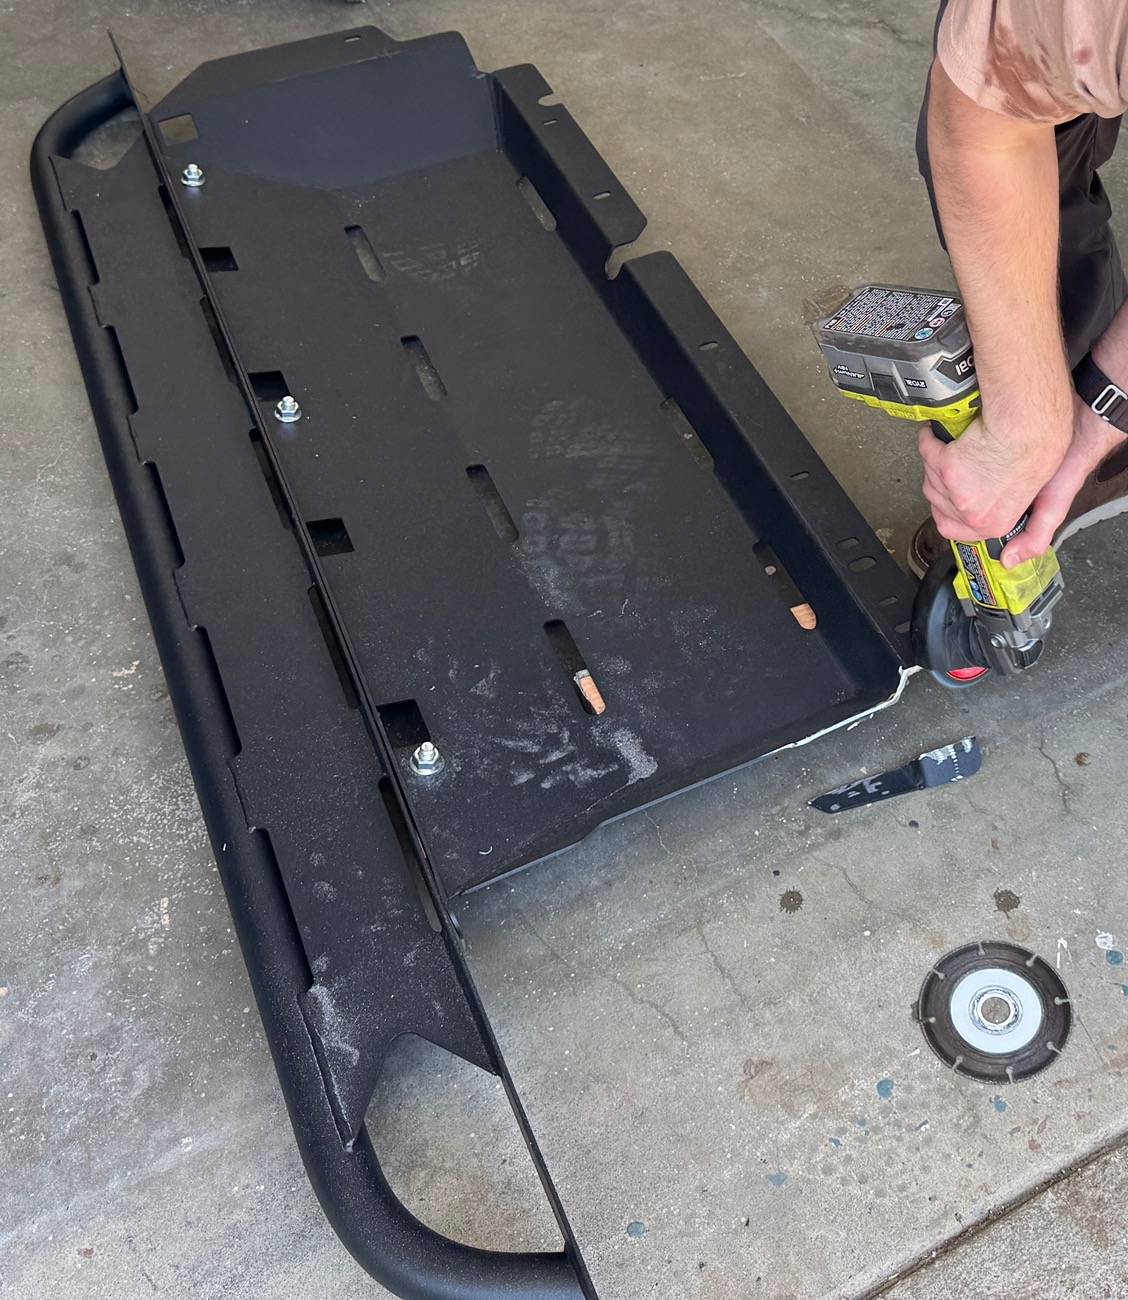
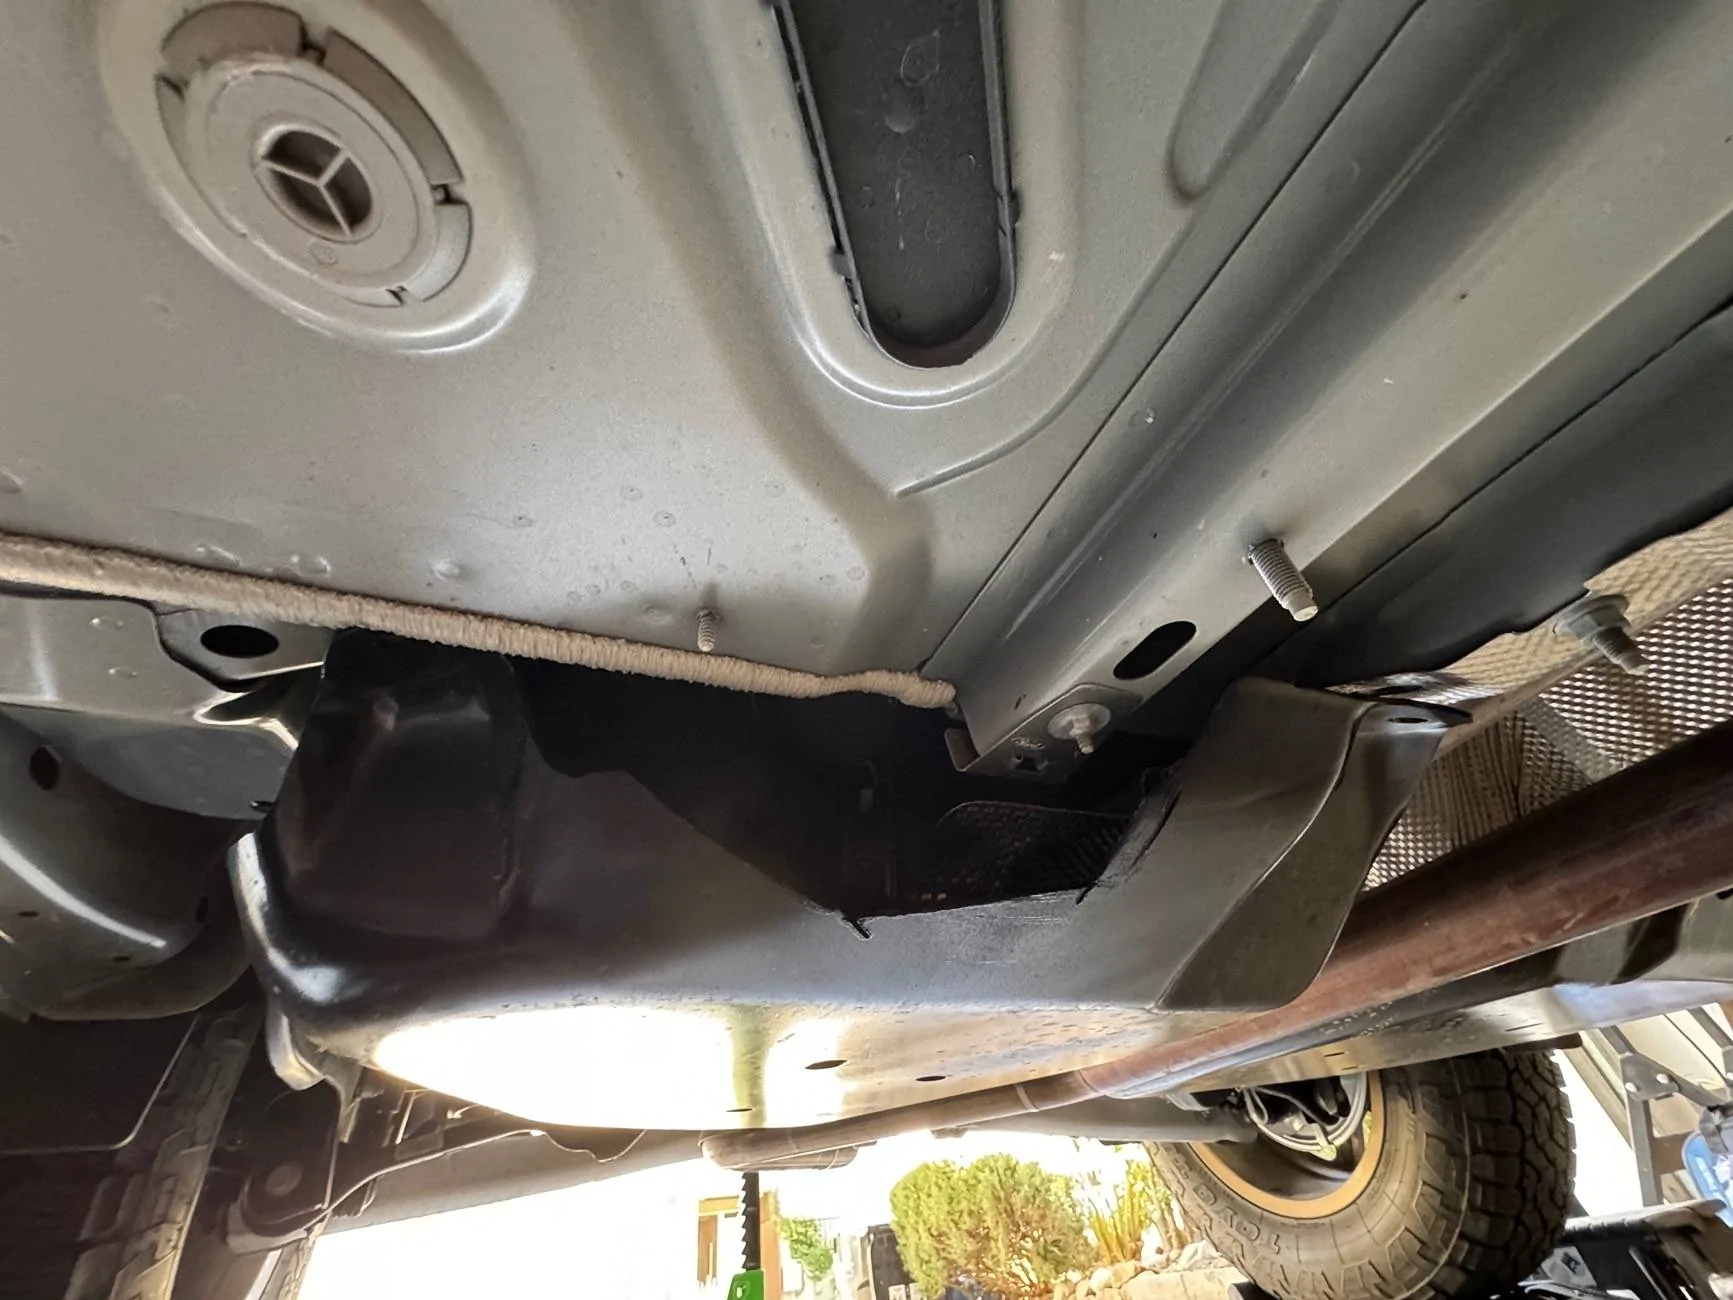
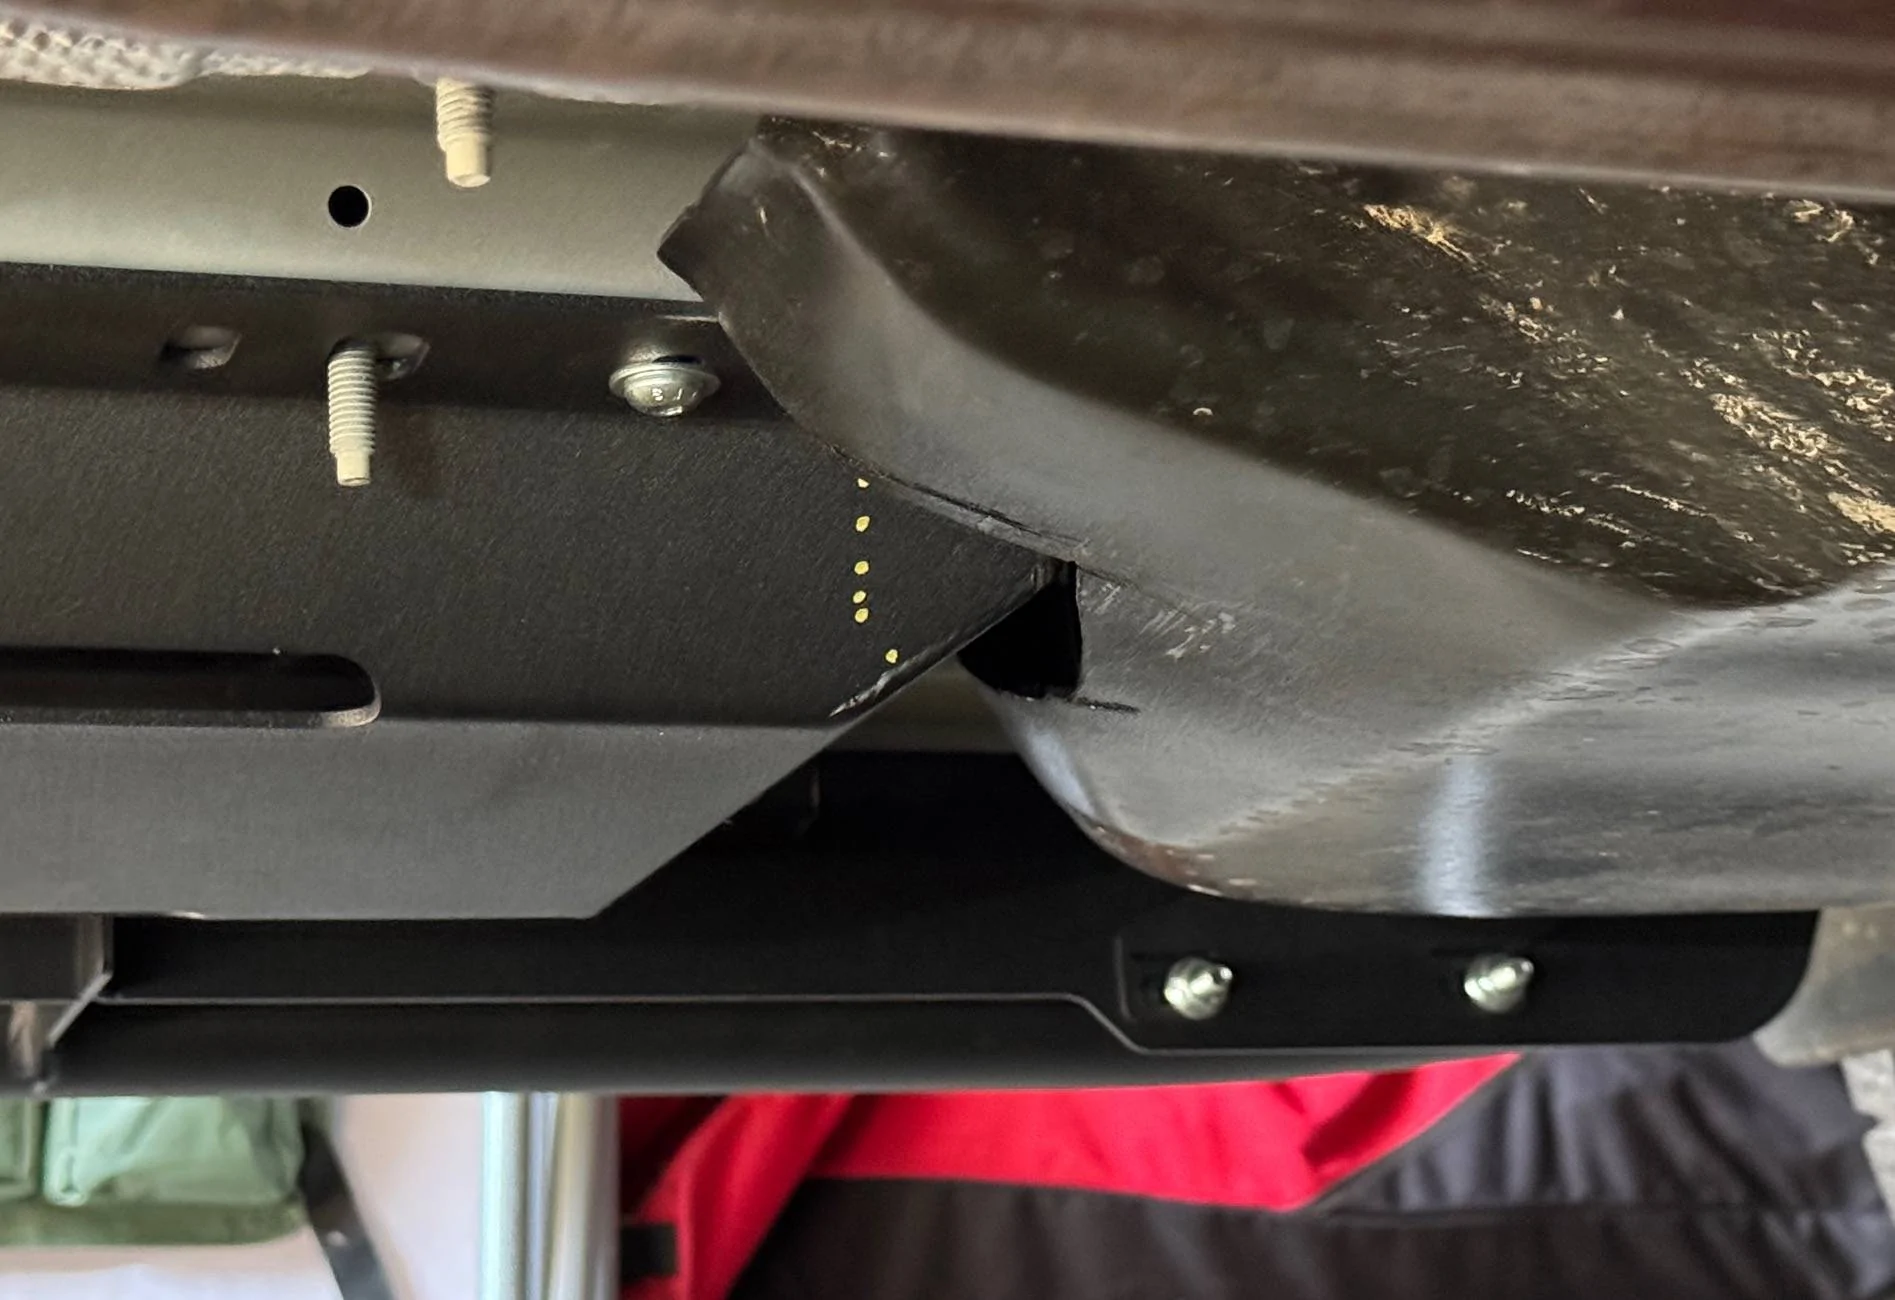
How on earth did you get through the pinch weld? Using a Milwaukee cordless at medium low speed, fresh cobalt bits, and cutting fluid and I’ve barely made a dent in the first hole after a ton of drilling. Seriously I’m going to wear out before these drill bits do
Sponsored