
- First Name
- Chris
- Joined
- Aug 11, 2022
- Threads
- 1
- Messages
- 50
- Reaction score
- 45
- Location
- Northern Virginia
- Vehicle(s)
- 2023 Bronco Sport (ordered 8/11/22)
- Thread starter
- #1
Like many I was searching for a good phone holder. Not necessarily for the driver, but the passenger. Options seemed to be cup holder phone insert, vent clip, or large clip onto base of storage areas under infotainment screen. I wanted something more direct mount to vehicle.
I came across Course Motorsports located in Vermont. Many vehicles fits are offered including a Bronco Sport with options for the type of mount you want with some fairly expensive versions if you go that way. I opted for the Right-Hand Magnetic Mount, base offering, because I already have a Belkin Magsafe holder that uses a pivot ball mount like many phone holders. It comes with a 17mm ball, but you can get a different size if needed. Ensure you select which side of the screen you want the mount.
The above web page has an install video that helped a lot. I suspect the disassembly and reassembly has been done several times on their vehicle and it looks easy removal and snap in. Now, I will tell you that it does take a bit of prying and pulling but look at the pics below to see where all the clips are, go slow, and it will help. The pry tool they show is important to have (which I already did)!
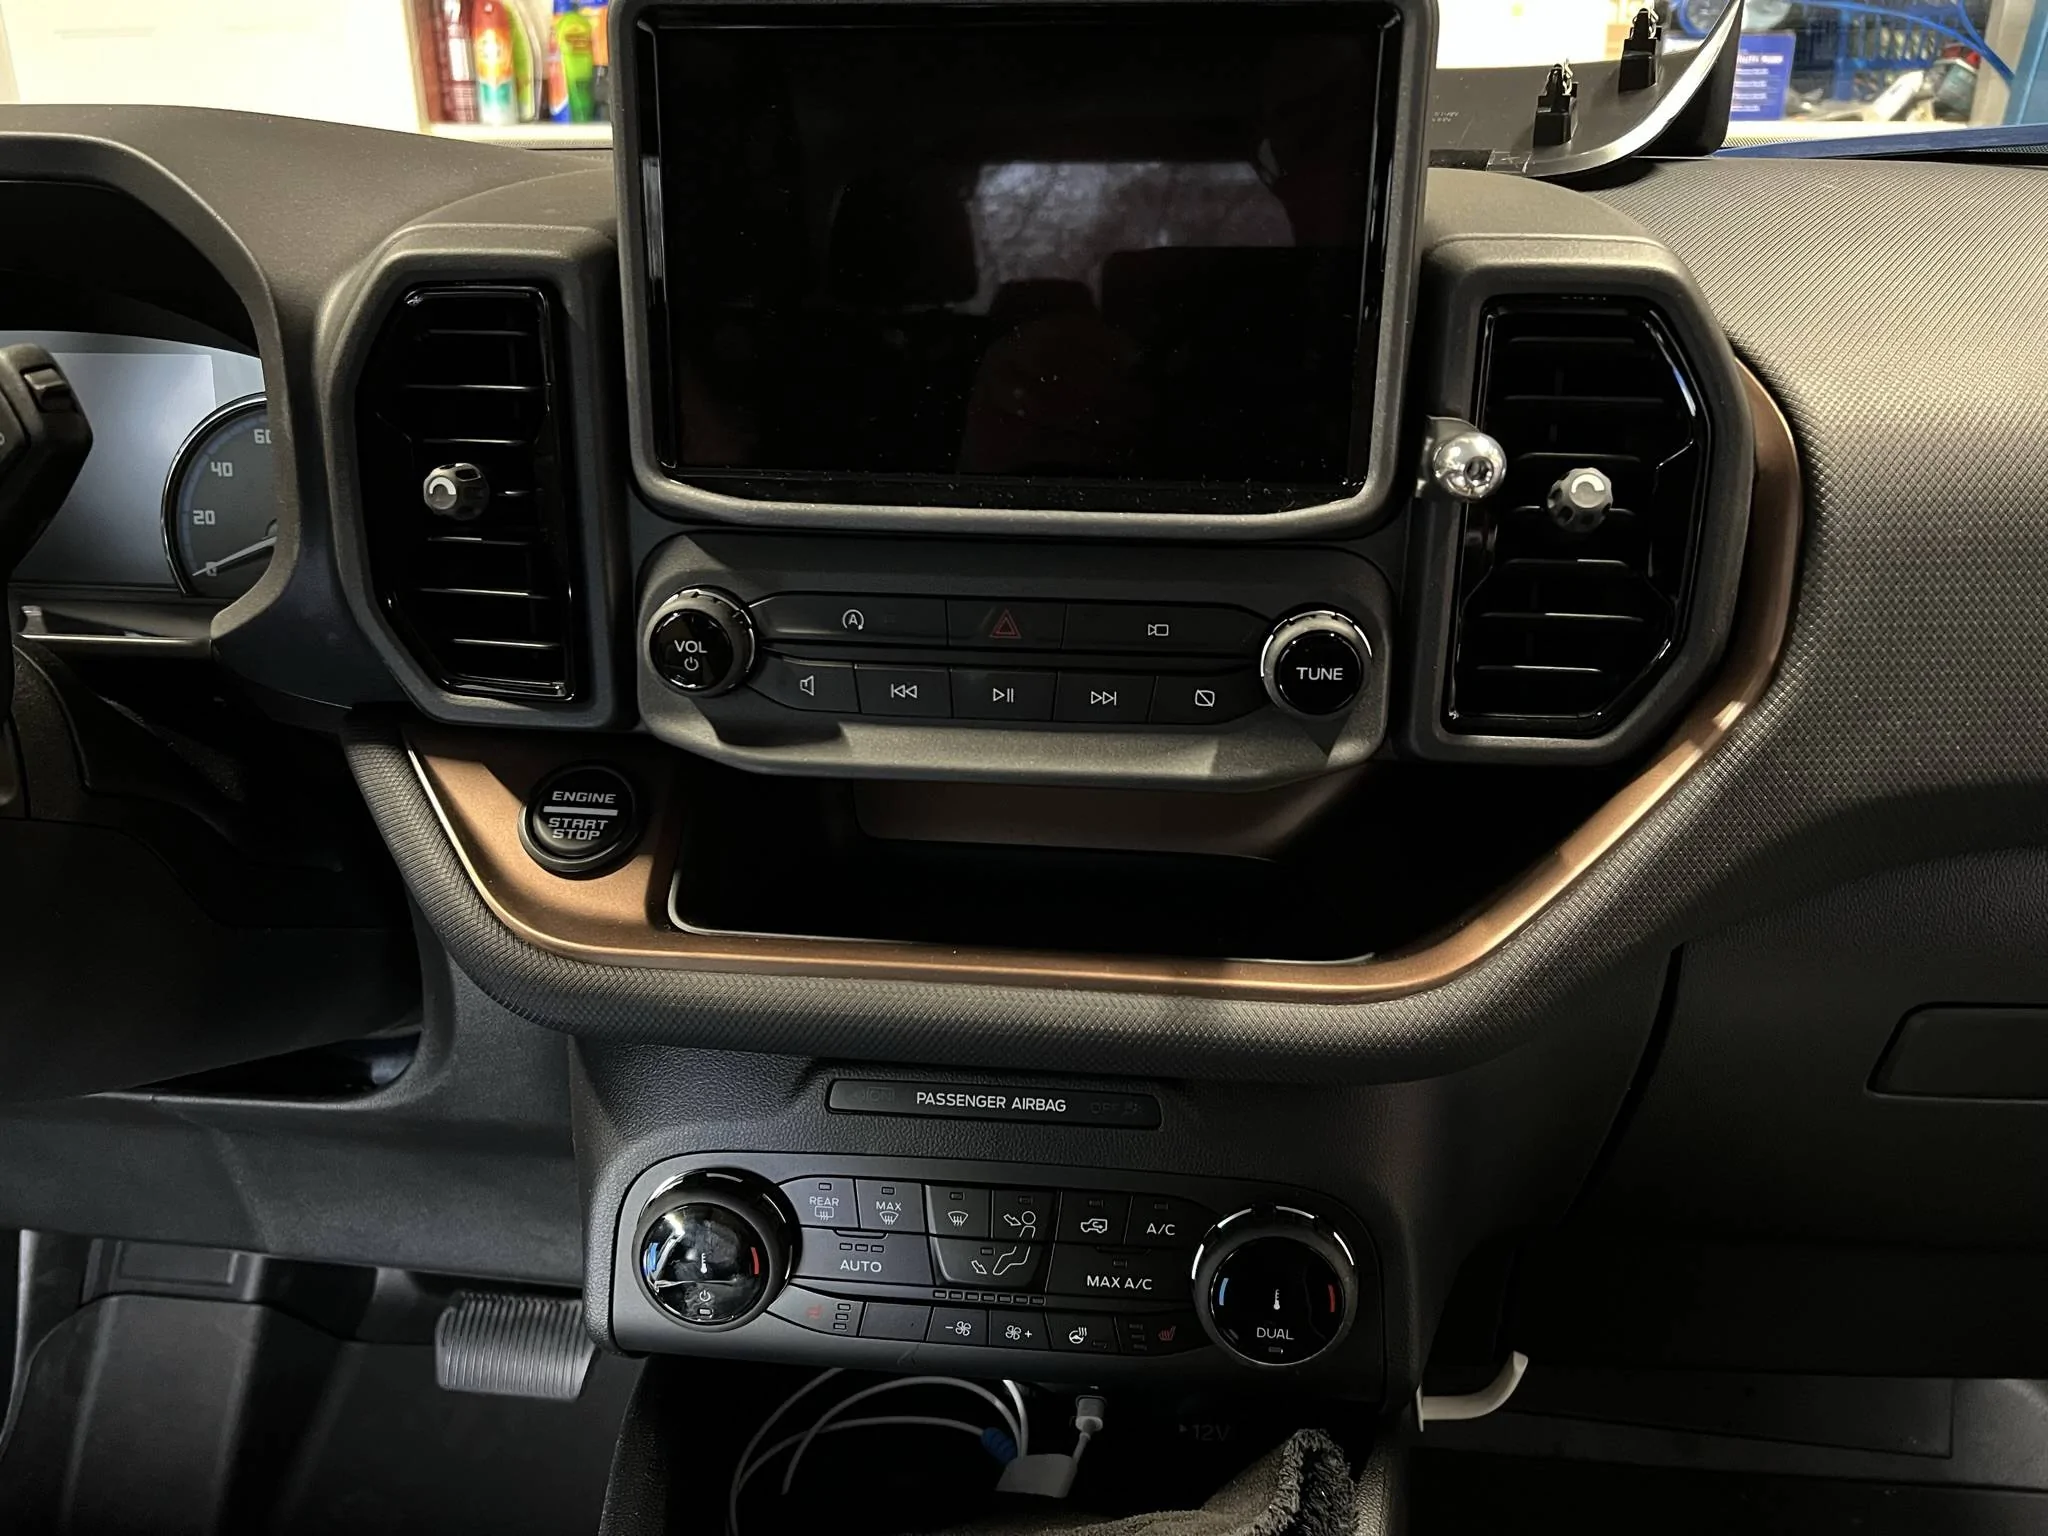
Nice and clean with just the bracket and ball installed.

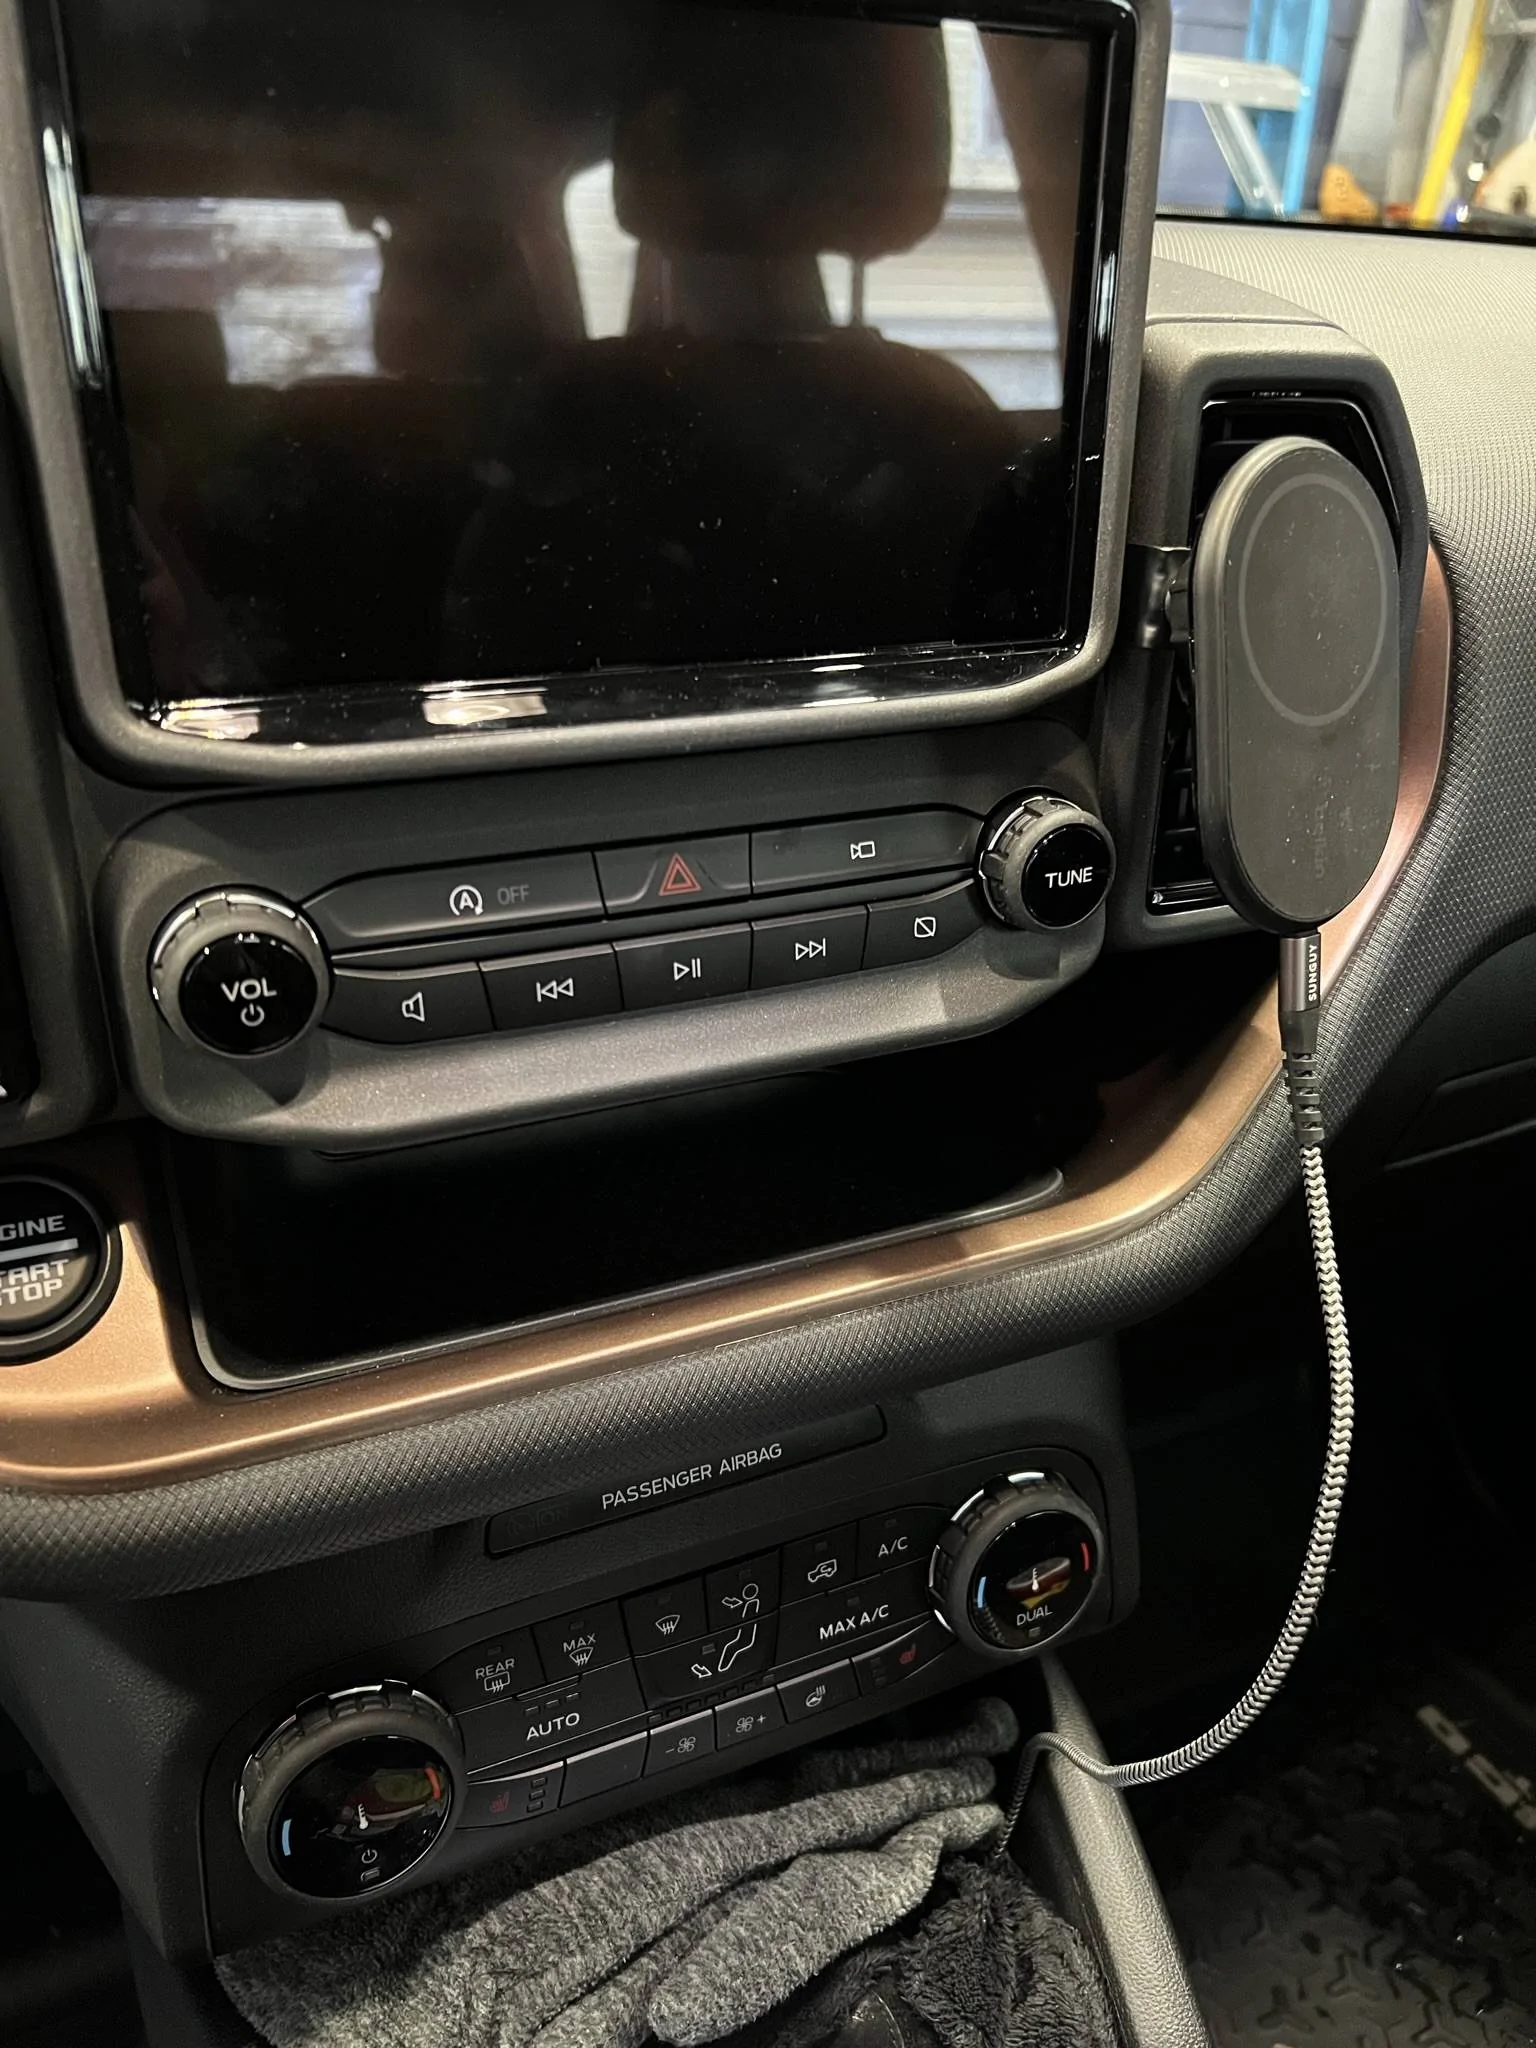
With my own magnetic holder/charger

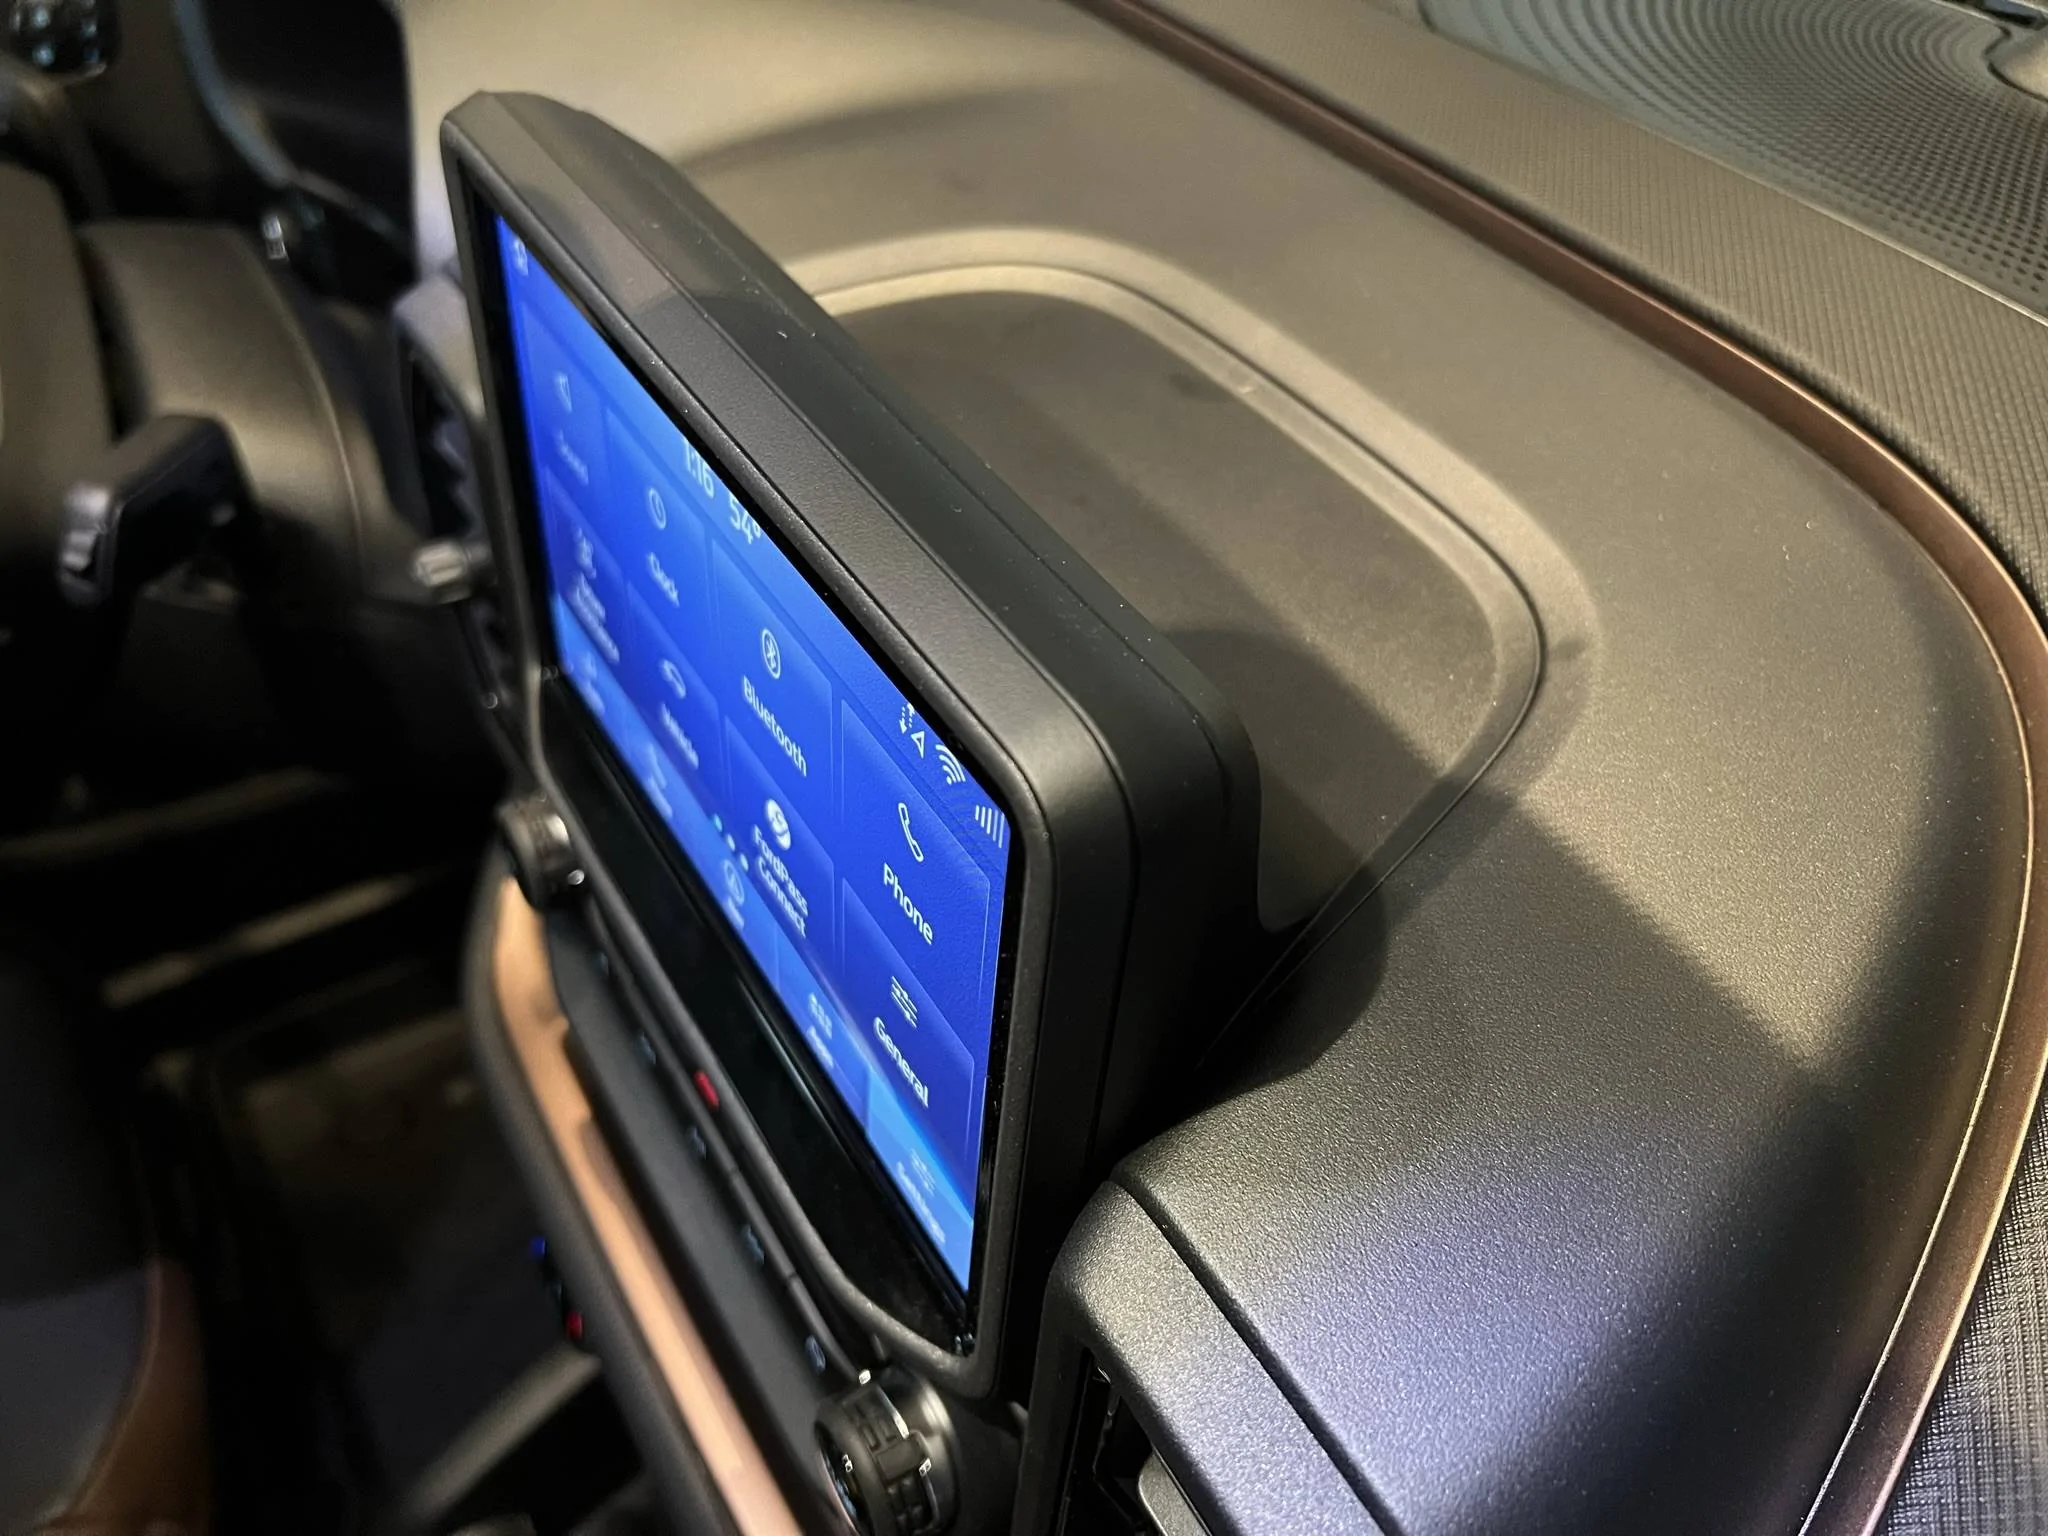
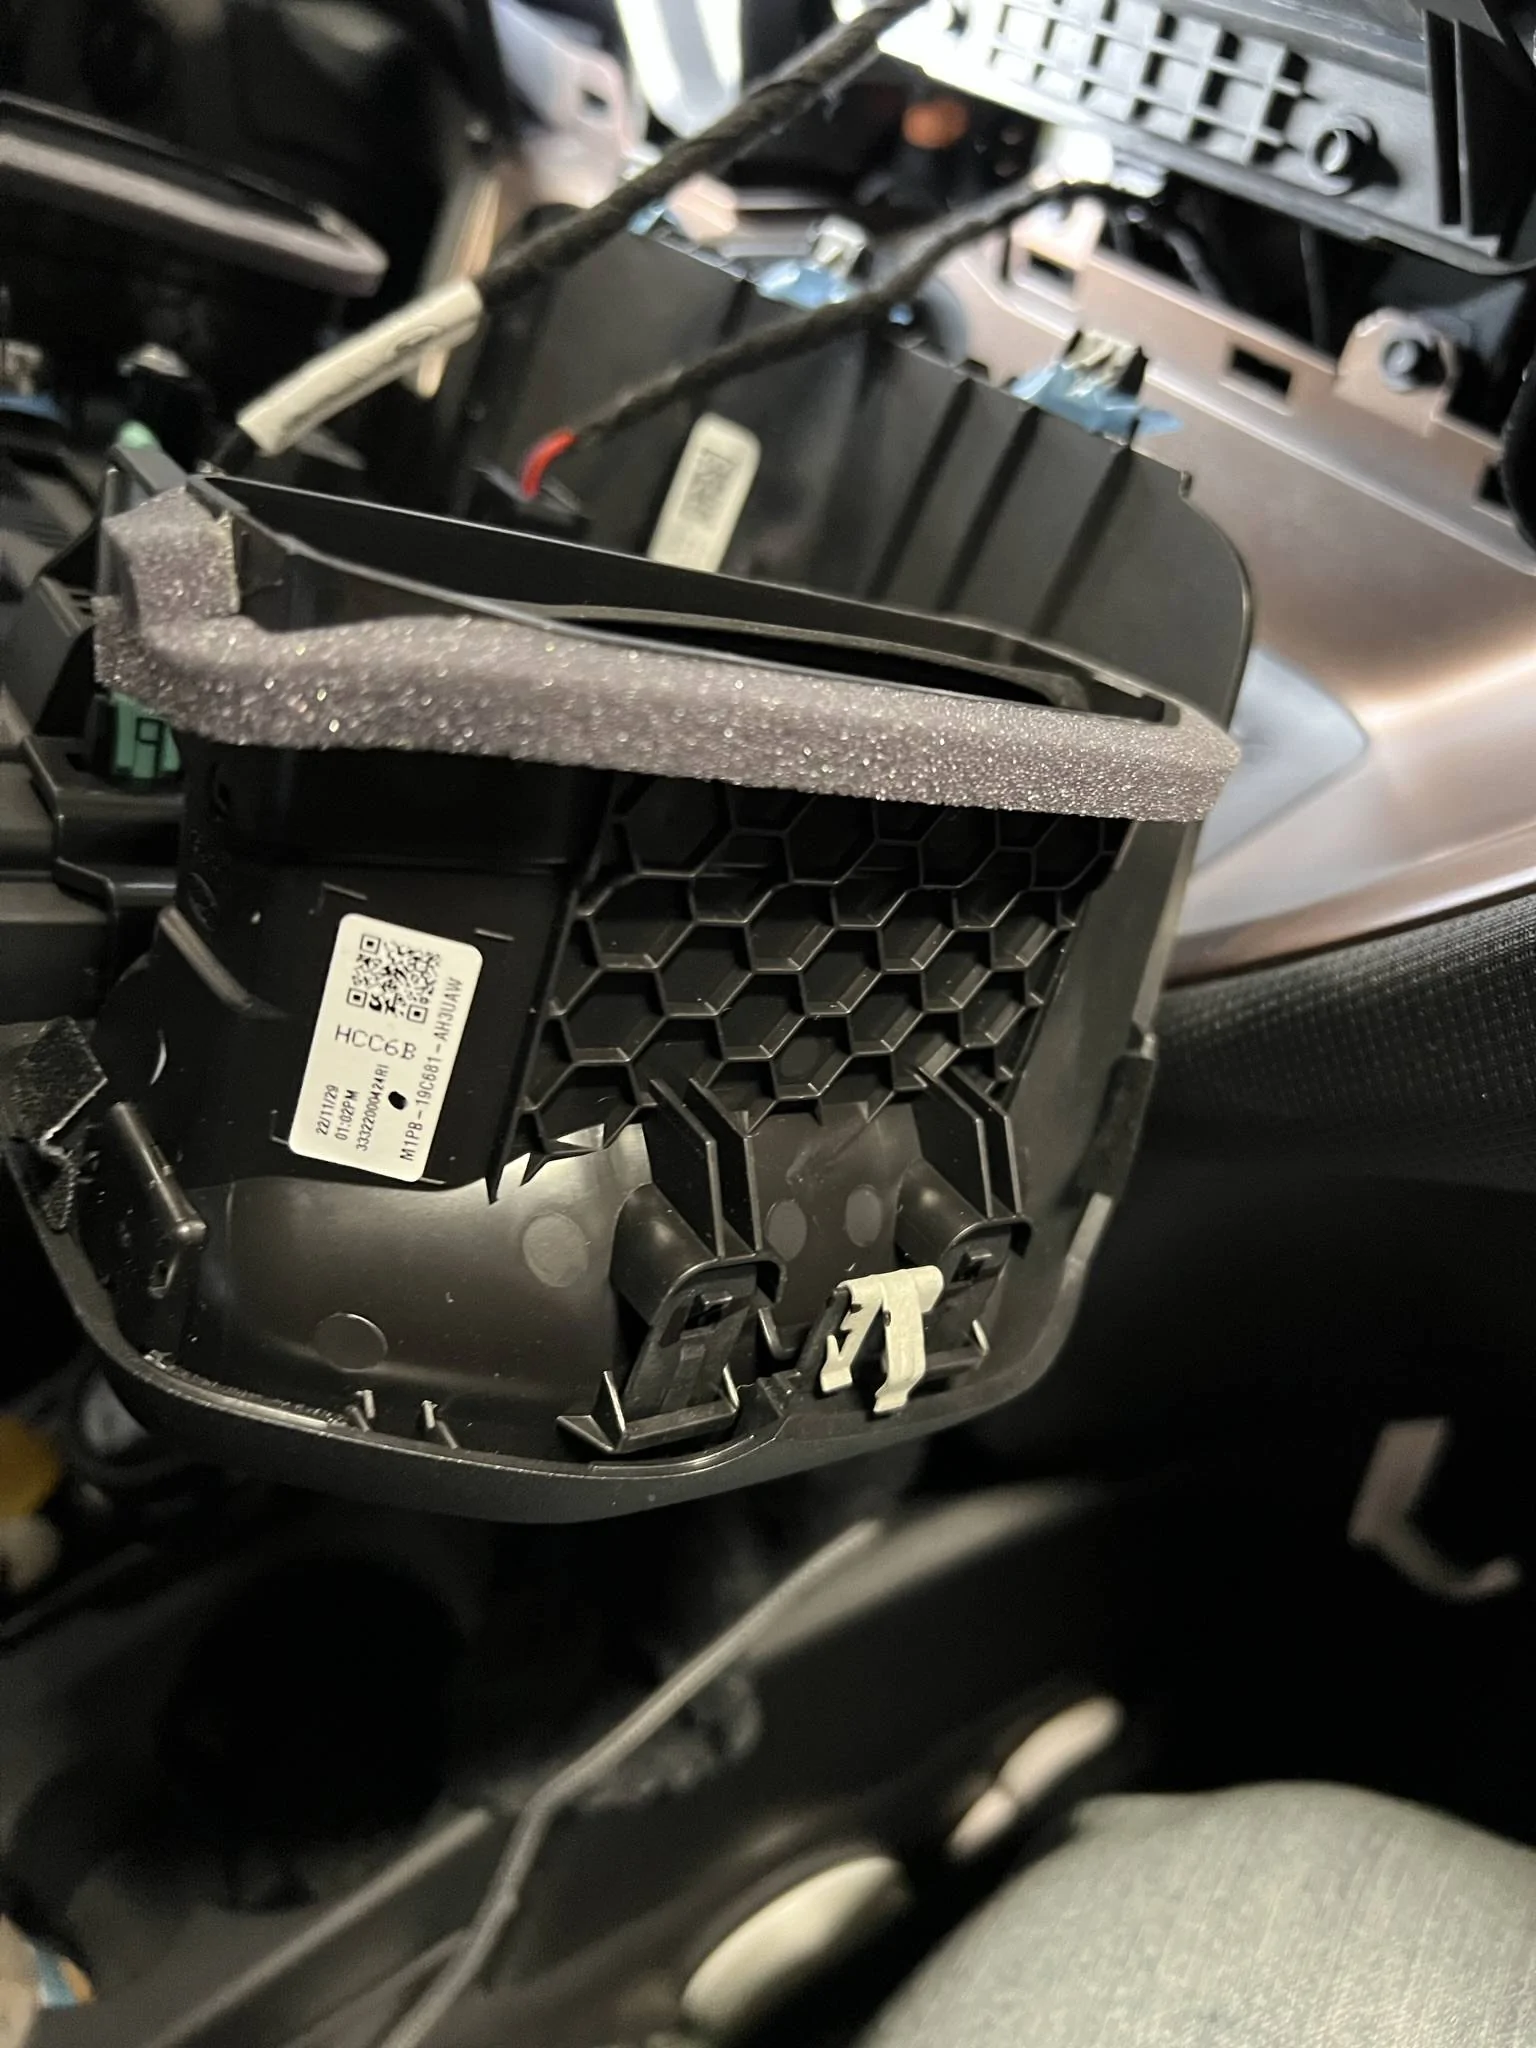
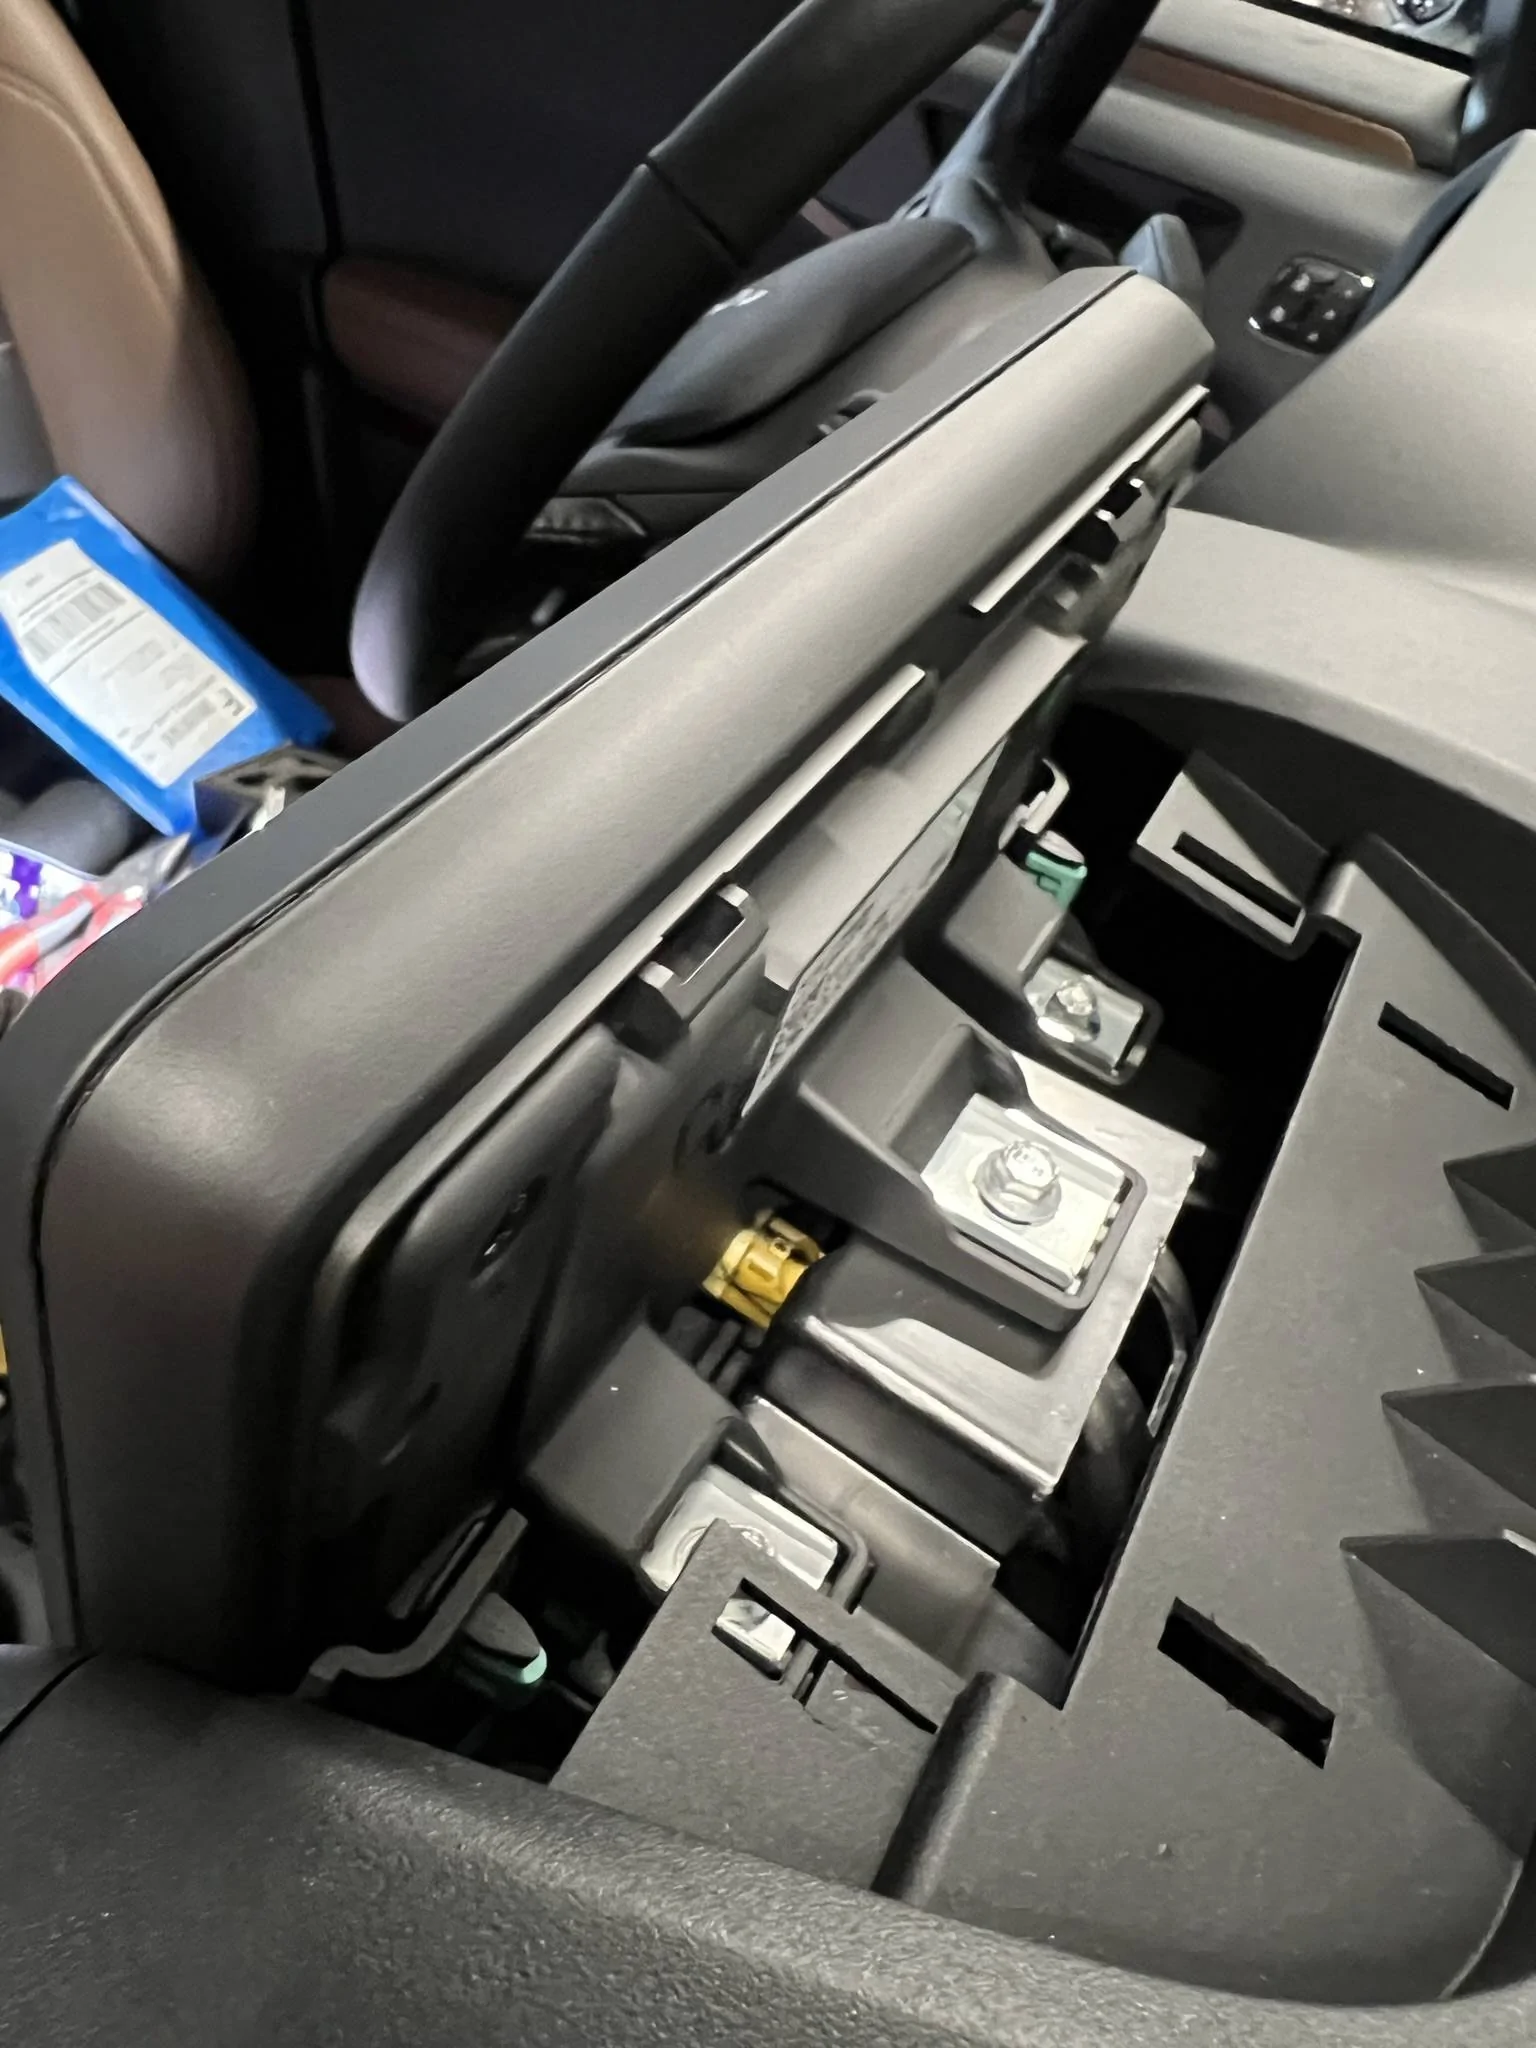
Here are some pictures I took during the installation. When prying off the dash piece, mind the two tab at the top back of the screen as mentioned in the video. This piece goes up straight to release the tabs.
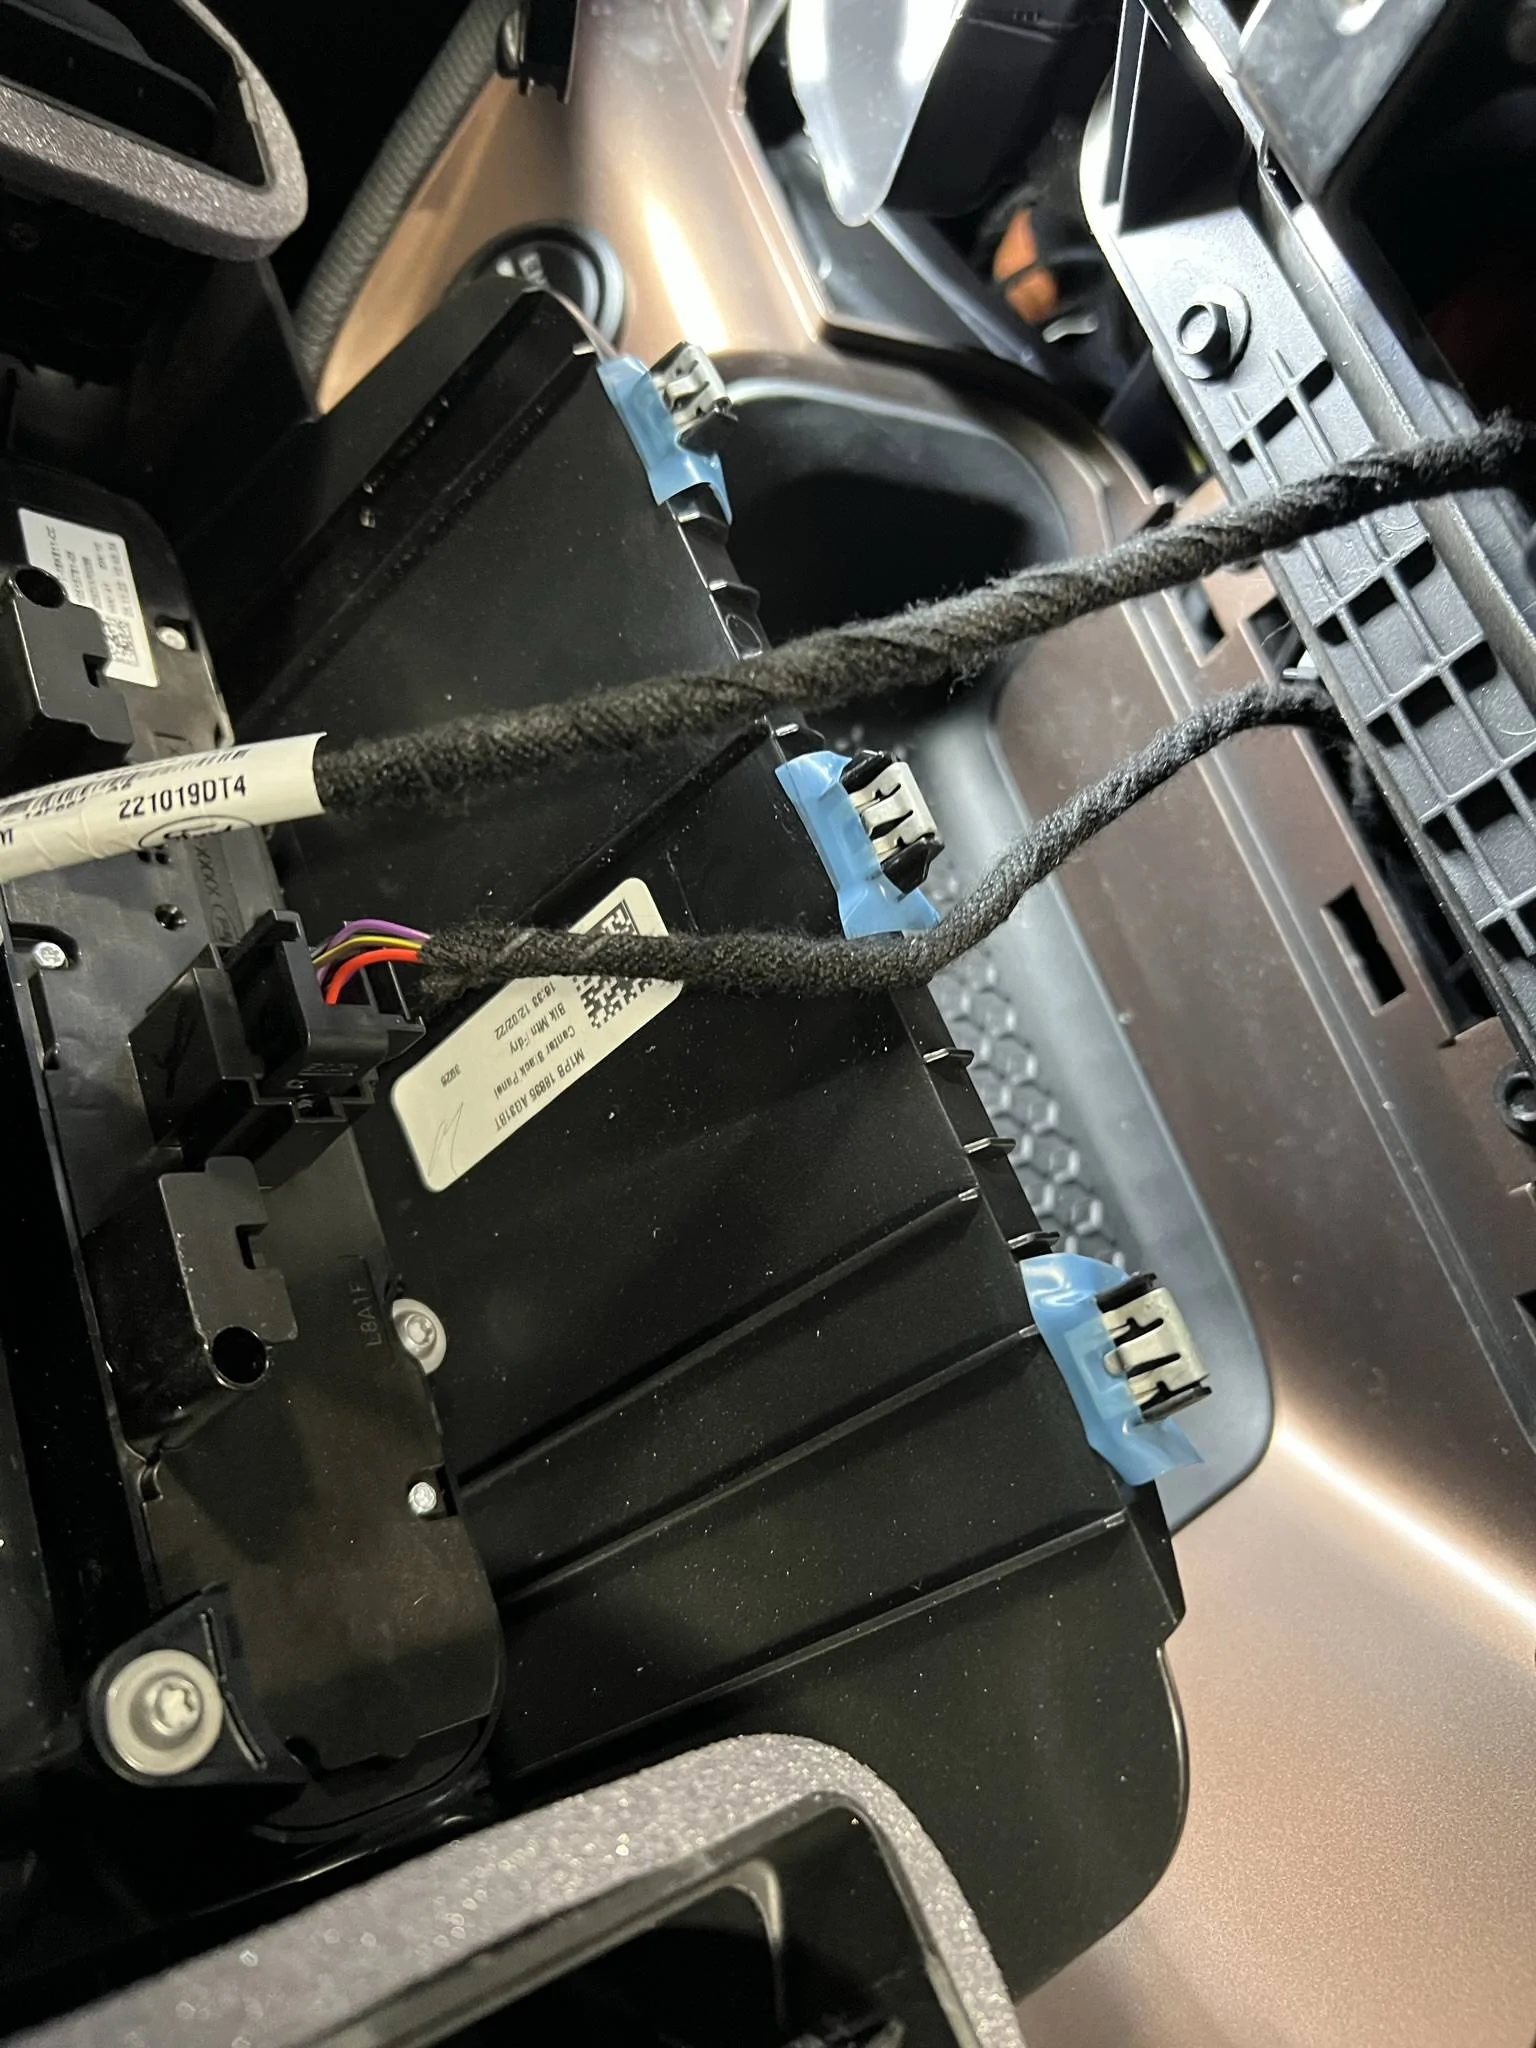
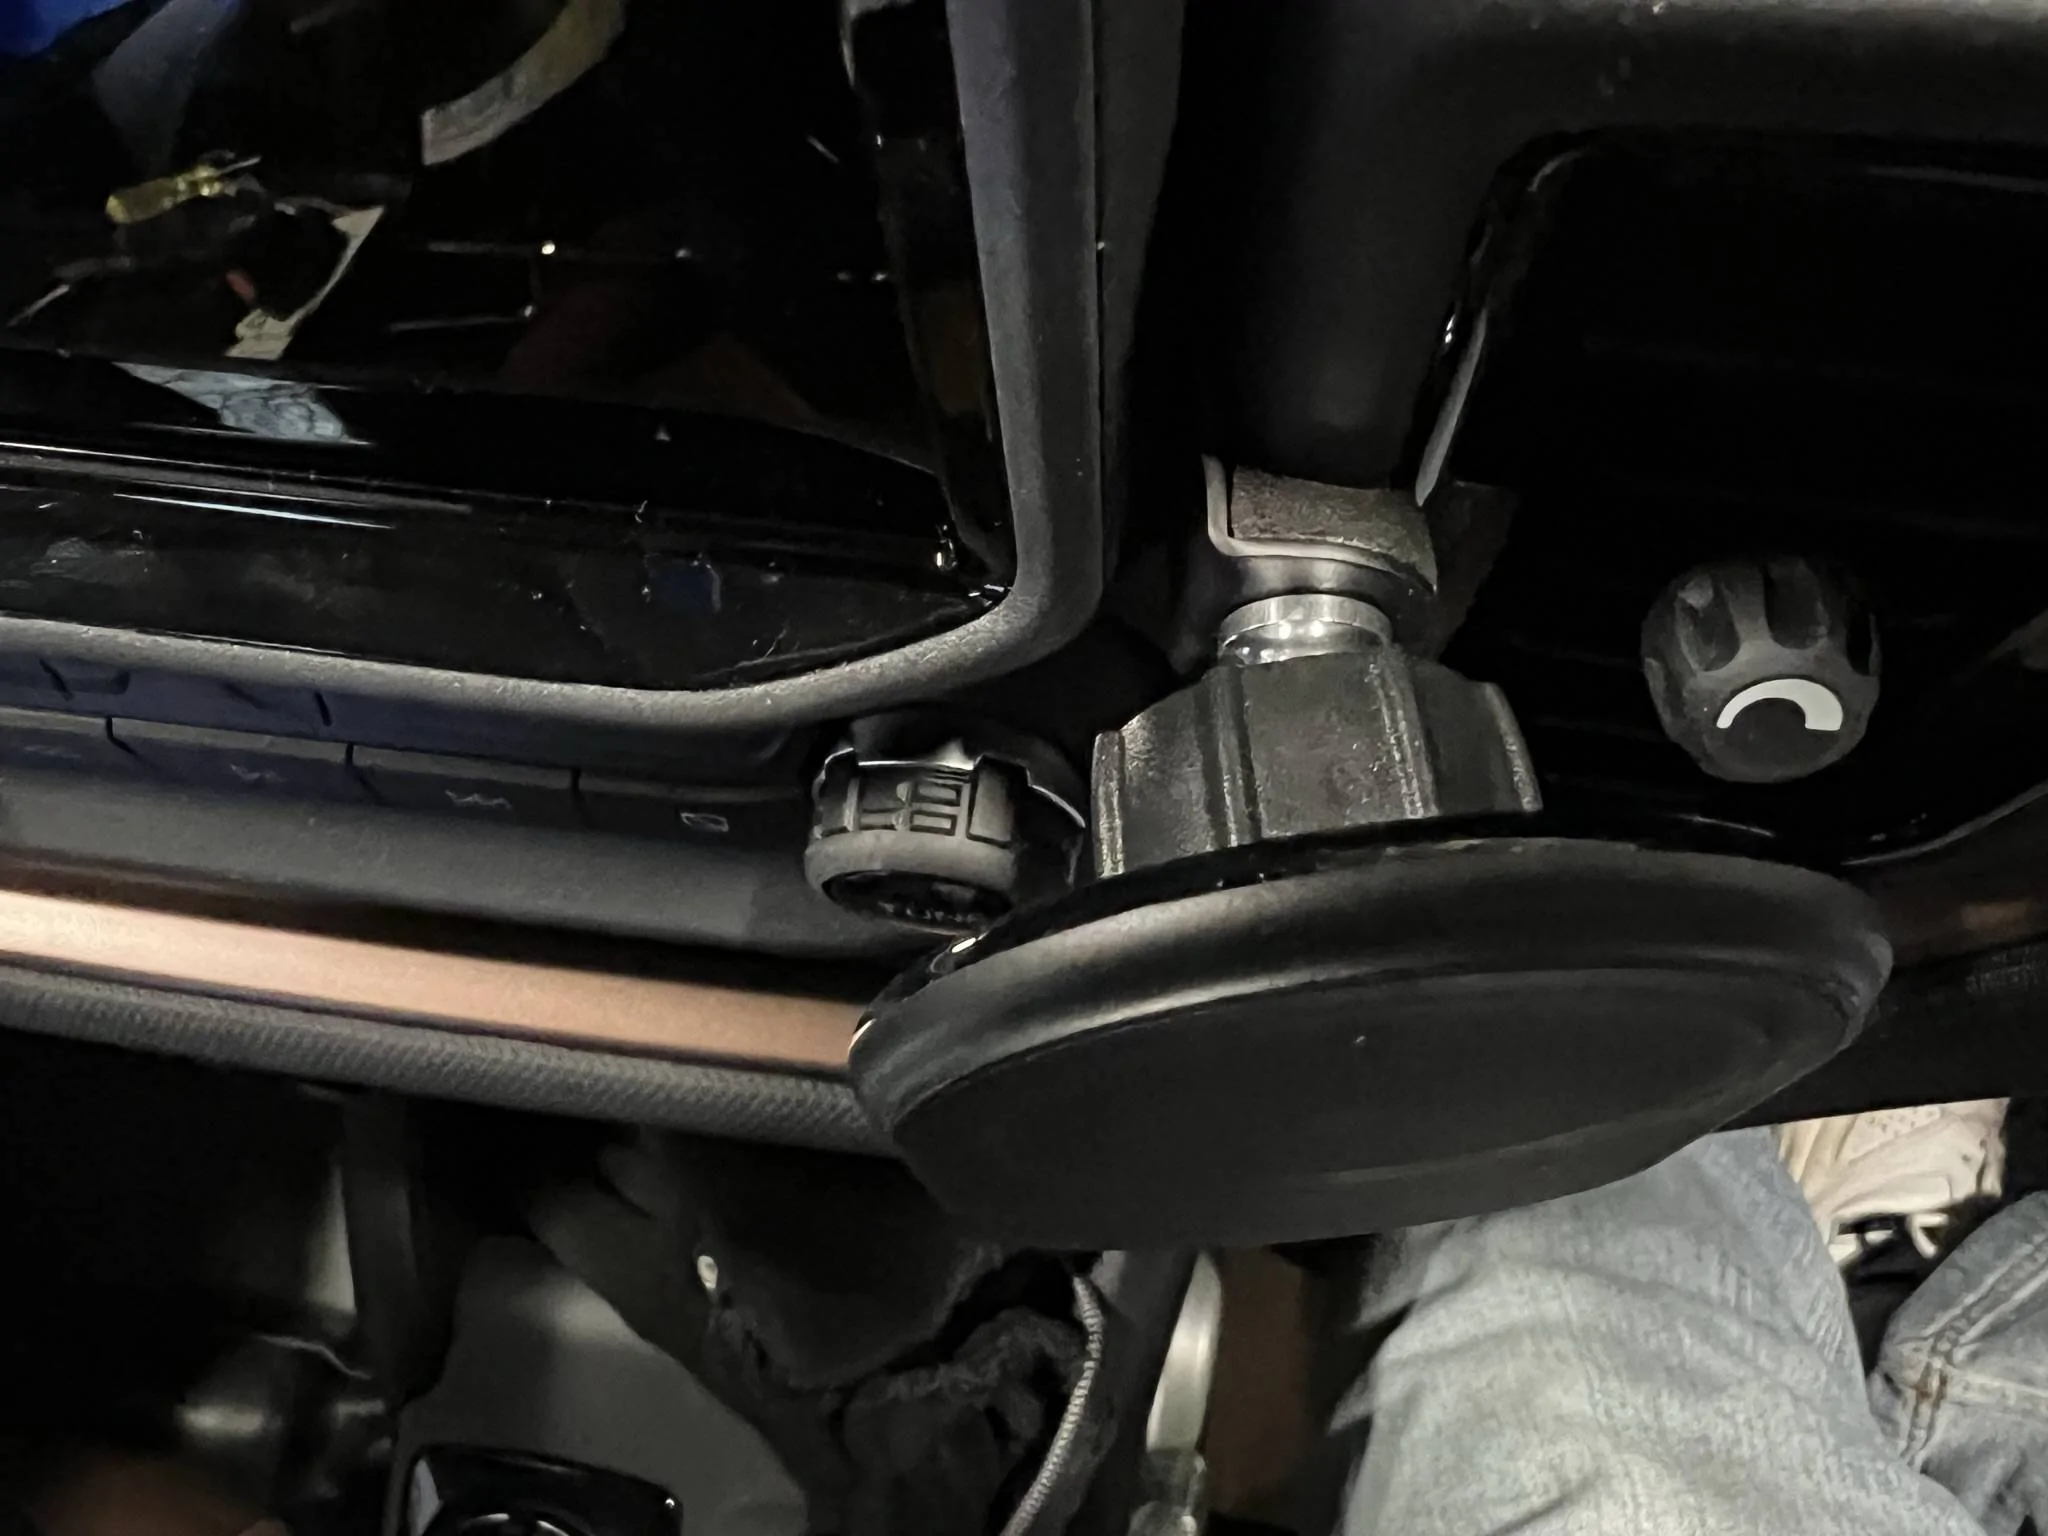
Note the locations of the tabs here on the vents and the three tabs under the unit. I had to use the pry tool around the vents to help removal.
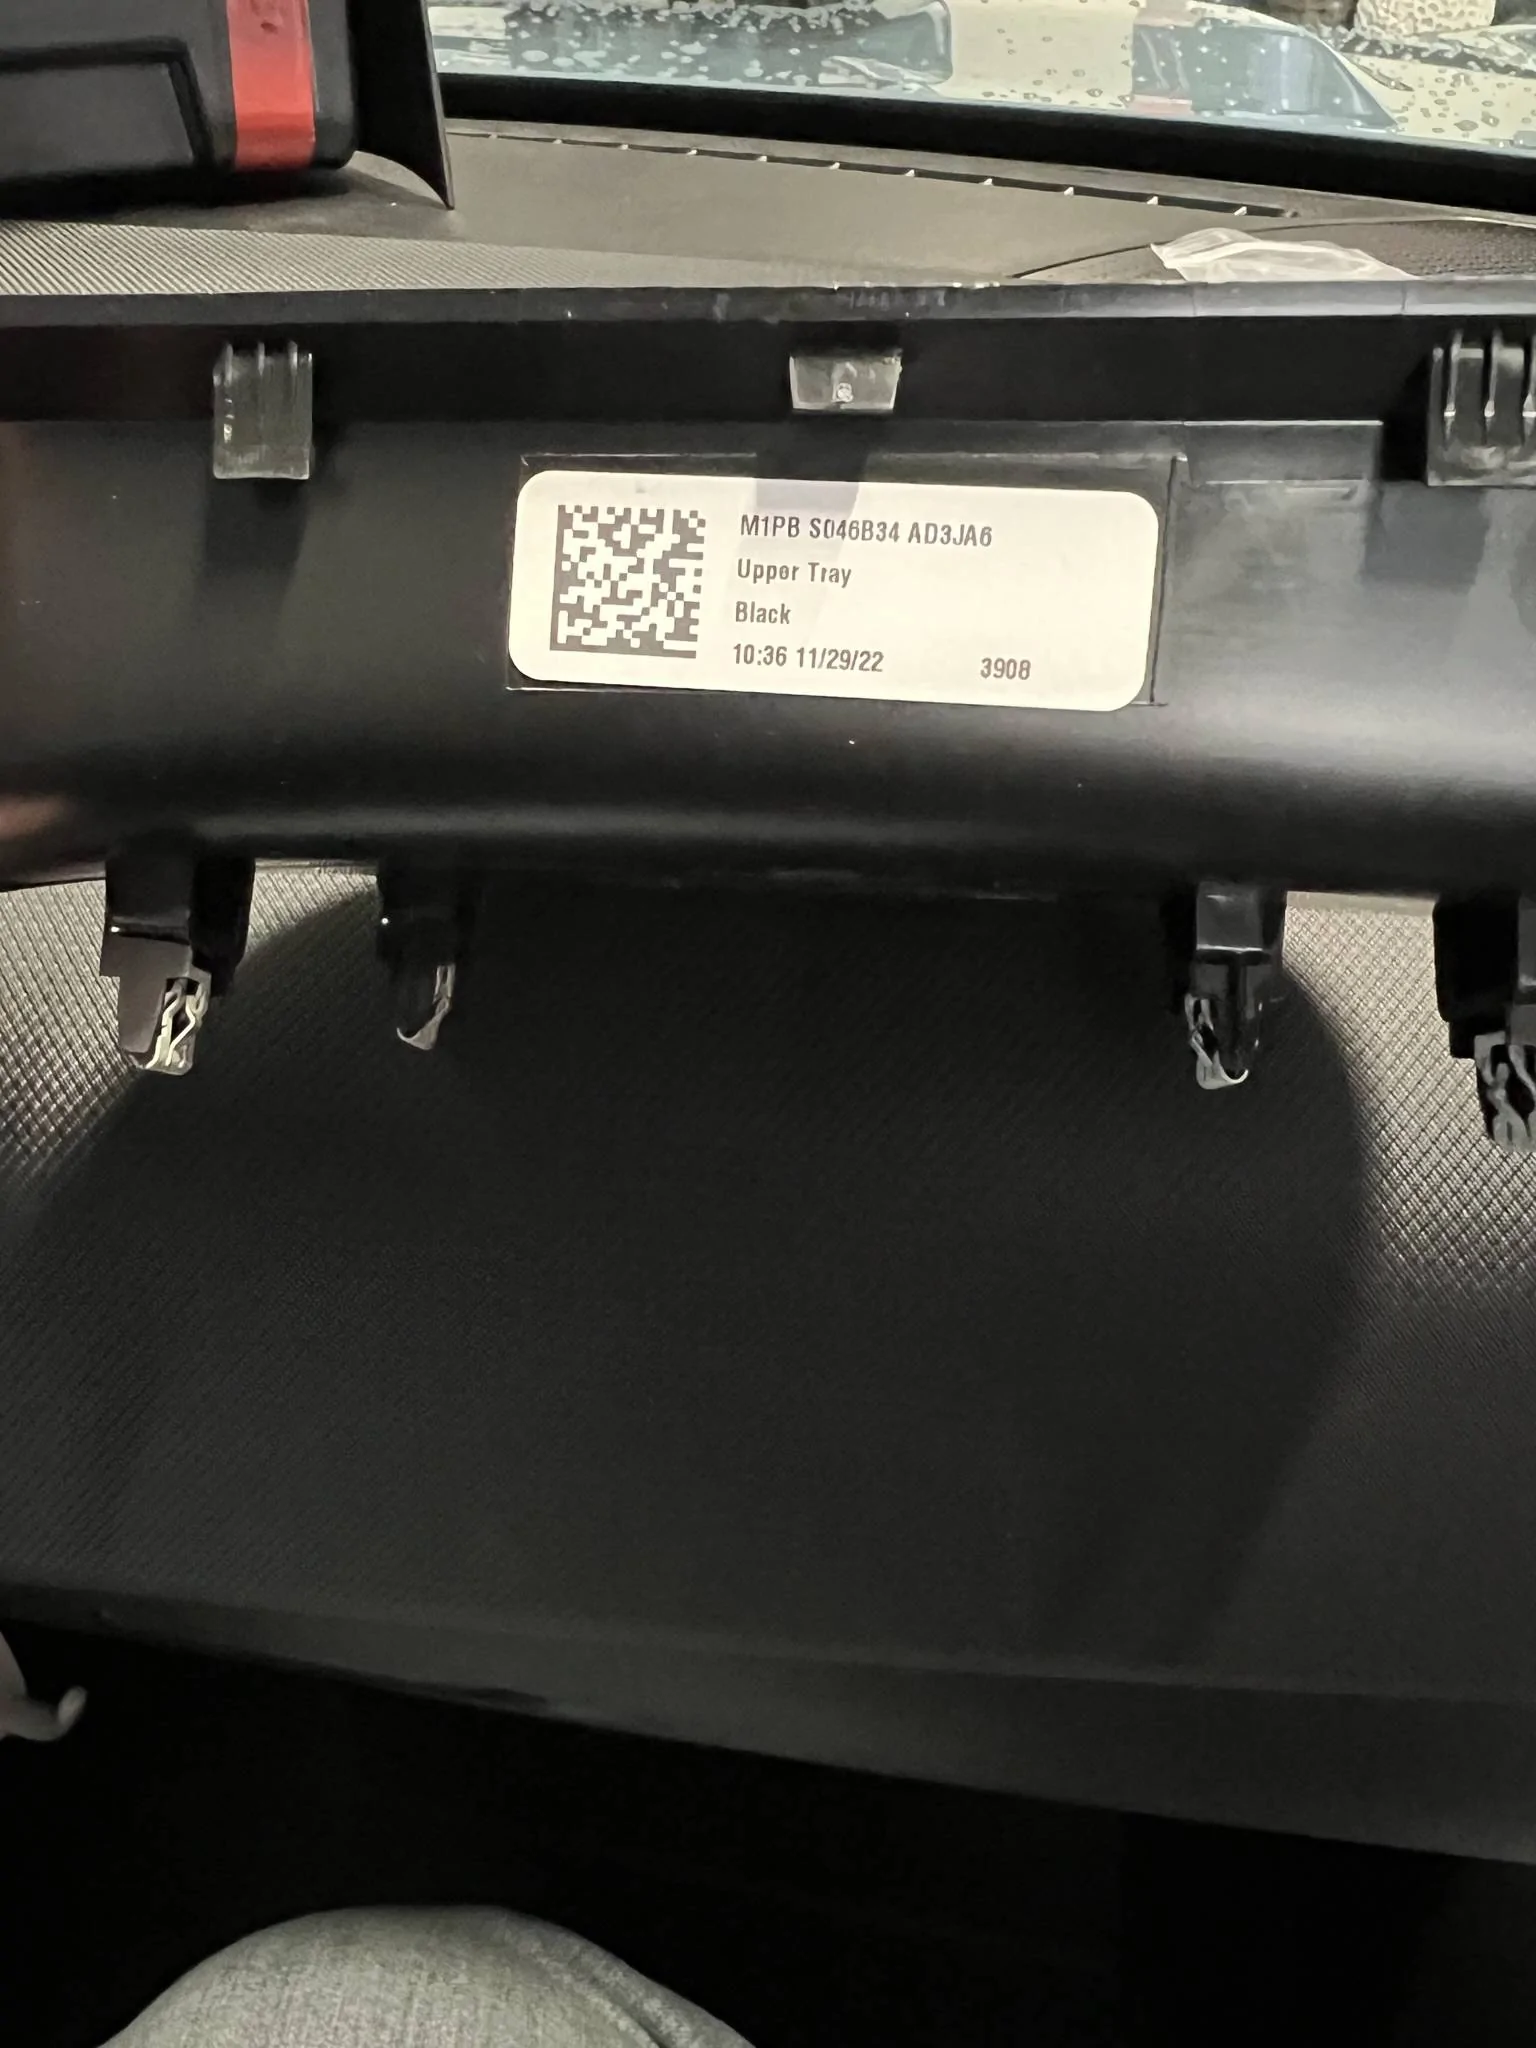
This is a view of the unit removed. The four green tabs are the ones the phone mount get installed on. Watch the video for a more details on how to remove the screen and install the mounts and then re-installing the vent housing and screen. Because of the metal mounts, the screen clips are difficult to push all the way on. I did the best I could, and it is also secured by the three bolts. No issues once completed.
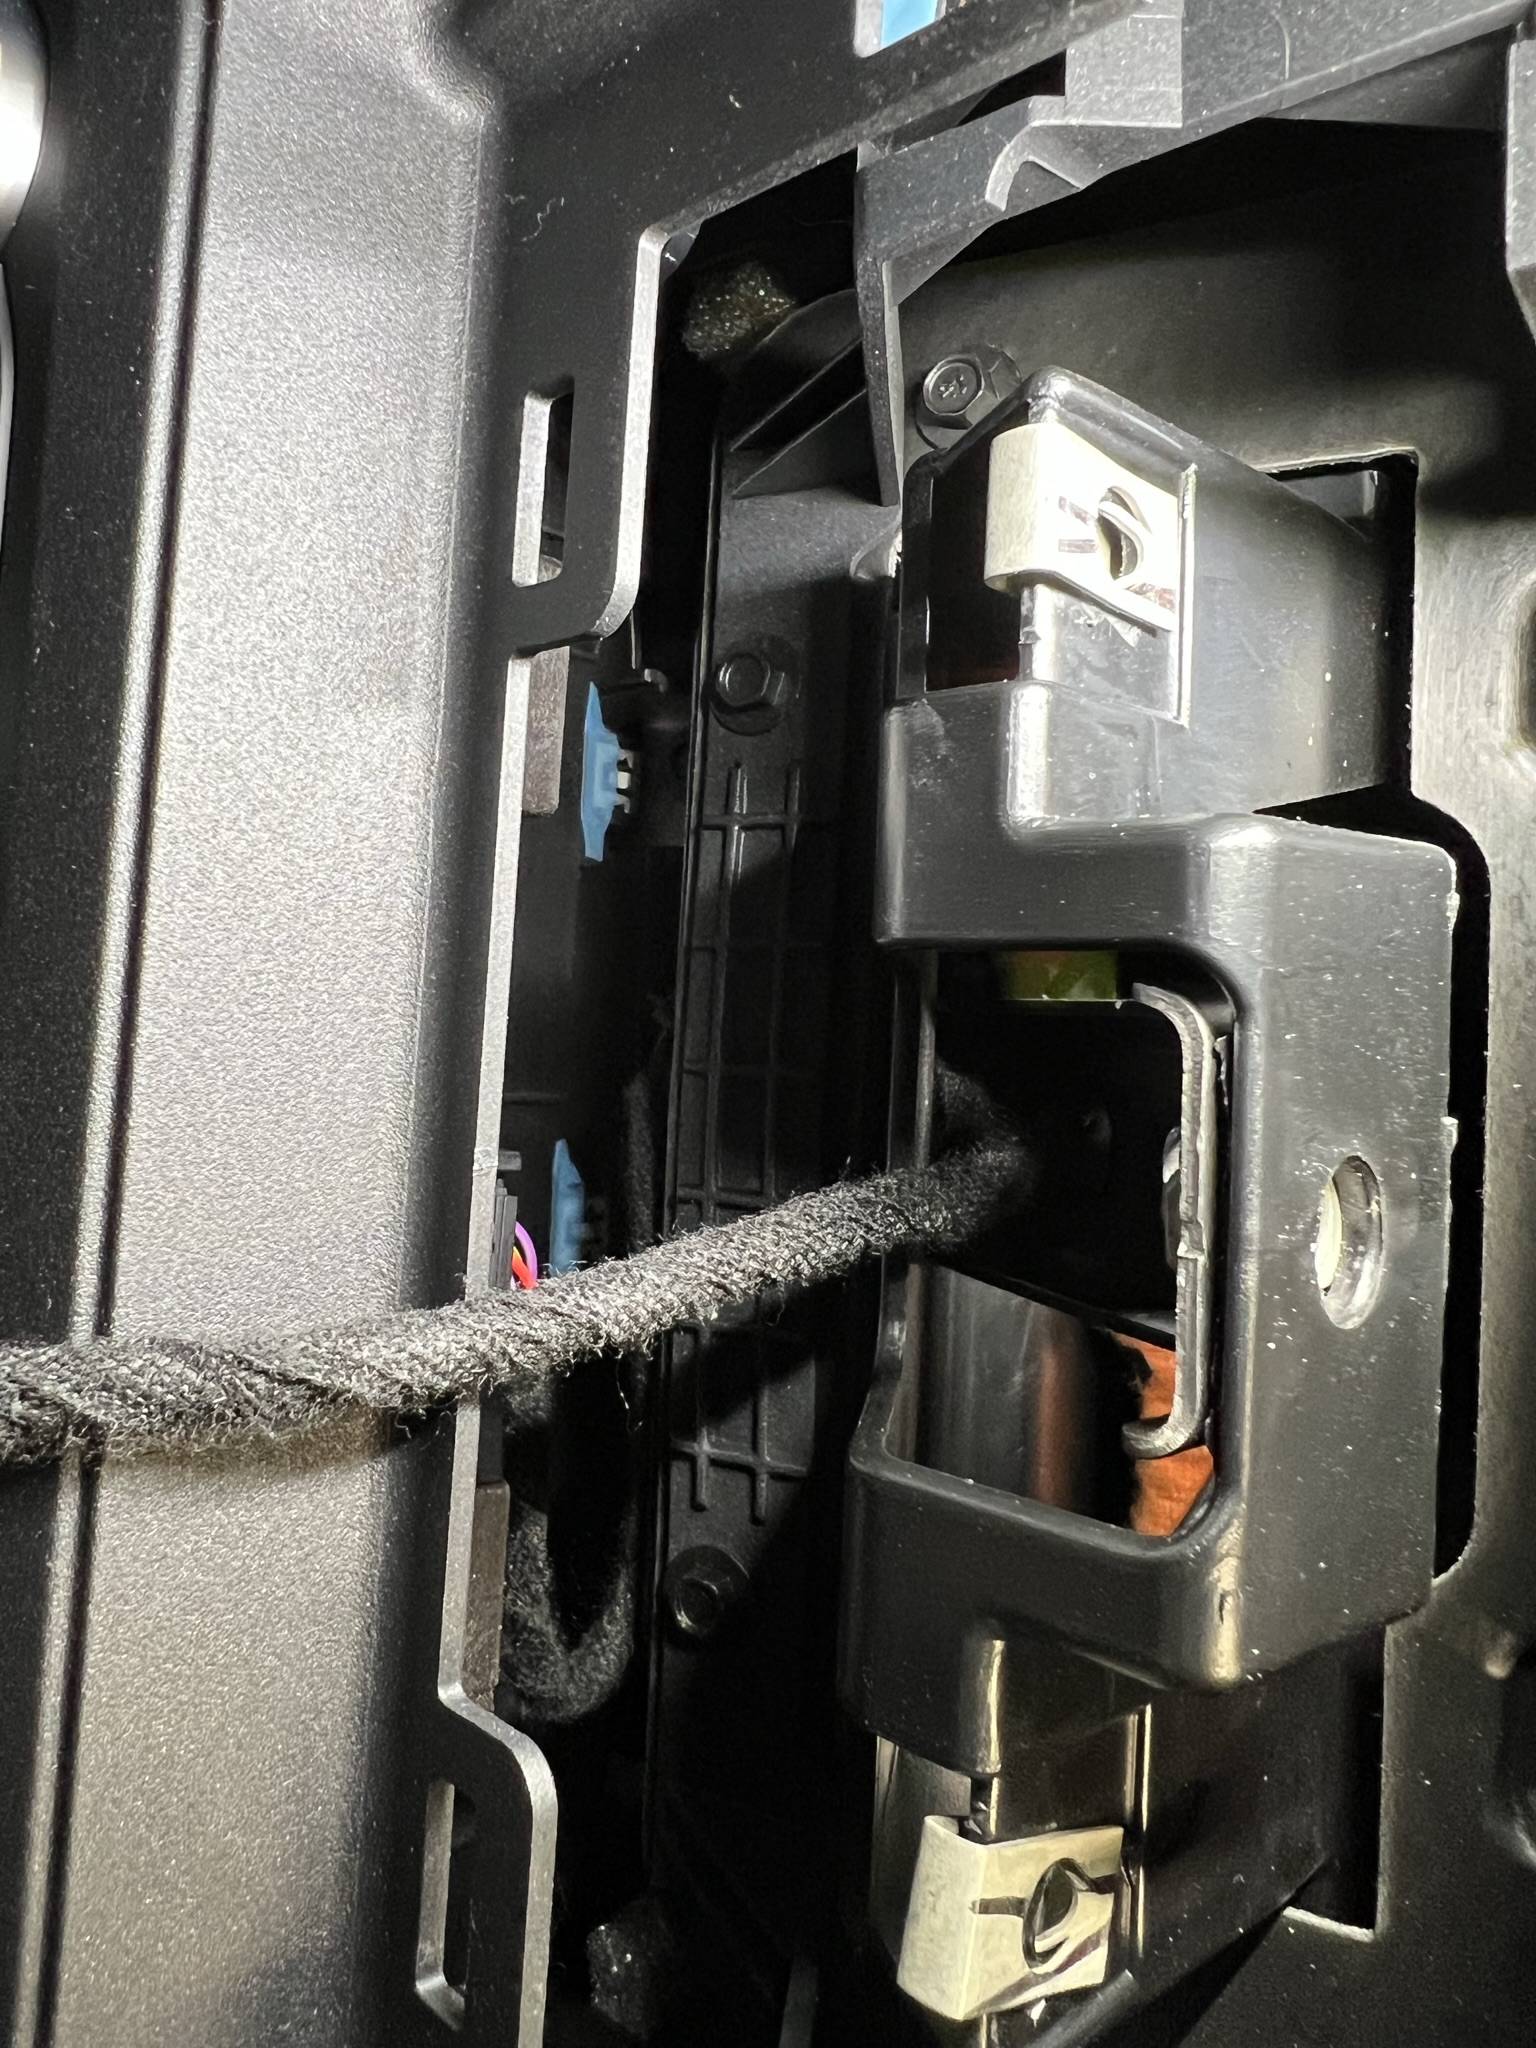
When reinstalling the vent housing, make sure all the clips are on the housing (one of mine stayed back on the dash and fell back a bit, but I got it out and put back on vent housing.) Line up the three clips (has blue tape on them) seen below into the slots when putting unit back.
Push and lock it all back in place and install back the three bolts. Re-install the dash plate taking care to insert the two tabs at the back top of the screen and then push down to lock the four clips. If the two plastic tabs don't back into there will be a gap between this plate and the back of the screen.
They added a small piece of foam to help stop any vibration.
Phone mounted and ready to go. Does not interfere with the screen or controls. Tuner knob is hidden a bit, but I really don't use it.
I am very happy with the results!
I came across Course Motorsports located in Vermont. Many vehicles fits are offered including a Bronco Sport with options for the type of mount you want with some fairly expensive versions if you go that way. I opted for the Right-Hand Magnetic Mount, base offering, because I already have a Belkin Magsafe holder that uses a pivot ball mount like many phone holders. It comes with a 17mm ball, but you can get a different size if needed. Ensure you select which side of the screen you want the mount.
The above web page has an install video that helped a lot. I suspect the disassembly and reassembly has been done several times on their vehicle and it looks easy removal and snap in. Now, I will tell you that it does take a bit of prying and pulling but look at the pics below to see where all the clips are, go slow, and it will help. The pry tool they show is important to have (which I already did)!
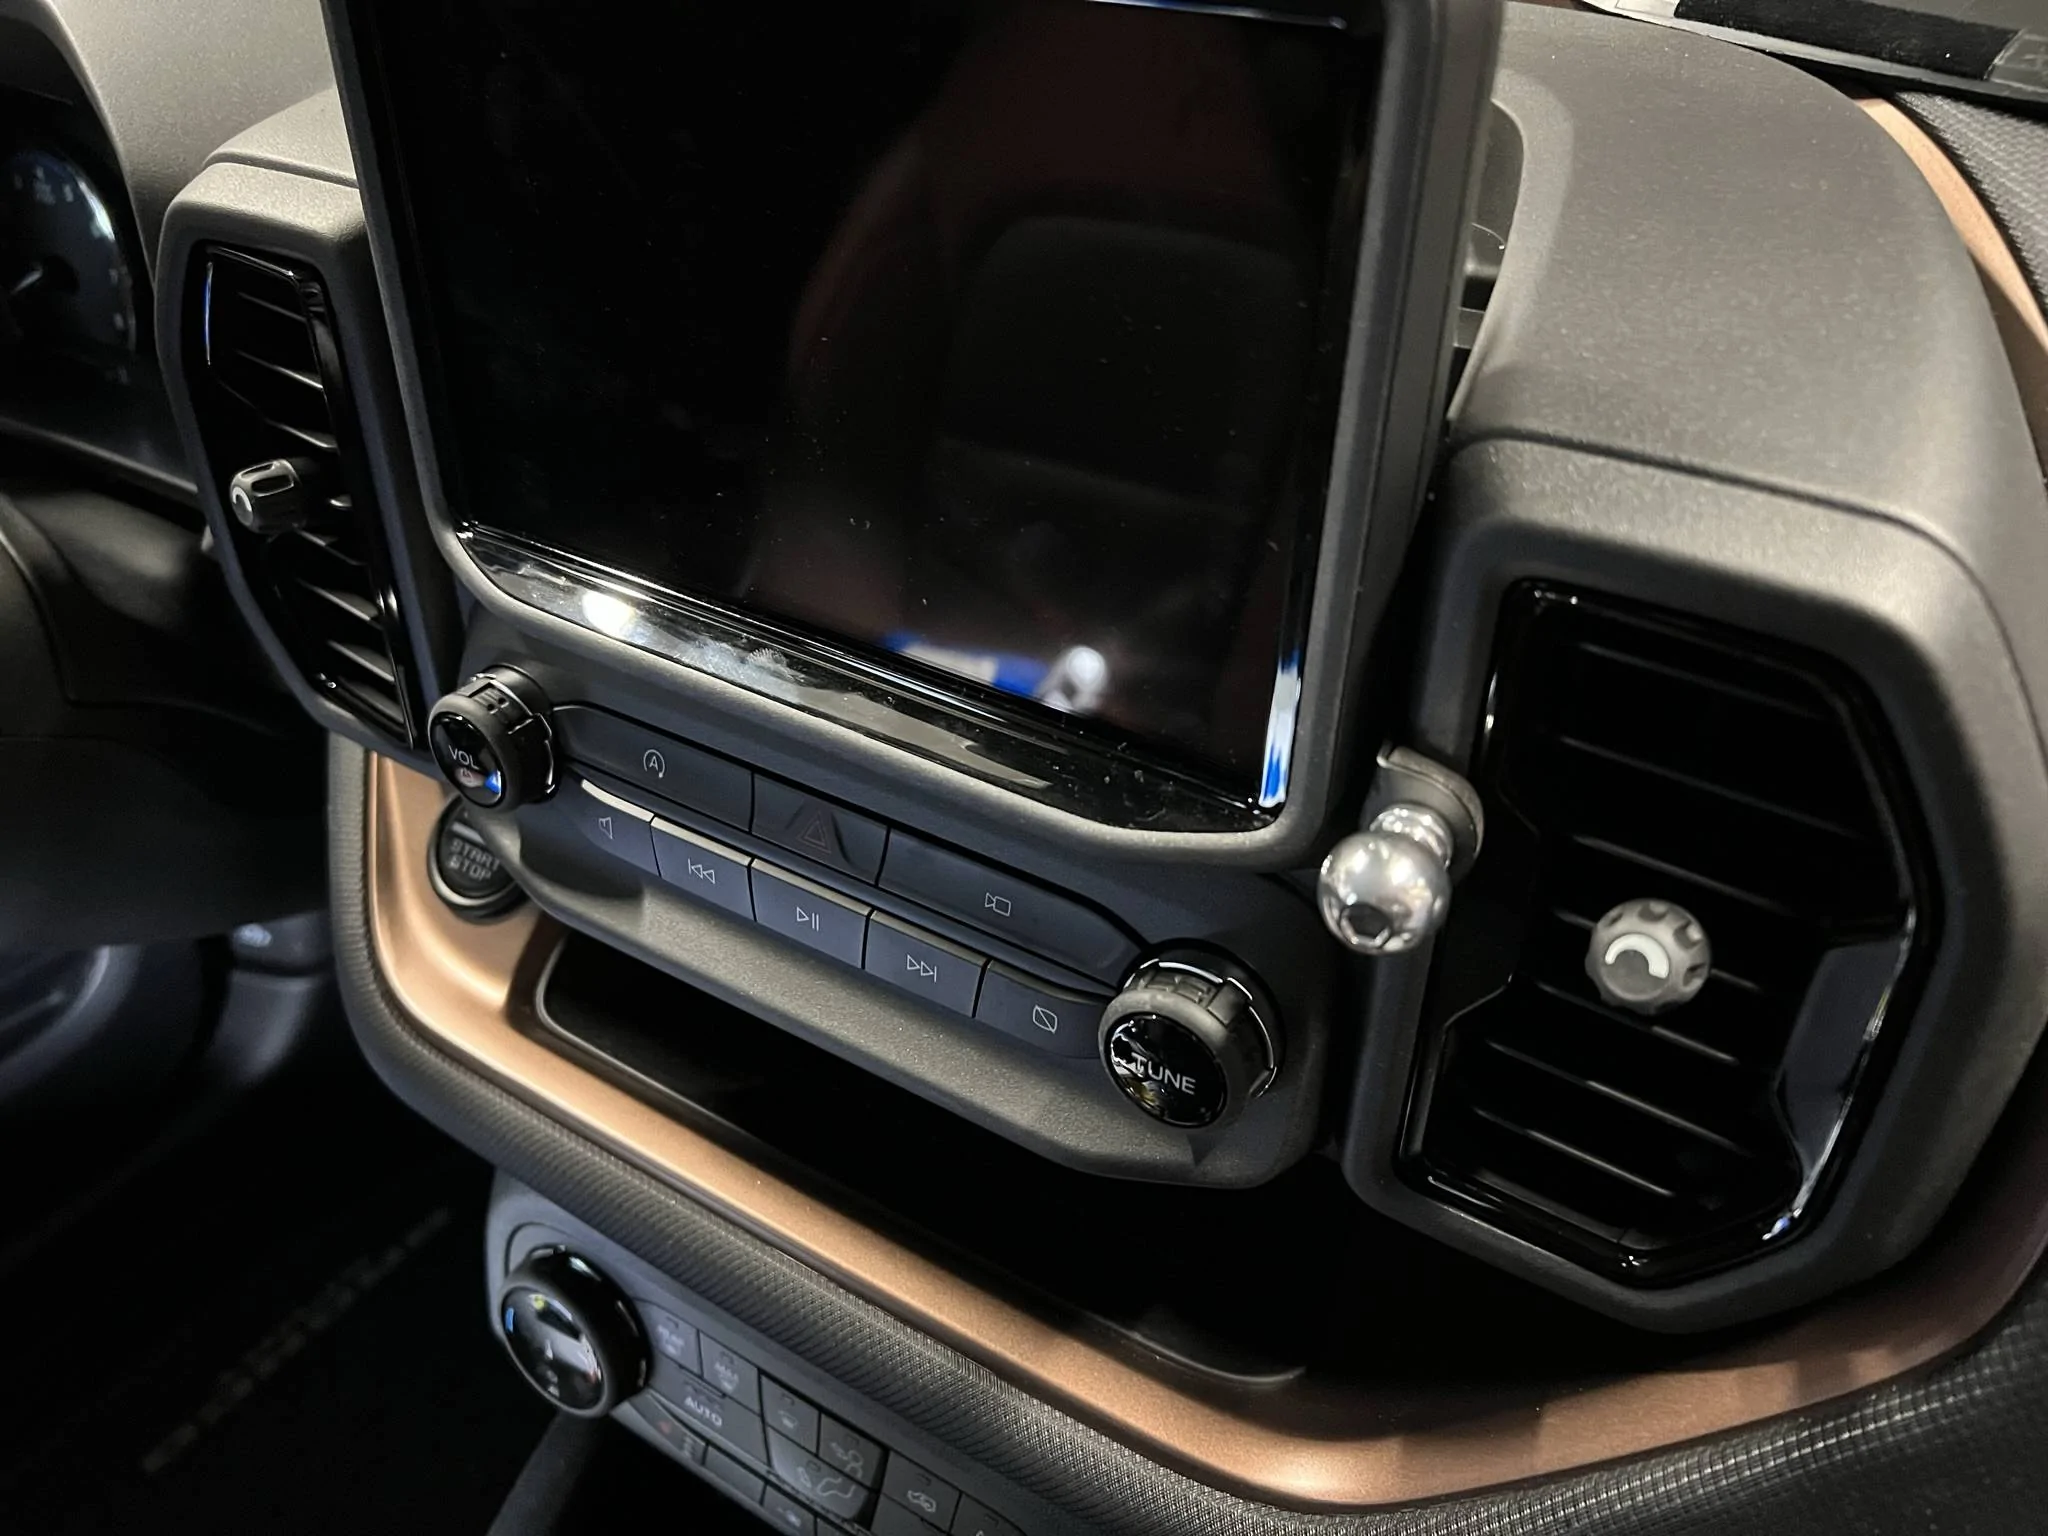
Nice and clean with just the bracket and ball installed.
With my own magnetic holder/charger
Here are some pictures I took during the installation. When prying off the dash piece, mind the two tab at the top back of the screen as mentioned in the video. This piece goes up straight to release the tabs.

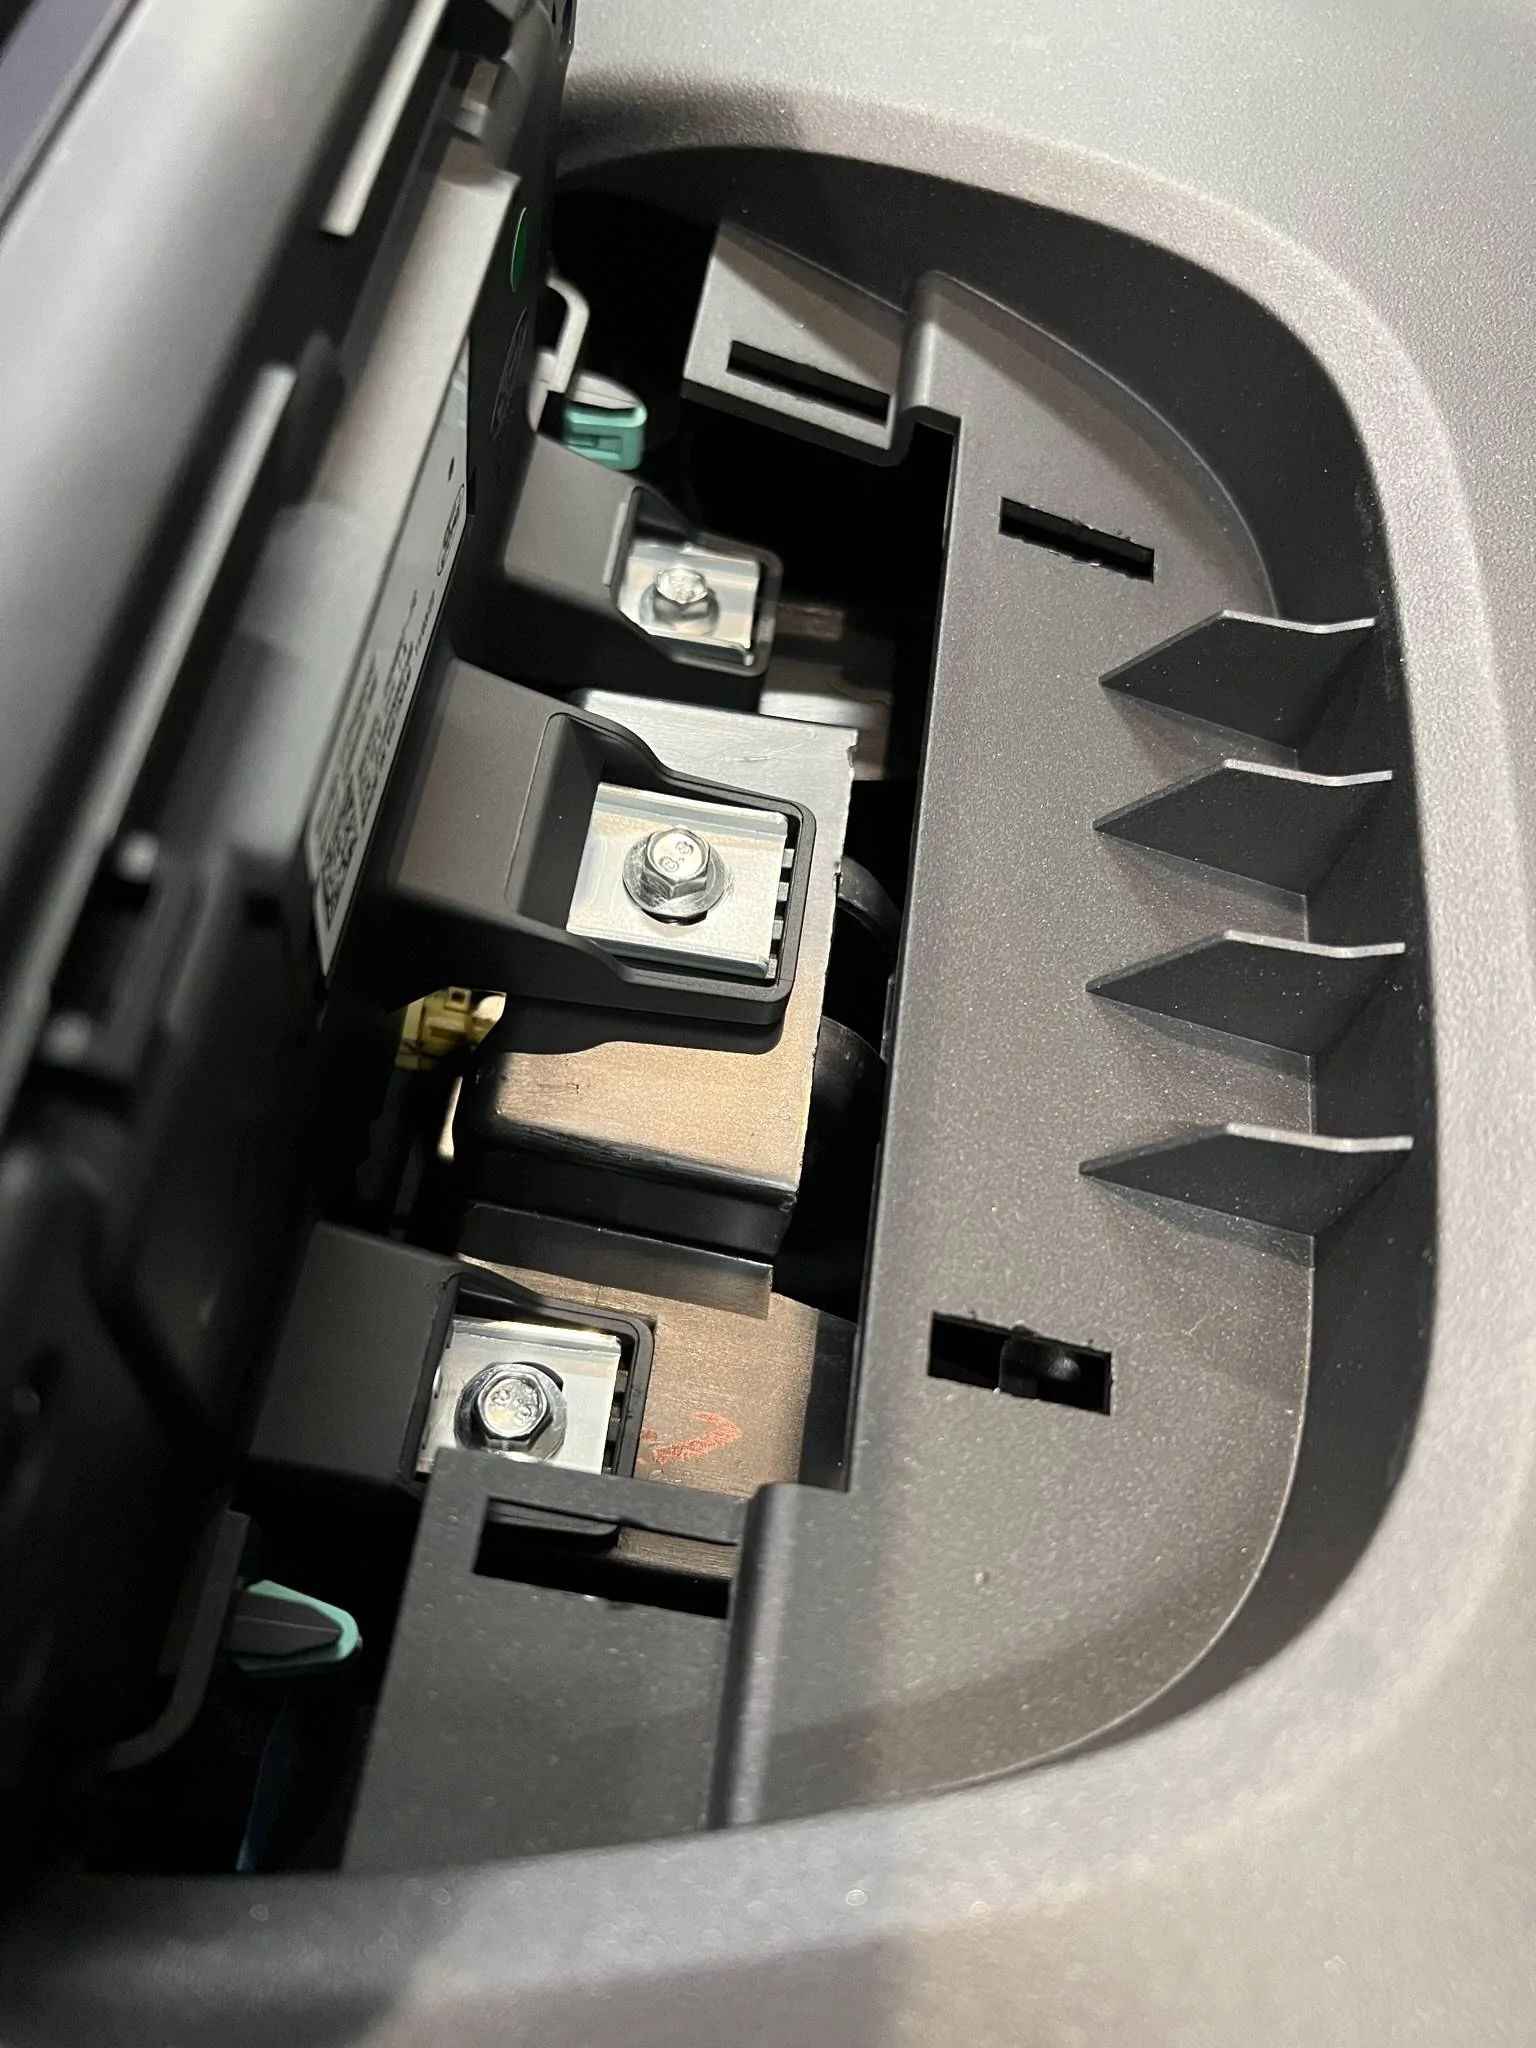
Note the locations of the tabs here on the vents and the three tabs under the unit. I had to use the pry tool around the vents to help removal.
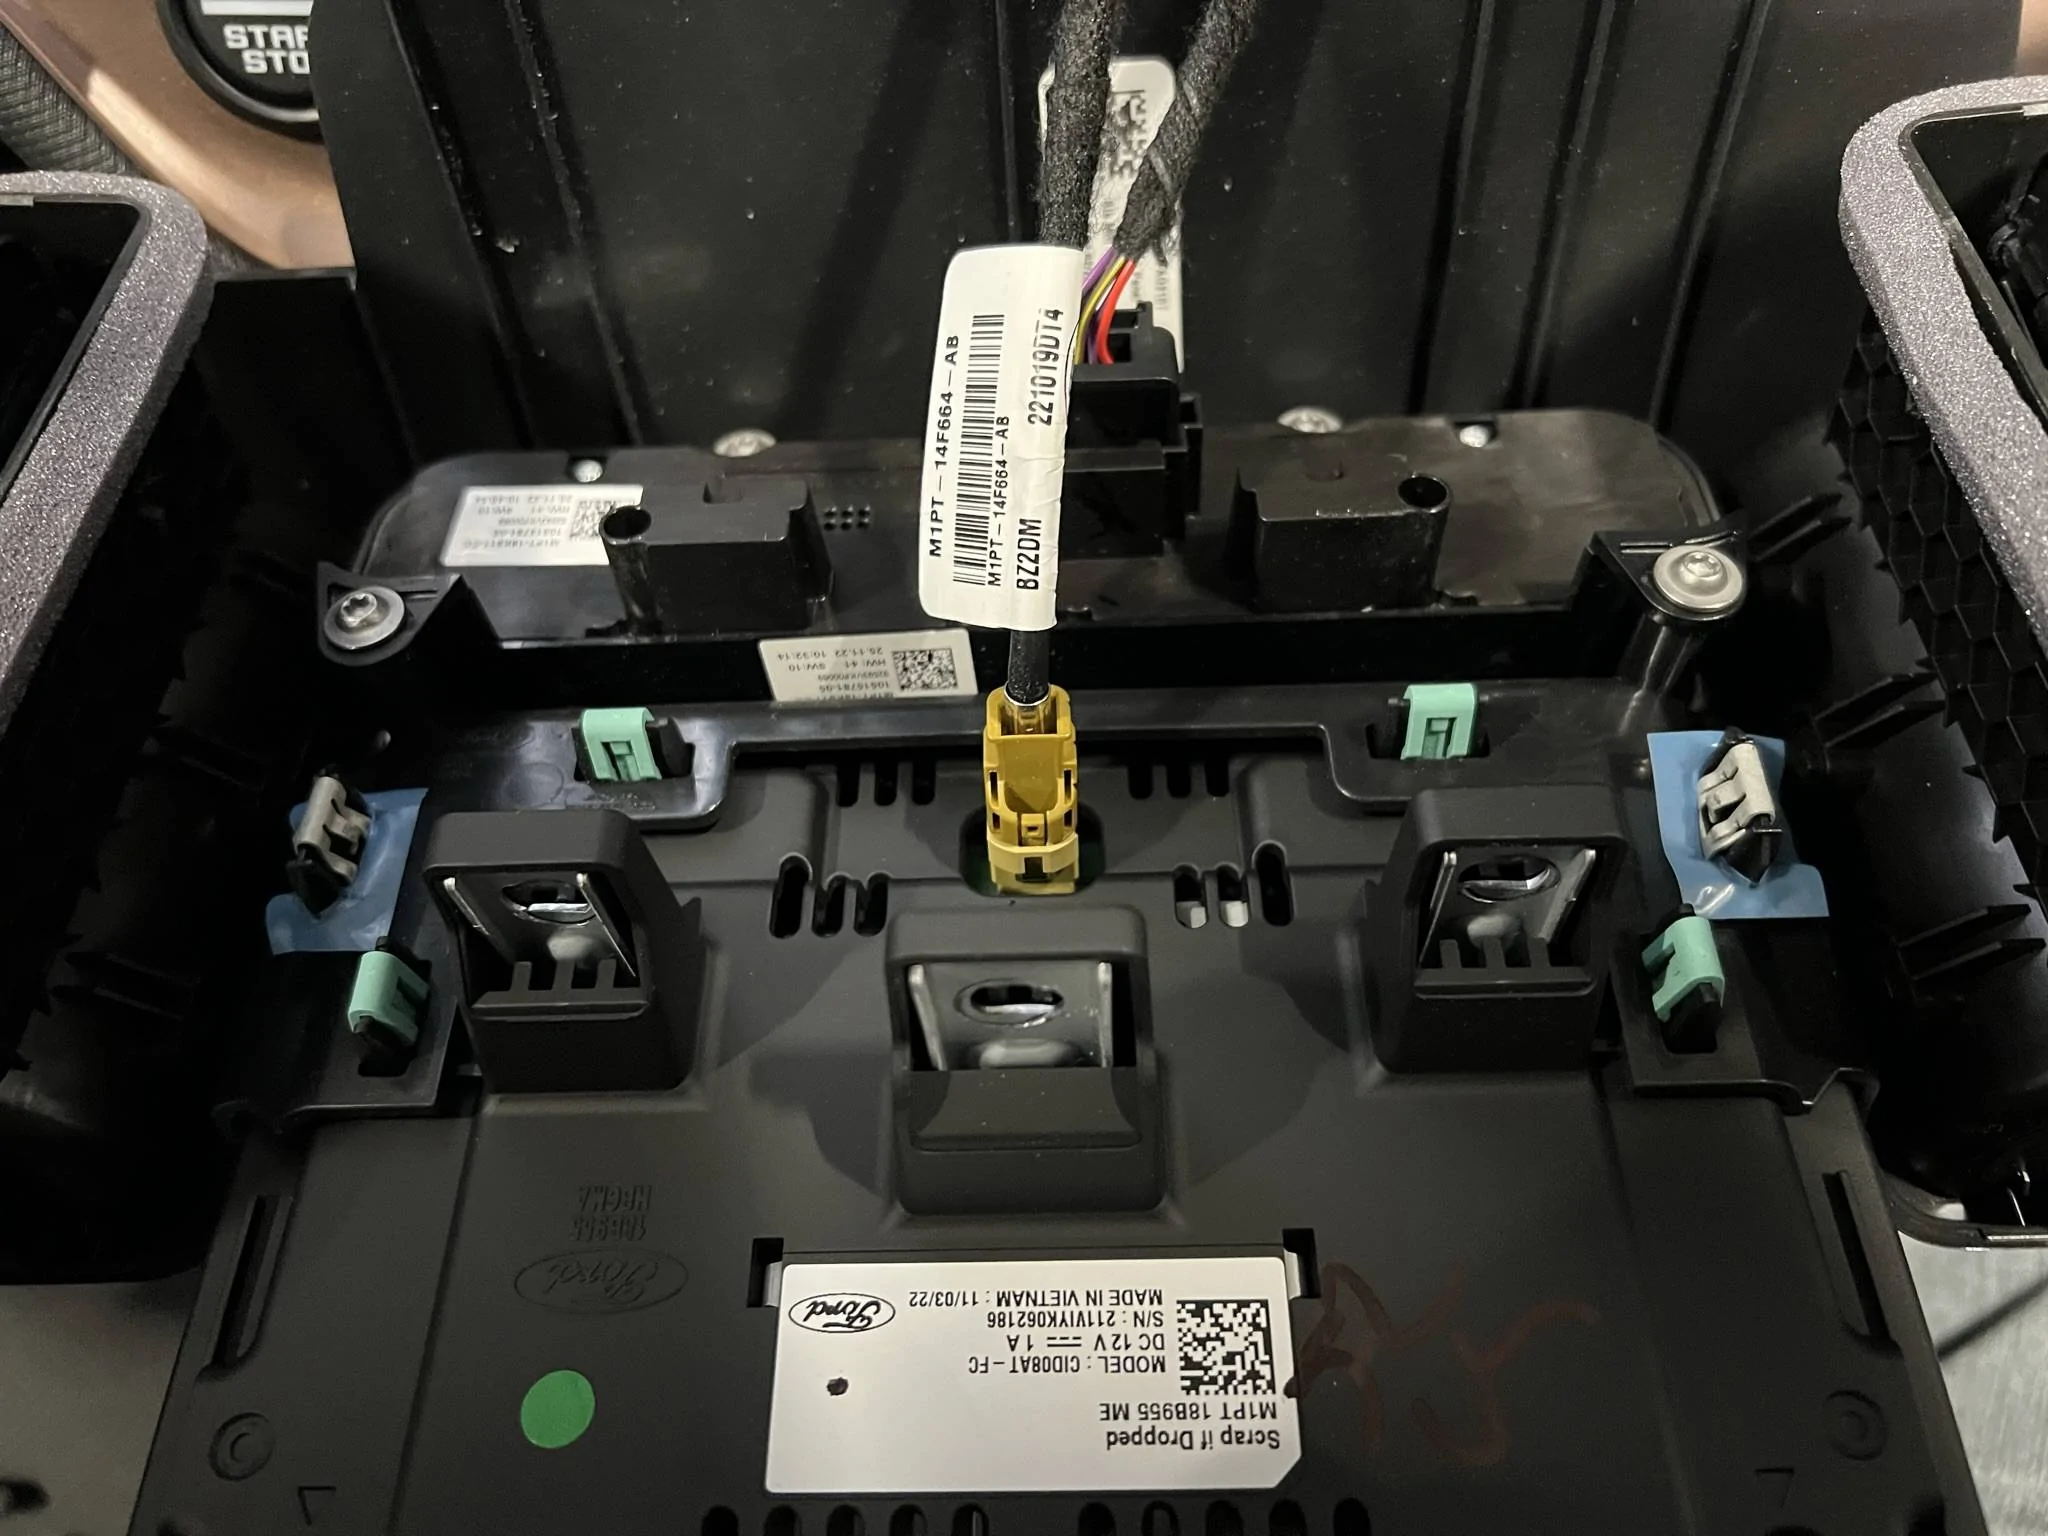
This is a view of the unit removed. The four green tabs are the ones the phone mount get installed on. Watch the video for a more details on how to remove the screen and install the mounts and then re-installing the vent housing and screen. Because of the metal mounts, the screen clips are difficult to push all the way on. I did the best I could, and it is also secured by the three bolts. No issues once completed.
When reinstalling the vent housing, make sure all the clips are on the housing (one of mine stayed back on the dash and fell back a bit, but I got it out and put back on vent housing.) Line up the three clips (has blue tape on them) seen below into the slots when putting unit back.
Push and lock it all back in place and install back the three bolts. Re-install the dash plate taking care to insert the two tabs at the back top of the screen and then push down to lock the four clips. If the two plastic tabs don't back into there will be a gap between this plate and the back of the screen.
They added a small piece of foam to help stop any vibration.
Phone mounted and ready to go. Does not interfere with the screen or controls. Tuner knob is hidden a bit, but I really don't use it.
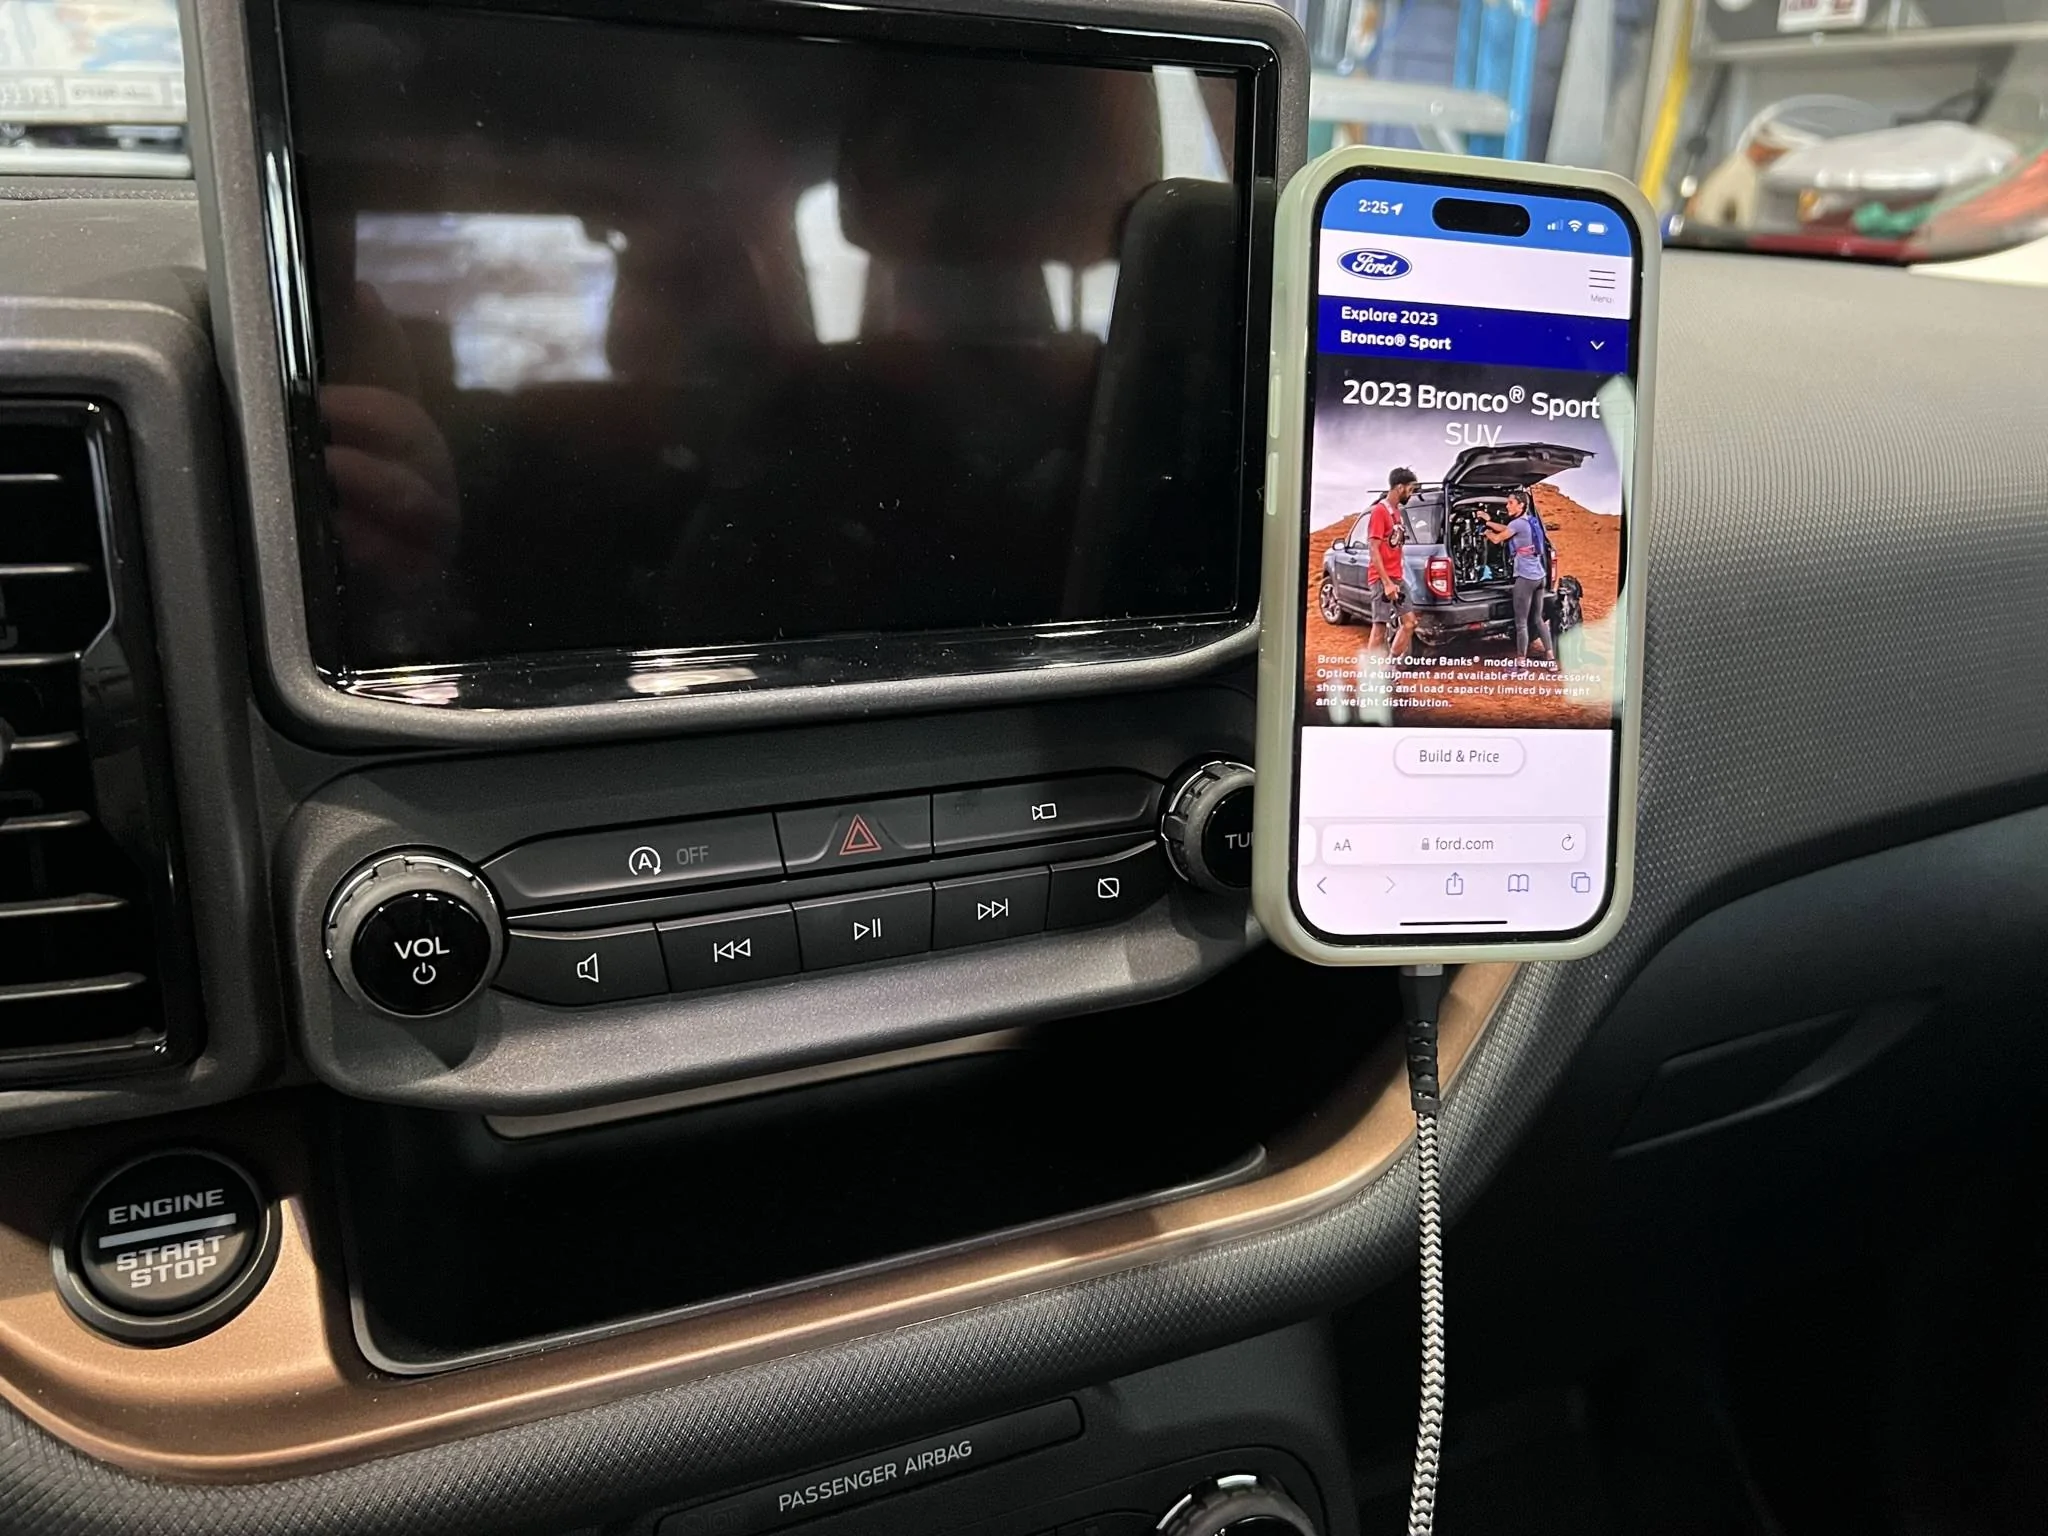
I am very happy with the results!
Last edited: