
- Thread starter
- #1
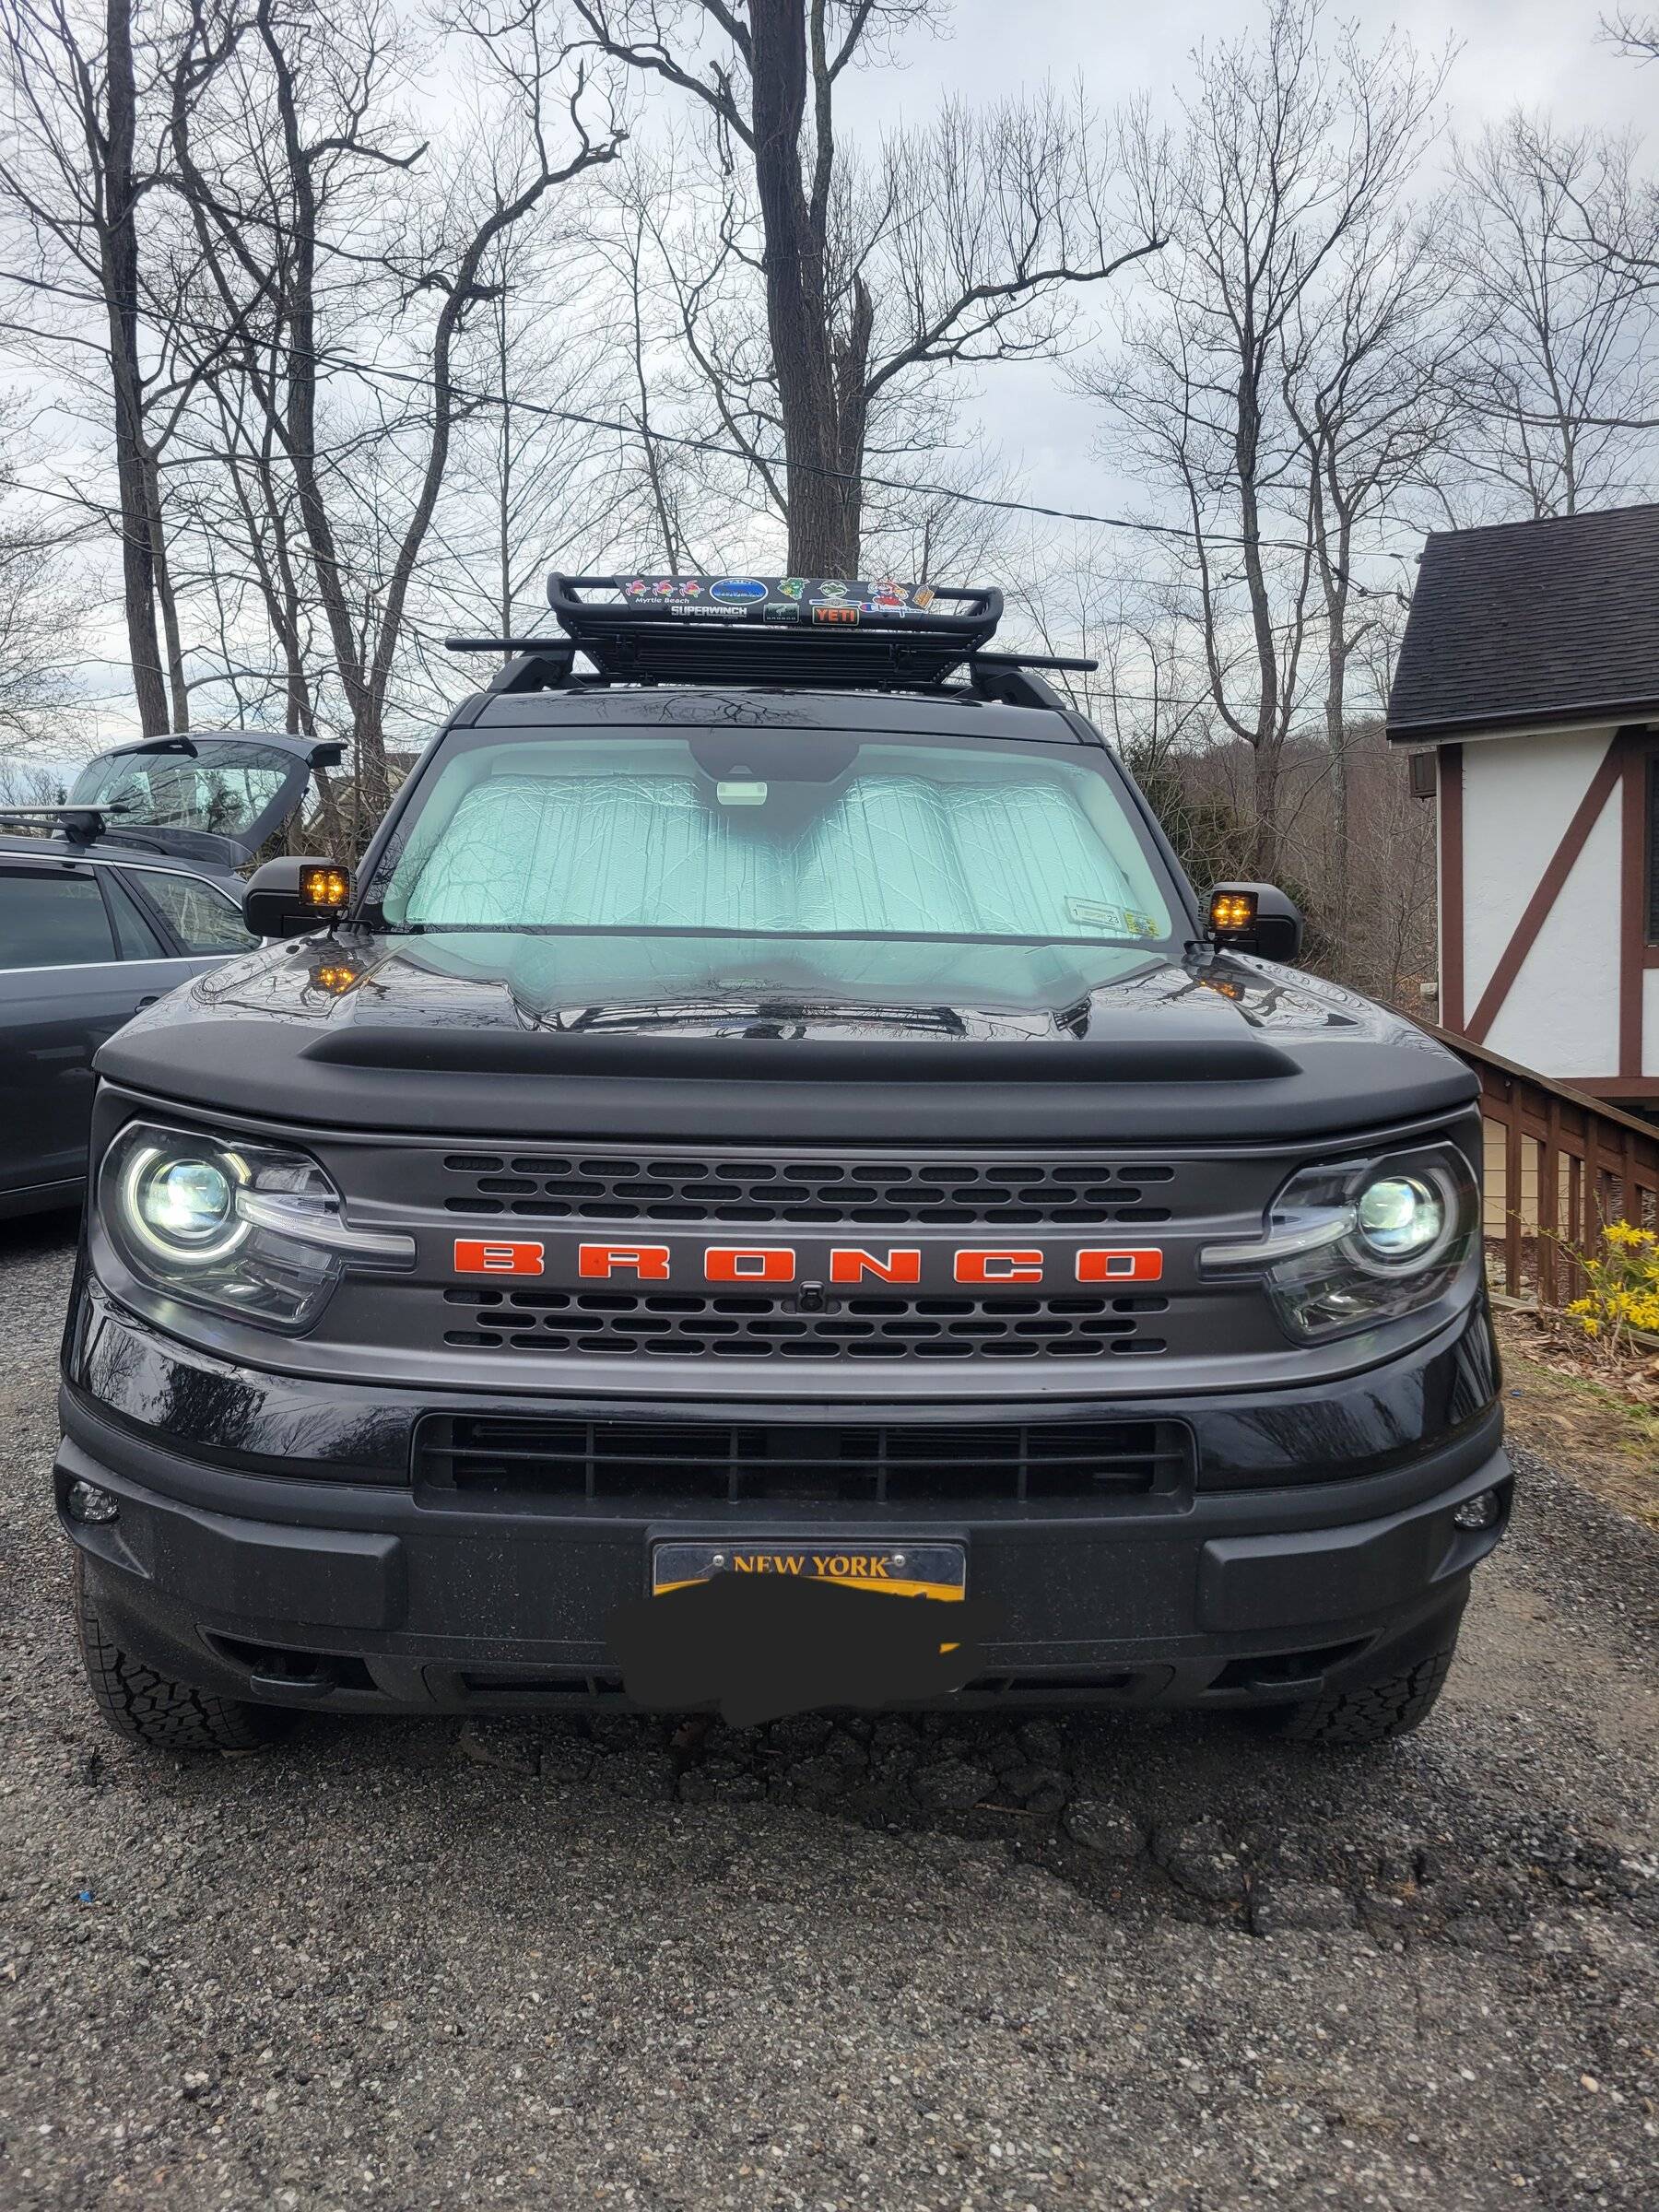
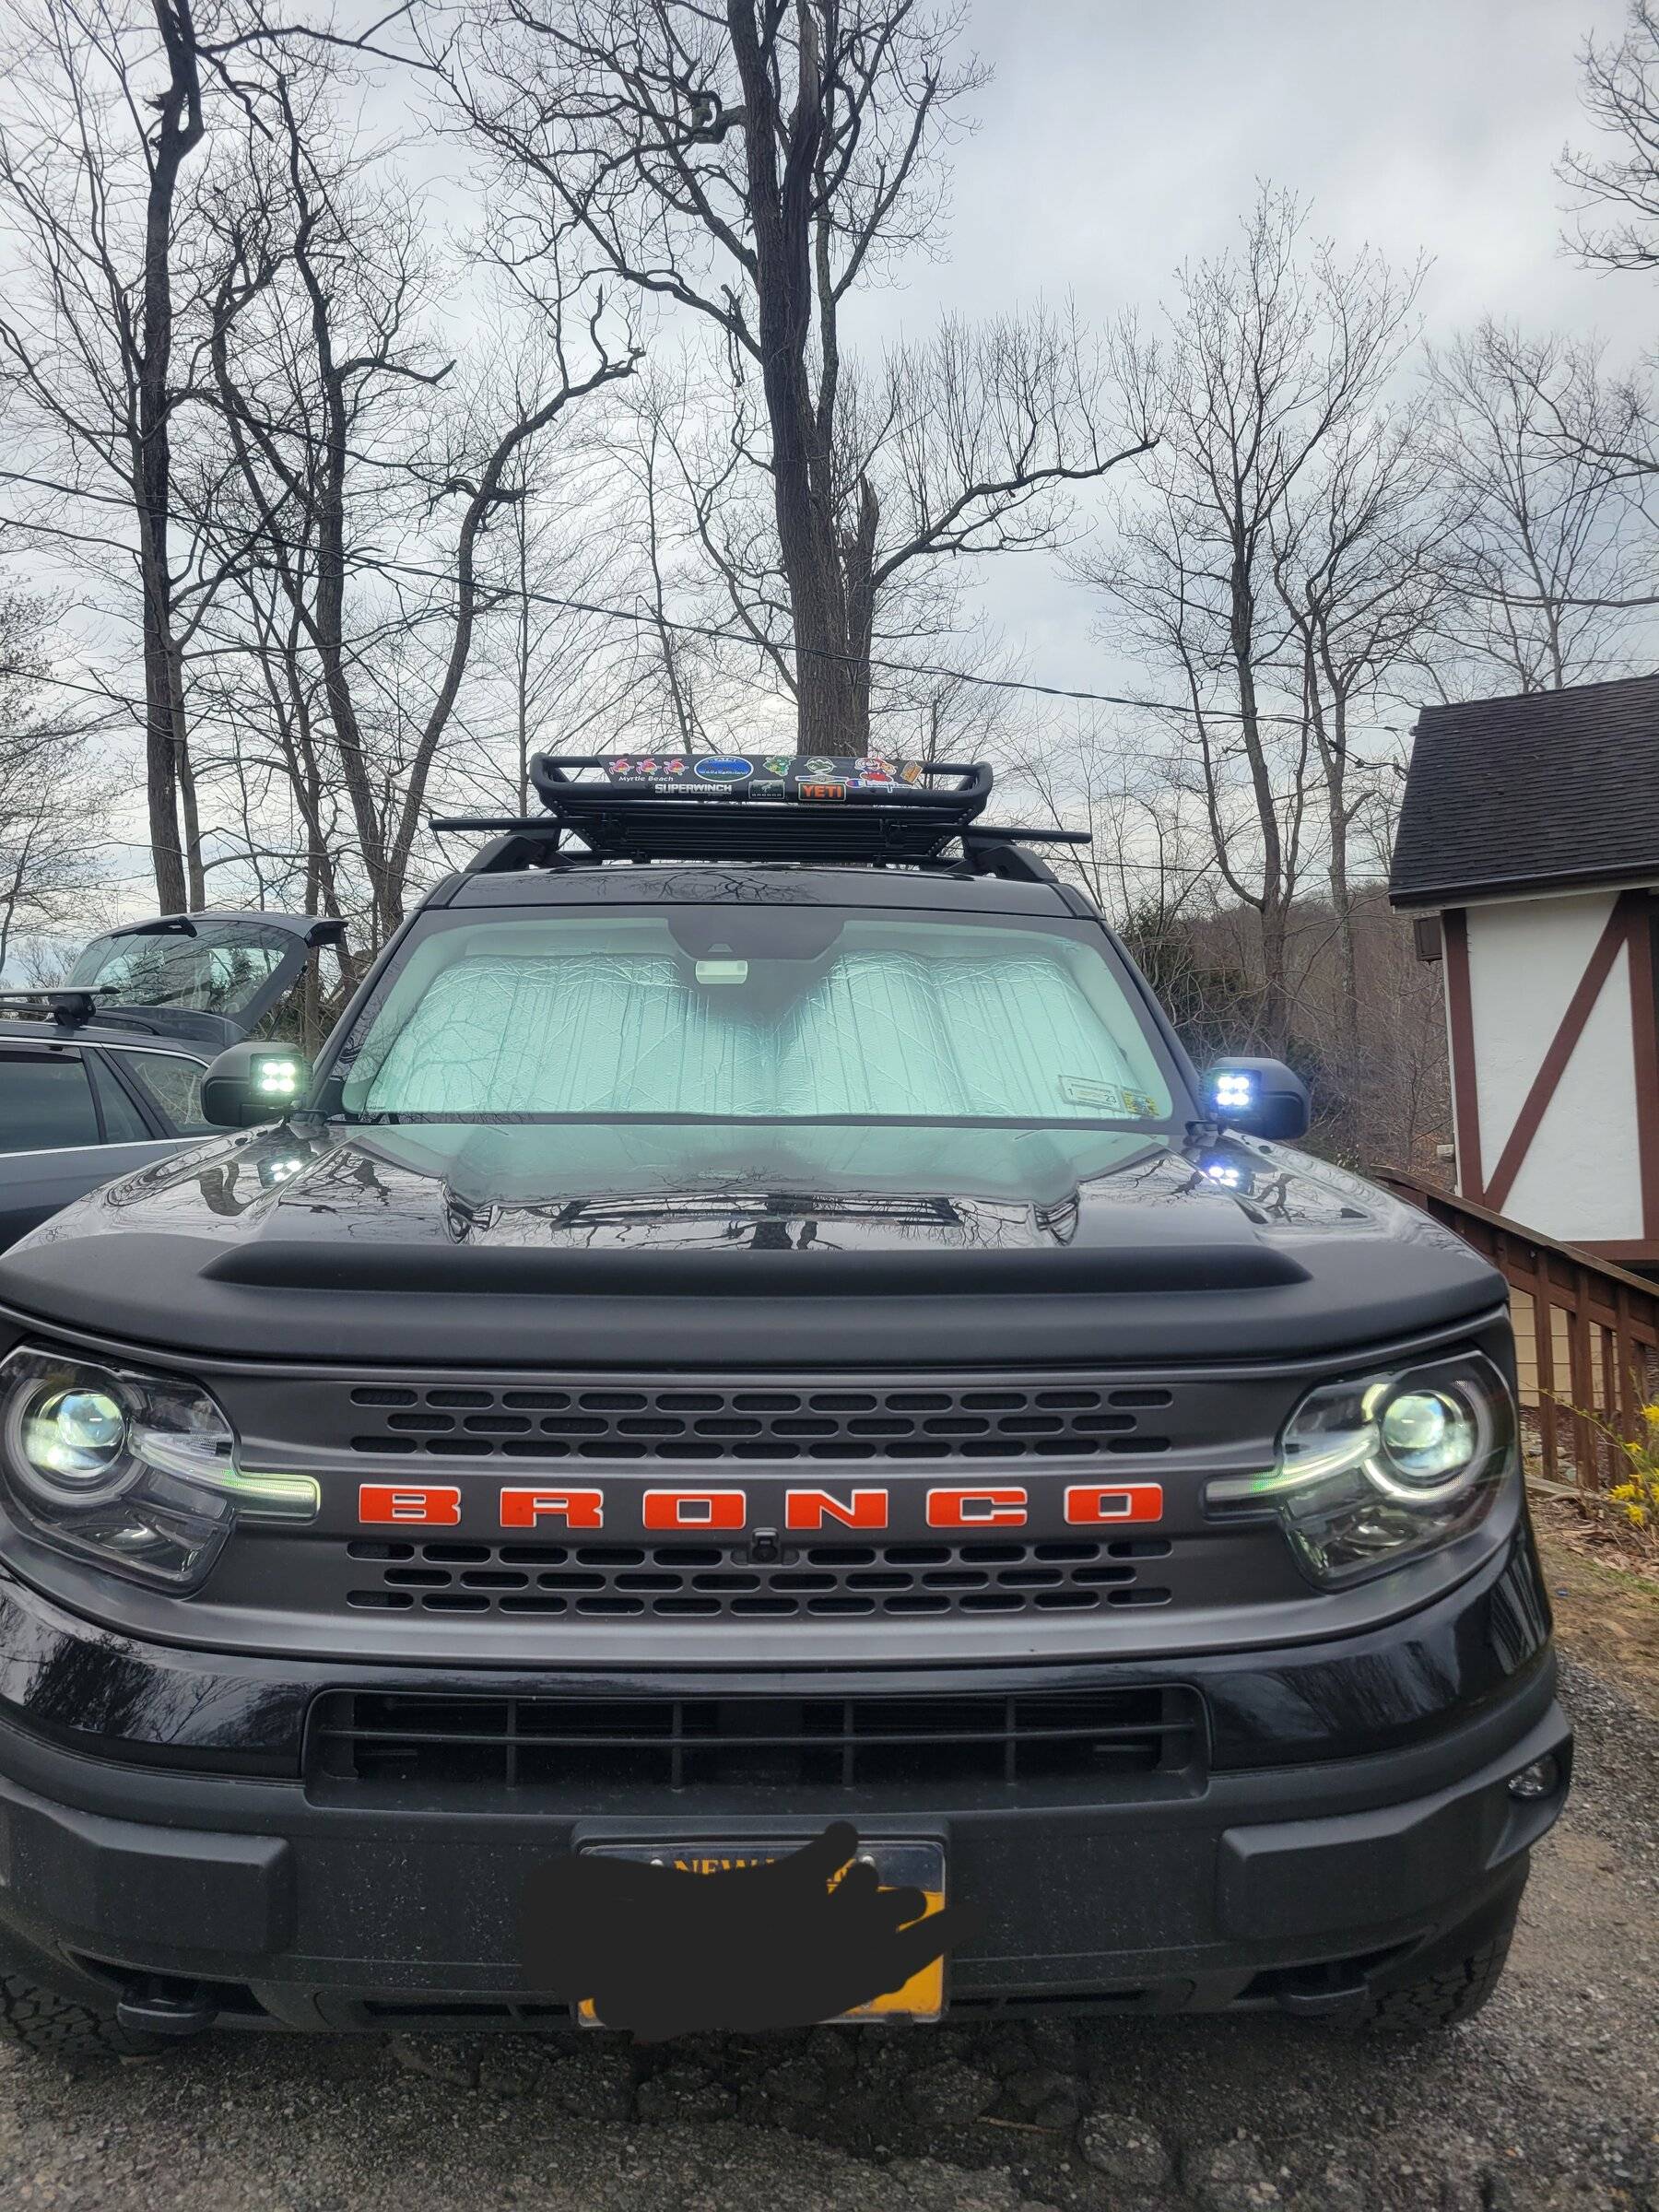
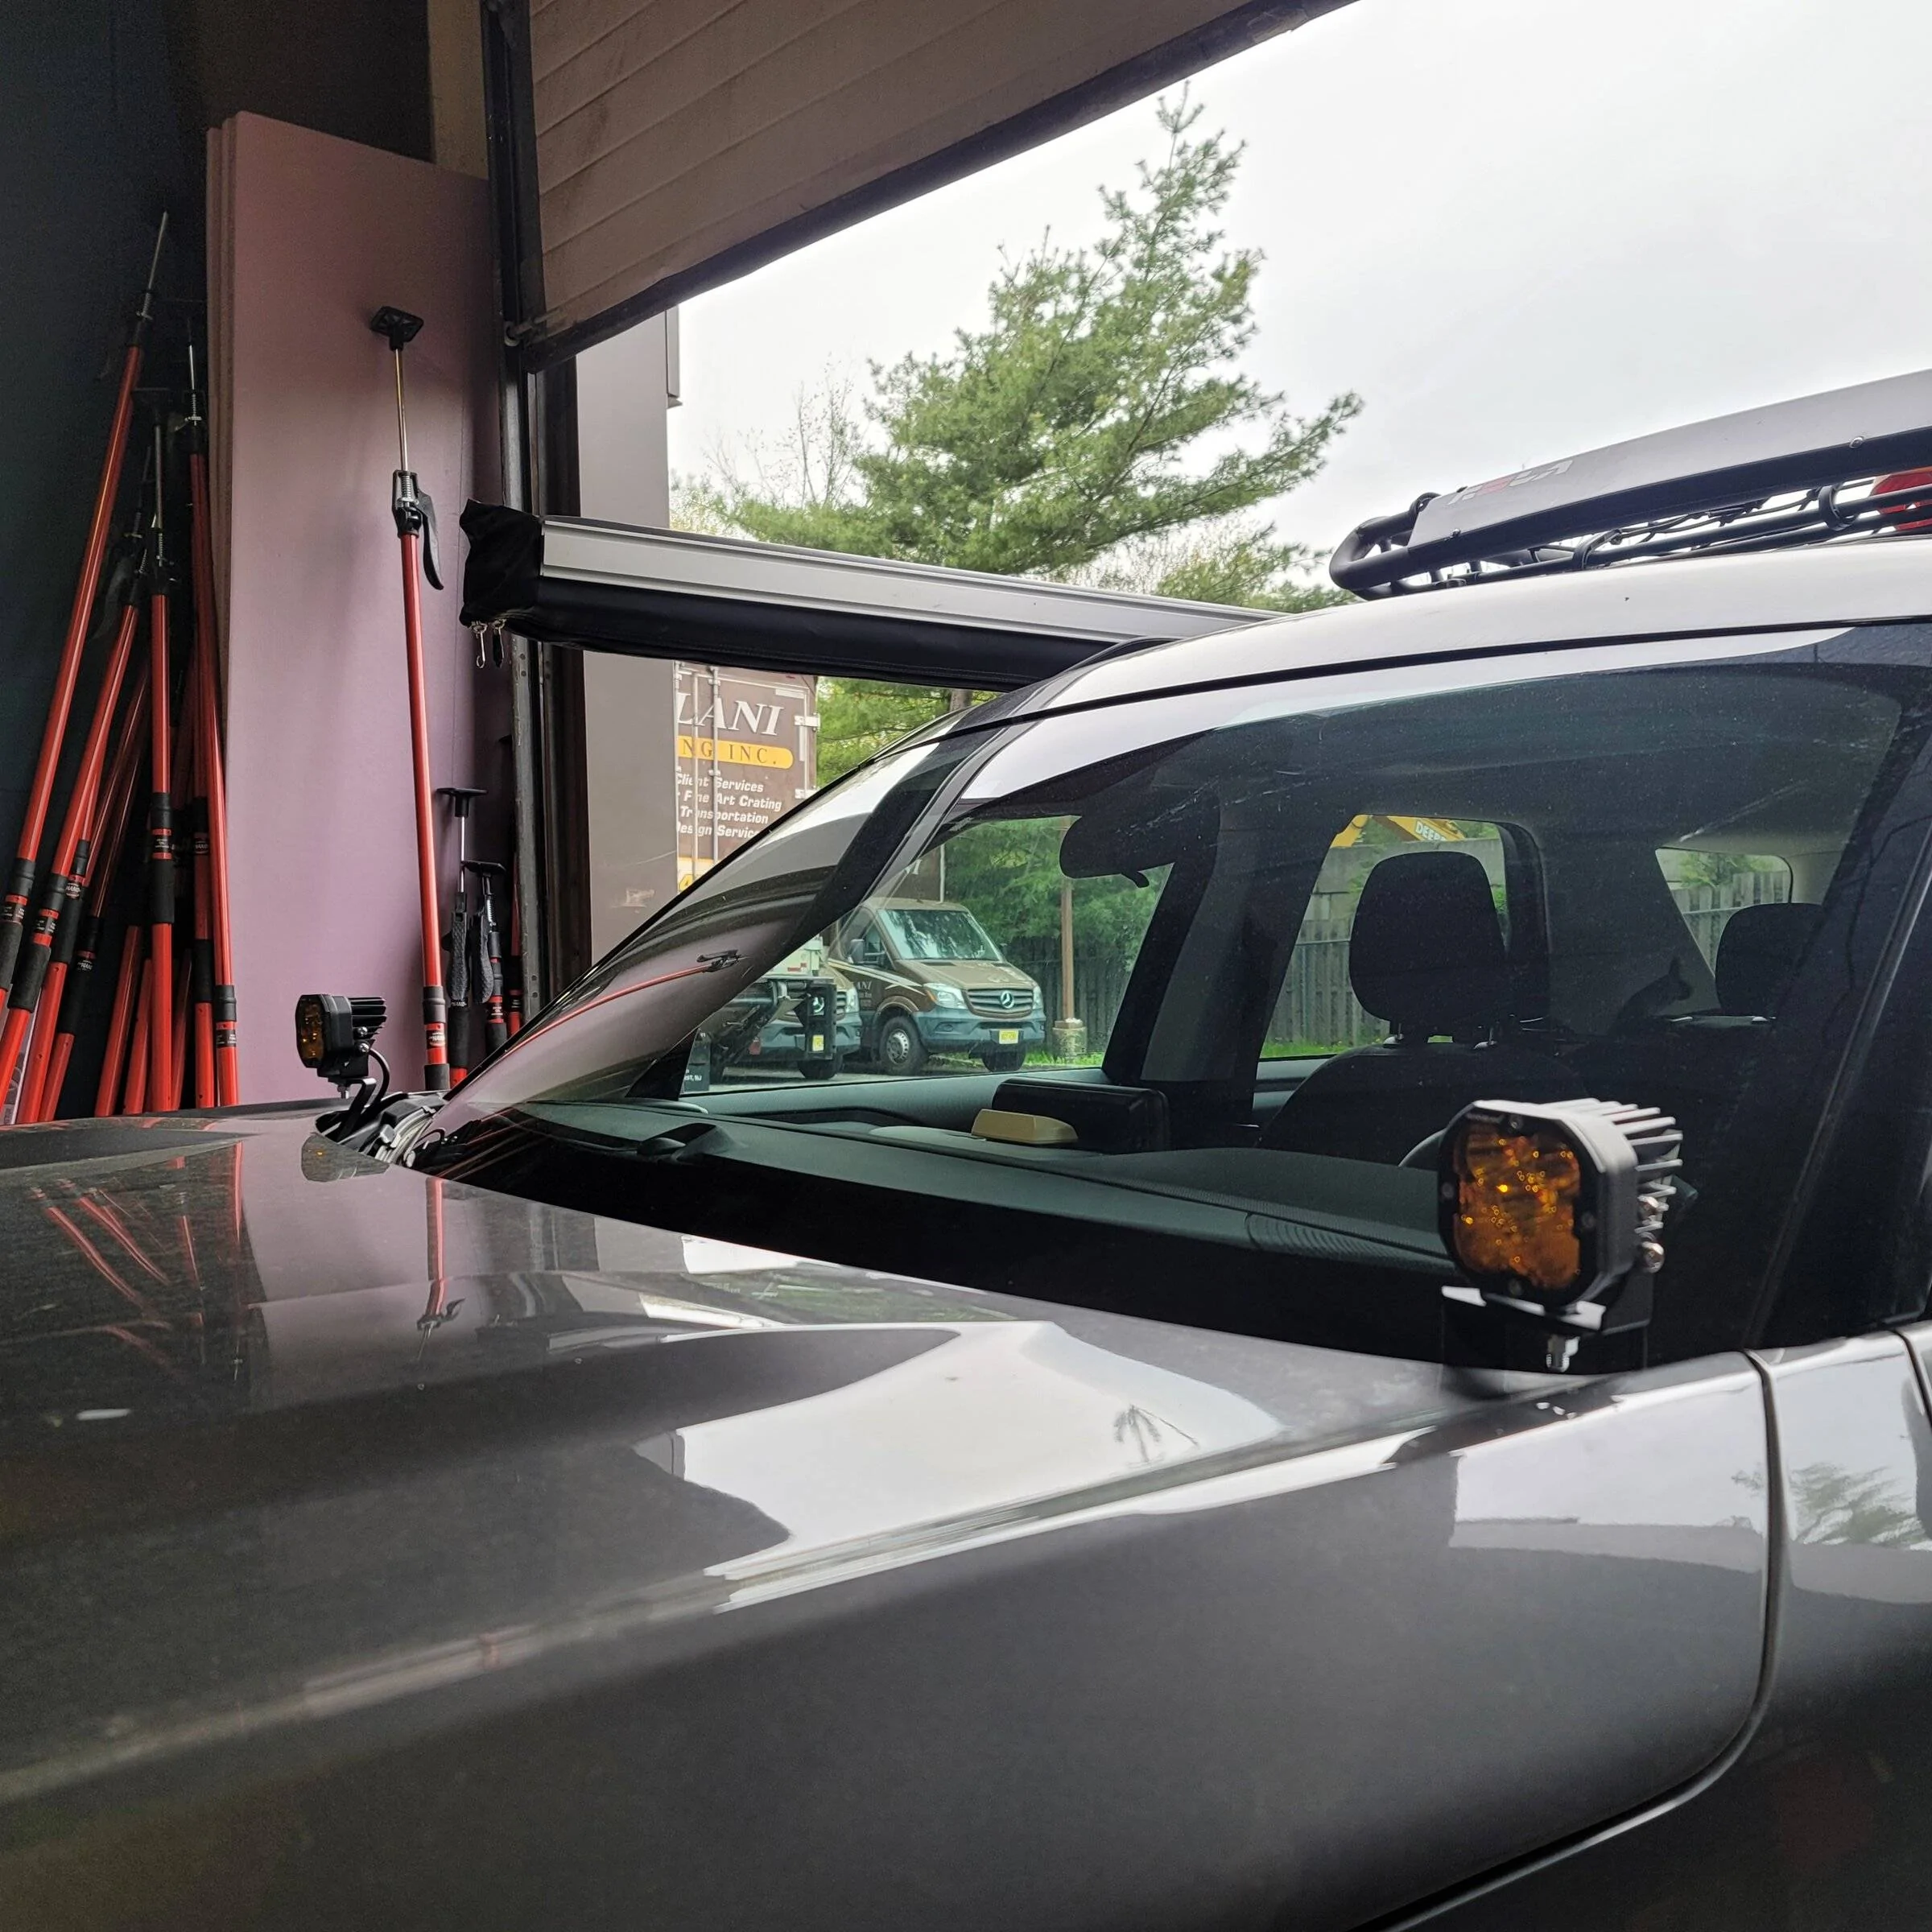
Finally wired, ziptied, and up and running. The amber drls really pop; couldn't bring myself to put a hole for the switch; so for the meantime I ran it next to the light switch.

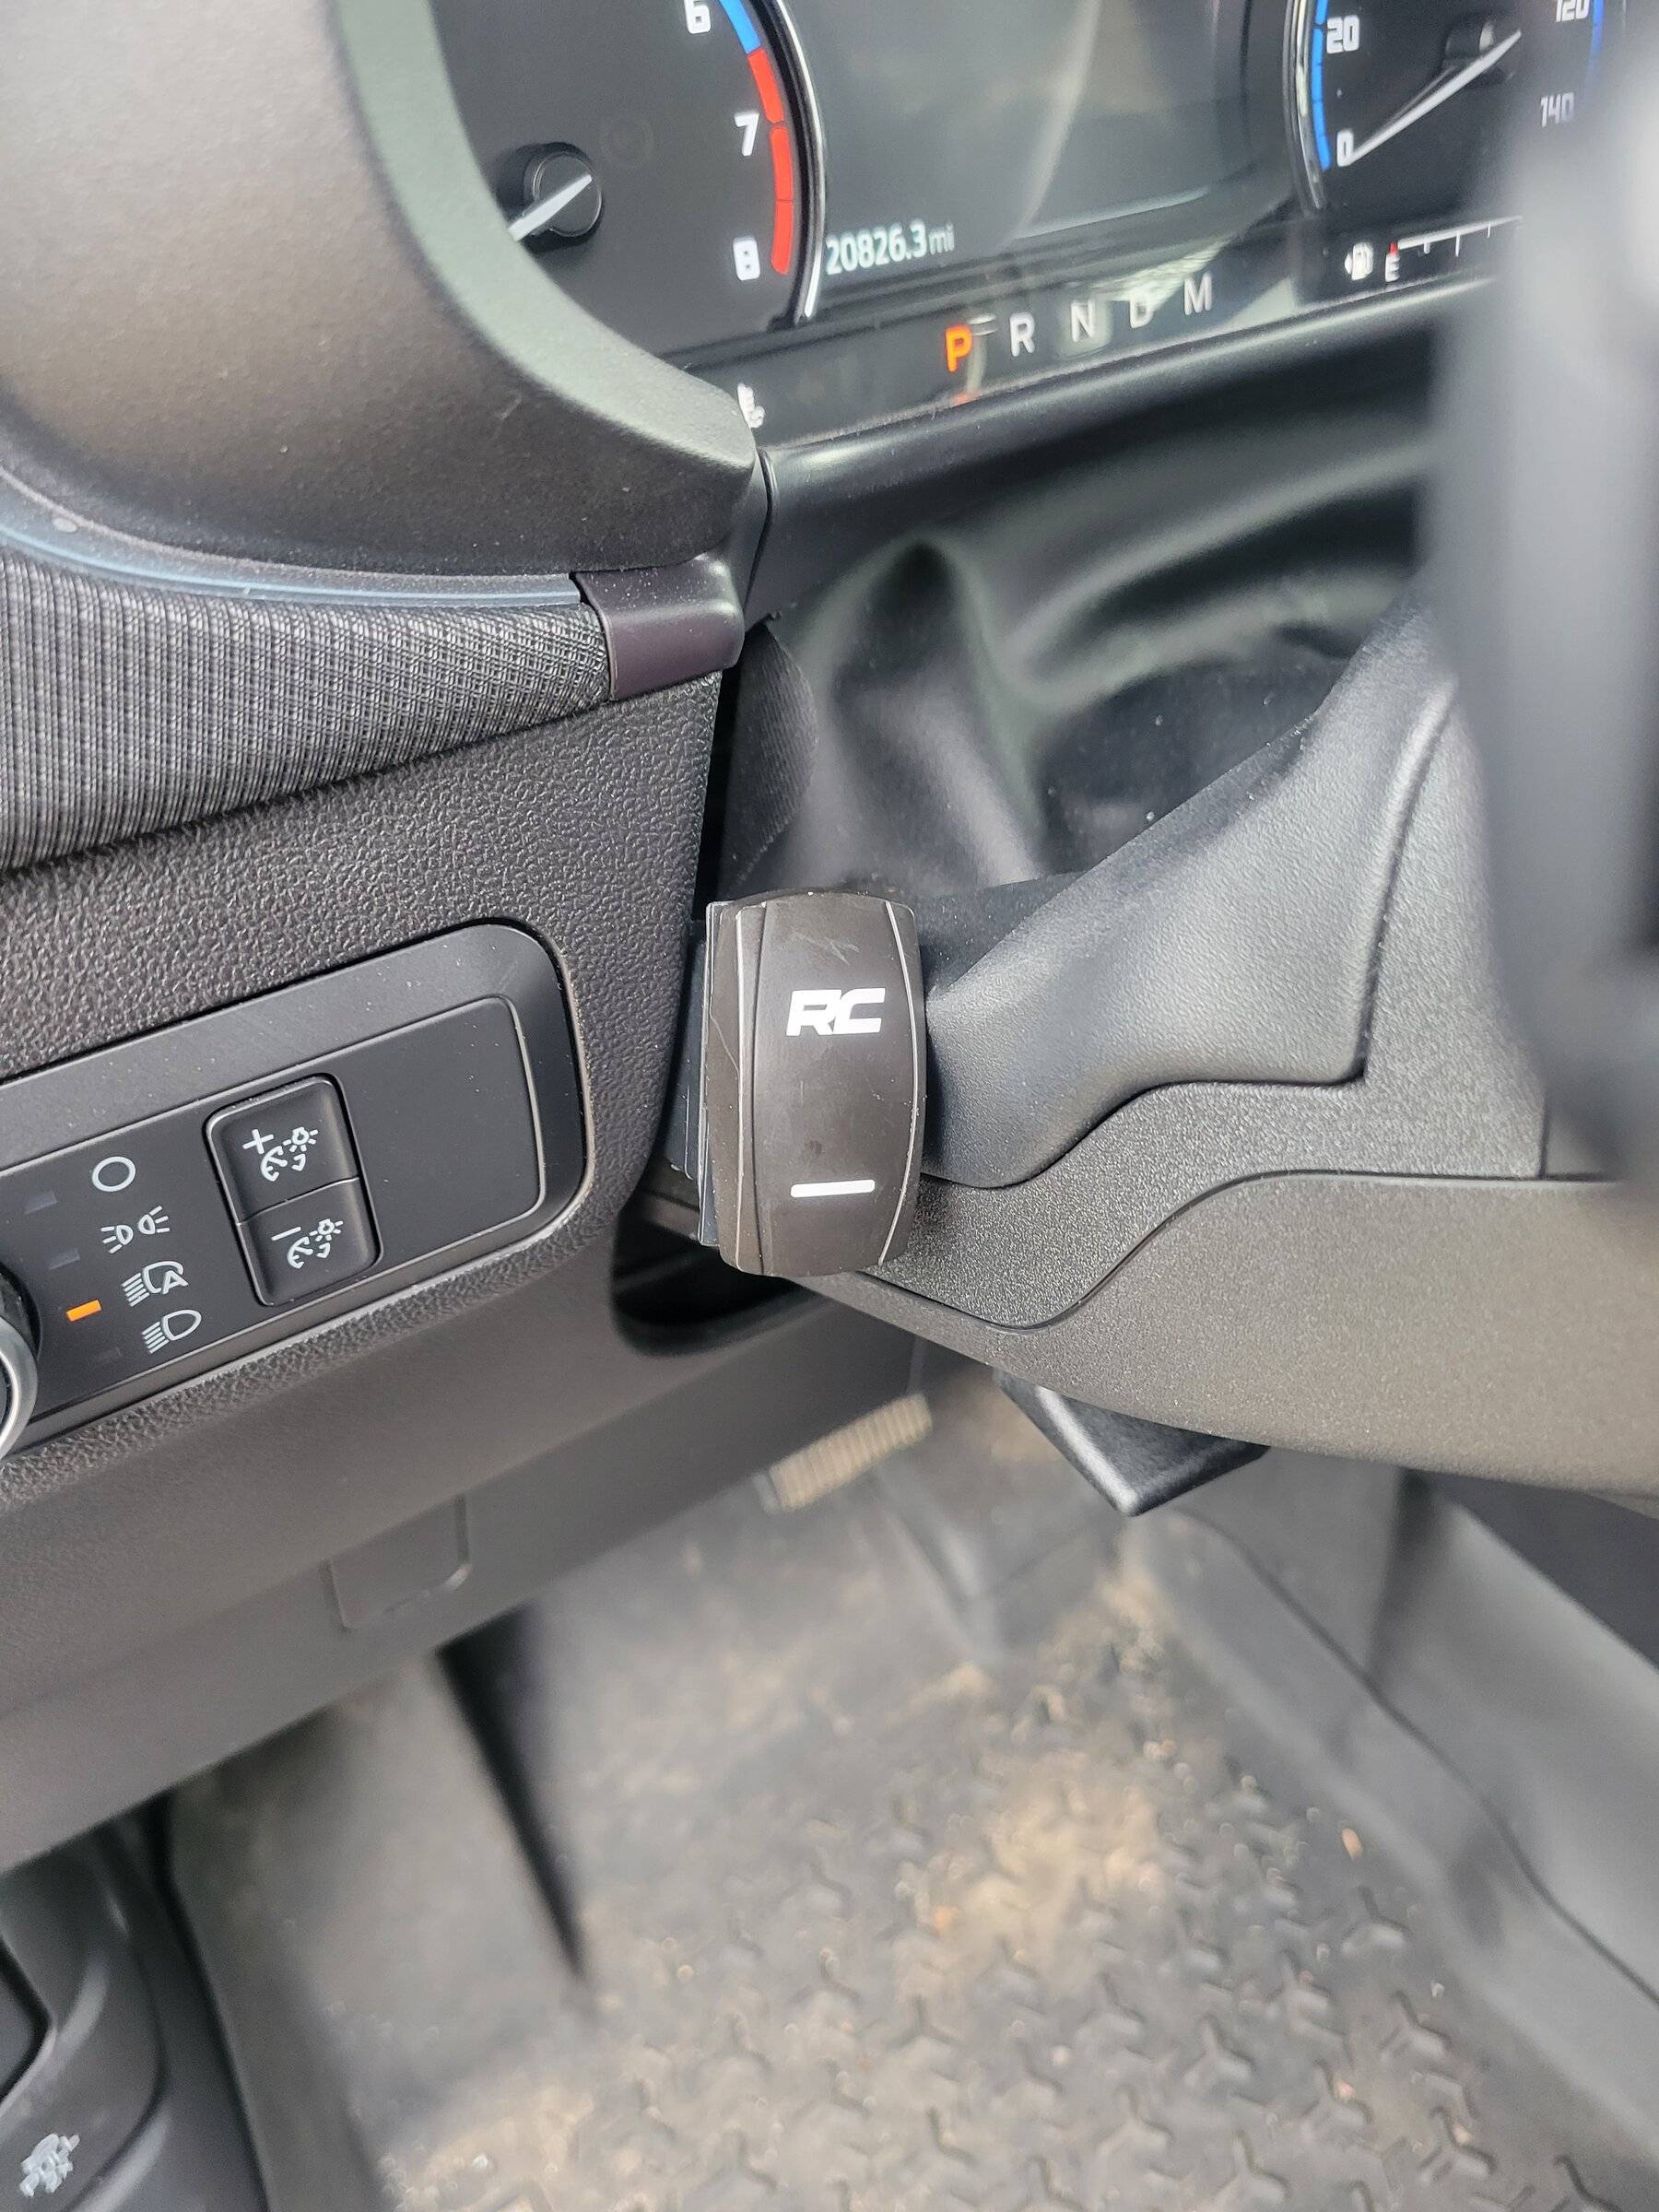
Make it easy on yourself and limit the opportunity to make mistakes with the hole. My advice: Replace the switch that came with the kit. Use a round, latching, pushbutton type, that way you don't need a rectangular hole. :Finally wired, ziptied, and up and running. The amber drls really pop; couldn't bring myself to put a hole for the switch; so for the meantime I ran it next to the light switch.
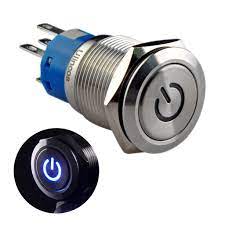
Not a bad idea to look into; needs to be a 3way switch tho.Make it easy on yourself and limit the opportunity to make mistakes with the hole. My advice: Replace the switch that came with the kit. Use a round, latching, pushbutton type, that way you don't need a rectangular hole. :

A step bit makes it easy to get a nice, clean hole for the switch:
1 person install is how I did it.; 2 people might be easier when adjusting. Tape off around the bracket before removing the bolts then just line it up before tightening after you add the brackets. Took me 20-30 min; one hand to hold in place after lining up with the tape, one hand to tighten bolt.Were the valkerie brackets a 1 person install or did you need someone holding the hood in place while you bolted them in? I was going to do this today and wasn't sure if the hood was light enough to support yourself while installing them. Also haven't looked to see if the BS is as accessory friendly as they make it seem. Is there a power source up near the firewall to wire the lights to or did you run the wiring right to the battery?
Make it easy on yourself and limit the opportunity to make mistakes with the hole. My advice: Replace the switch that came with the kit. Use a round, latching, pushbutton type, that way you don't need a rectangular hole. :
A step bit makes it easy to get a nice, clean hole for the switch:
There's always more than one way to skin a cat. Can we still say stuff like that about cats?Nothing wrong w/this advice. But I will say, I like the look of the rocker type switches much better than these push buttons, which to me, don't look as much like they could have come from the factory.
I put a rocker switch in for my light bar, and bought a switch plate from Rough Country:
https://www.roughcountry.com/single-rocker-switch-panel-housing-709b1.html
Then I removed the plastic panel to the left of the steering wheel and disconnected the existing wiring harness that went to the control for the headlights.
Next, I took the panel in the house and I used pieces of painter's tape to make a rectangle on the back of the trim panel that matched up with the size of the back of that switch plate.
Then, I used a Dremel tool with a cut-off wheel to start cutting a slot along the inside of the tape. Repeated for the other 3 sides of the rectangle. Once that piece of plastic was cut out and removed, I tried to fit the switch plate into the opening. Wherever it needed a little more plastic removed, I used a file to file the opening a bit bigger until it fit tightly. The switch cover plate helps hide any rough edges or small gaps so the install will look professional when done.

